| Environment | |
|---|---|
| UnrealEngine | branch: 5.0 |
| Visual Studio 2022 | version: 17.0.4 |
| Windows 11 Pro | build: 22000.376 |
Overview
Developing your UnrealEngine project with only the blueprint is not easy because the blueprint has some limitations on functionalities than the native, CPP. For instance, in blueprint you can access the source code tagged by BlueprintCallable, BlueprintType, BlueprintReadOnly, or those series. But, in CPP you can access all of the source code as possible and even you can modify the source code of engine. In other words, using only blueprint is like using a part of UnrealEngine. So eventually, you would want to create CPP class for more functionalities. This post covers that topic; how to create CPP class in UnrealEngine.
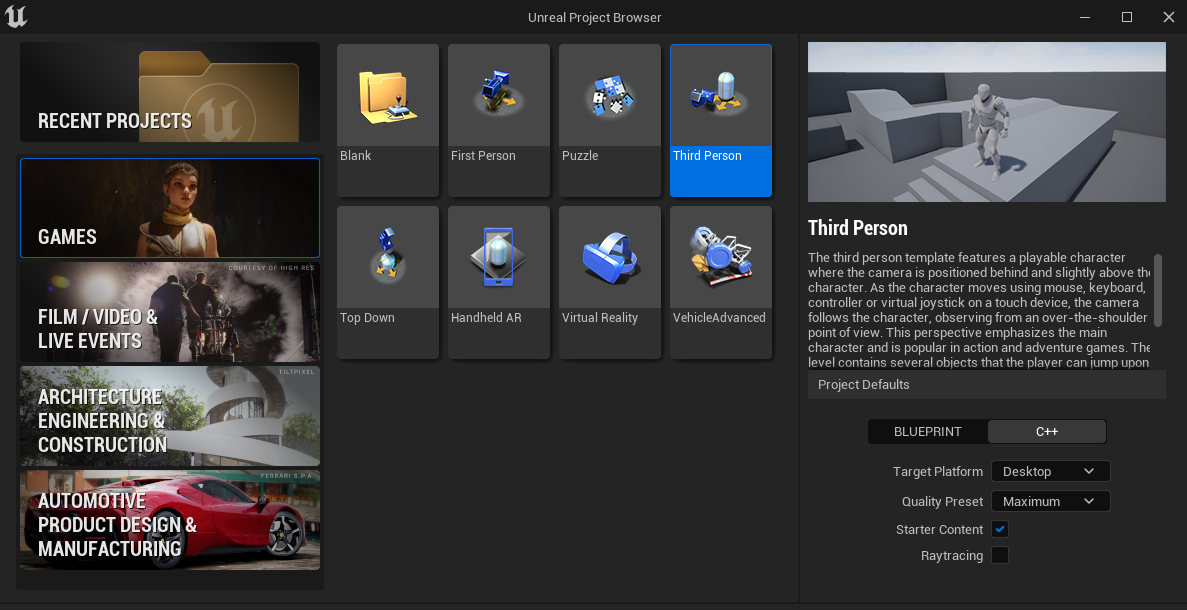
Plus, not only creating something but removing something is important. I will tell you how to remove CPP class in UnrealEngine, too. Let us create a project from ThirdPerson template with the options below. I named it as Unreal_5_0.
Creating CPP class; method #1
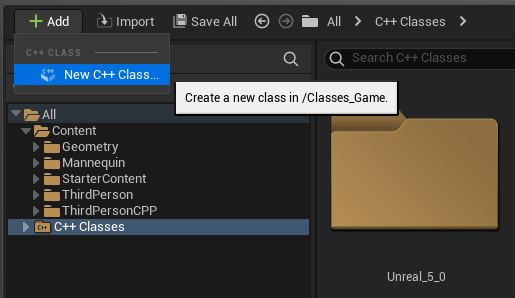
Open the Content Drawer and click All/C++ Classes folder. After the steps, you can see the option New C++ Class... when you click the Add button. Click it.
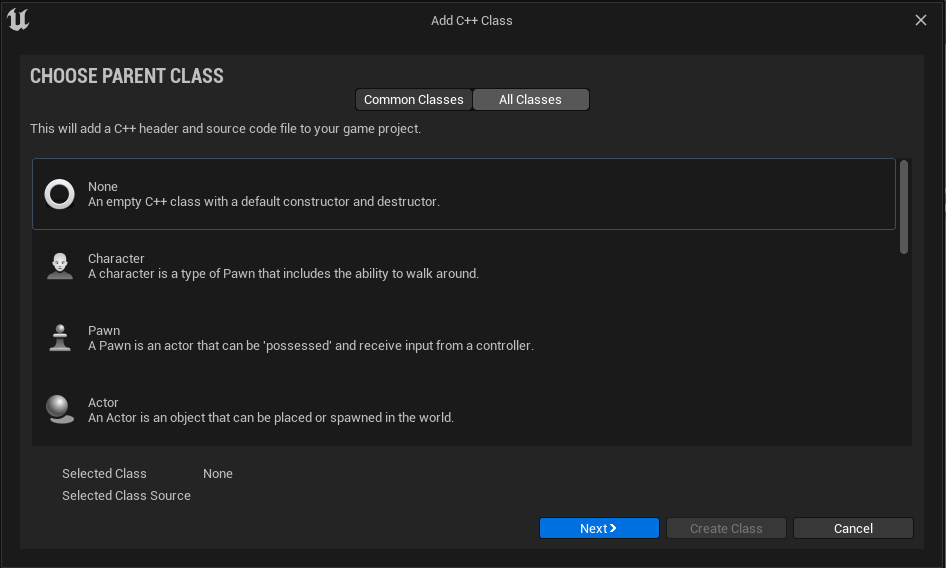
In this dialog, you can select a parent of new CPP class. Common Classes tab contains the most commonly used classes, so you should switch to All Classes tab and find an appropriate class if needed.
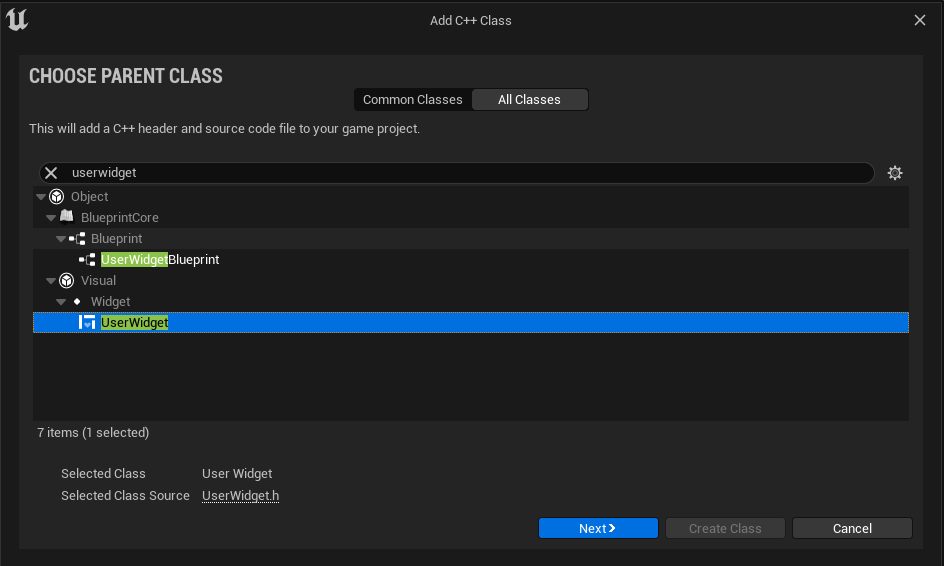
I chose the class UserWidget as a parent of new CPP class. Click the button Next>.
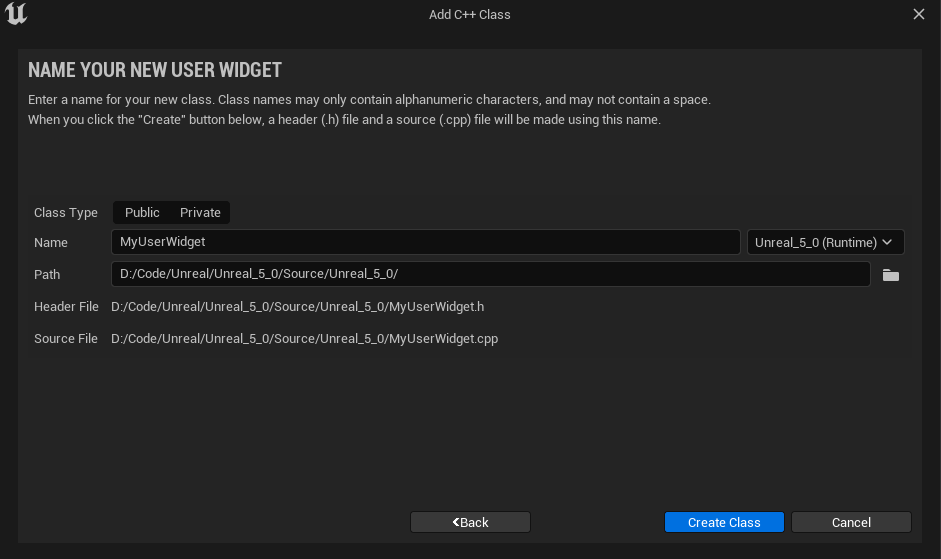
In this dialog, you can name the new CPP class and save it with some options. I will left the name as default, My[ParentClassName]. The combobox beside name is for selecting a module to include this class. Our project created from ThirdPerson template starts with only one module whose name is the same with project, in this case Unreal_5_0.
1 | // GameProjectUtils.h |
The radio button Class Type is for selecting a location of new CPP class. The enum value is UserDefined in default, but it would be forced to Public or Private when you select one of the radio buttons.
1 | // SNewClassDialog.cpp |
With these codes, the radio buttons just change the location of new CPP class. The new CPP class would be included in Public folder when you clicked a radio button Public, vice versa. This setting makes some differences especially onto accessibility.
1 | // GameProjectUtils.cpp |
1 | // Definitions.Unreal_5_0.h |
Only the class of location for Private cannot have the macro [ModuleName]_API. And the macro is defined as DLLEXPORT. The attribute is used to export codes in MSVC, visit here for more details.
1 | // MyUserWidget.h |
Of course, my new CPP class MyUserWidget has the macro [ModuleName]_API because I had not chosen any radio button. It was left as UserDefined and UserDefined is usually treated like Public. Then, the new CPP class would not have the macro if you clicked Private at the dialog.

Click Create Class. Engine will create intermediate files, generate project files, and build source codes.
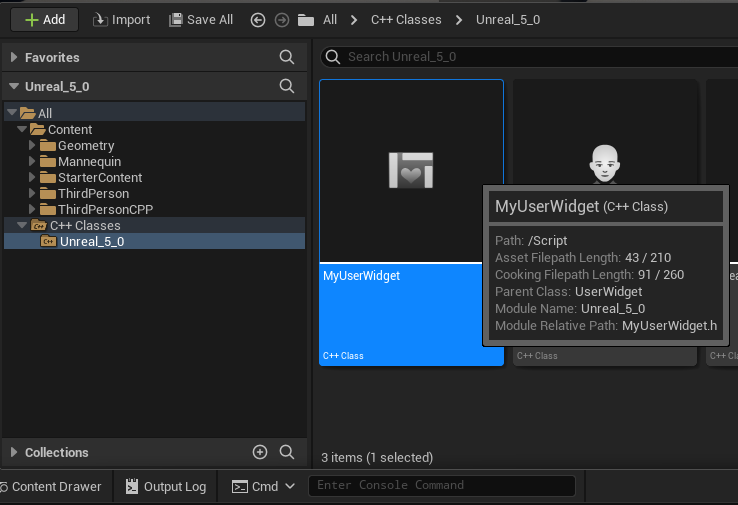
After that, the new CPP class is ready for you.
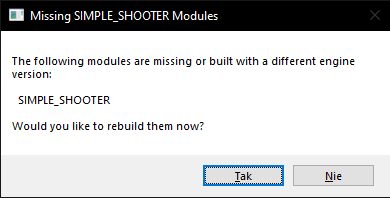
FYI, remove [ProjectRoot]/Binaries folder and build again if you meet a dialog like above while opening the editor.
Creating CPP class; method #2
At the method #1, you must wait for a moment while engine does a process; creating intermediate files, generating project files, and build source codes. The process of creating new CPP class is not expensive when your project is small enough, but every project gets bigger and bigger as time goes on. When it comes to the point, you would want create multiple new CPP classes and wait for only one moment. At that time, the method #2 will be able to save you.
The method #2 for creating new CPP class is quite simple; do it yourself what engine did for you. Let me explain step by step. Suppose you want to create new CPP class inherits UserWidget class.
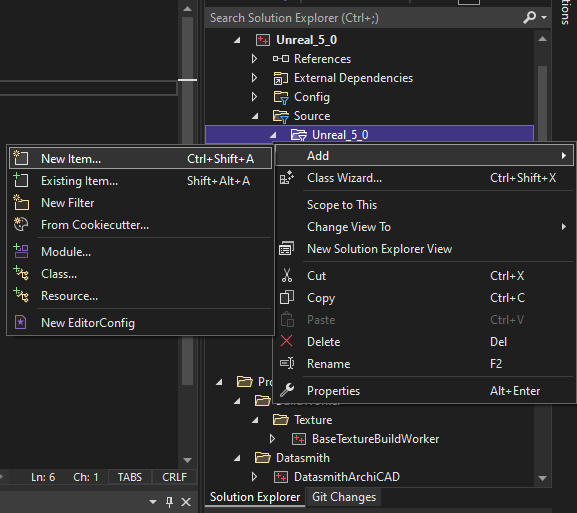
Open your VisualStudio project. Find an location to add your new CPP class at Solution Explorer. I will add a class at Unreal_5_0 folder. Select Add/New Item.... at the option.
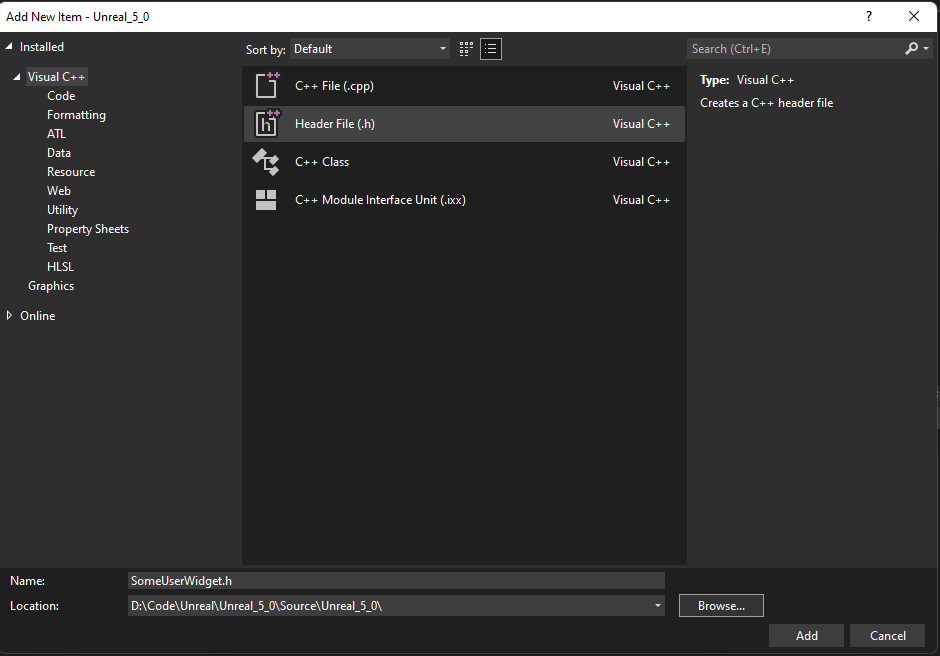
Select Header File and name the file. I will name the file as SomeUserWidget.h. And click the button Browse... to locate the file. I will locate the file as the same location in Solution Explorer, [ProjectRoot]/Source/Unreal_5_0.
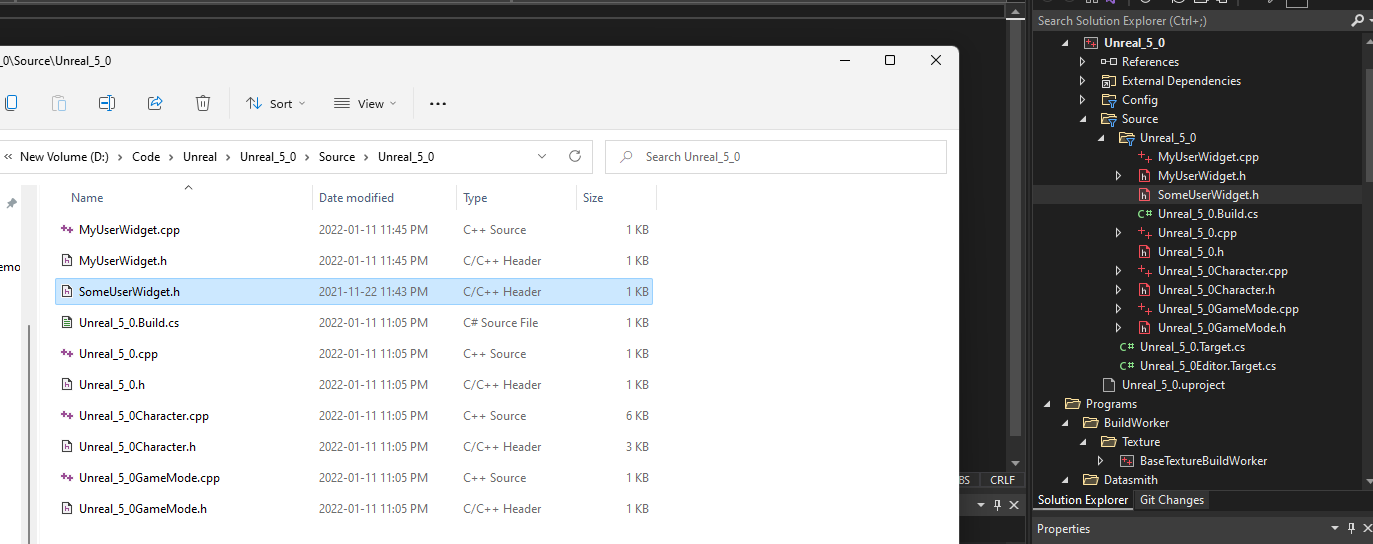
After click the button Add, you can find the new file at both file explorer and Solution Explorer in VisualStudio IDE. Repeat previous steps for creating a cpp file.
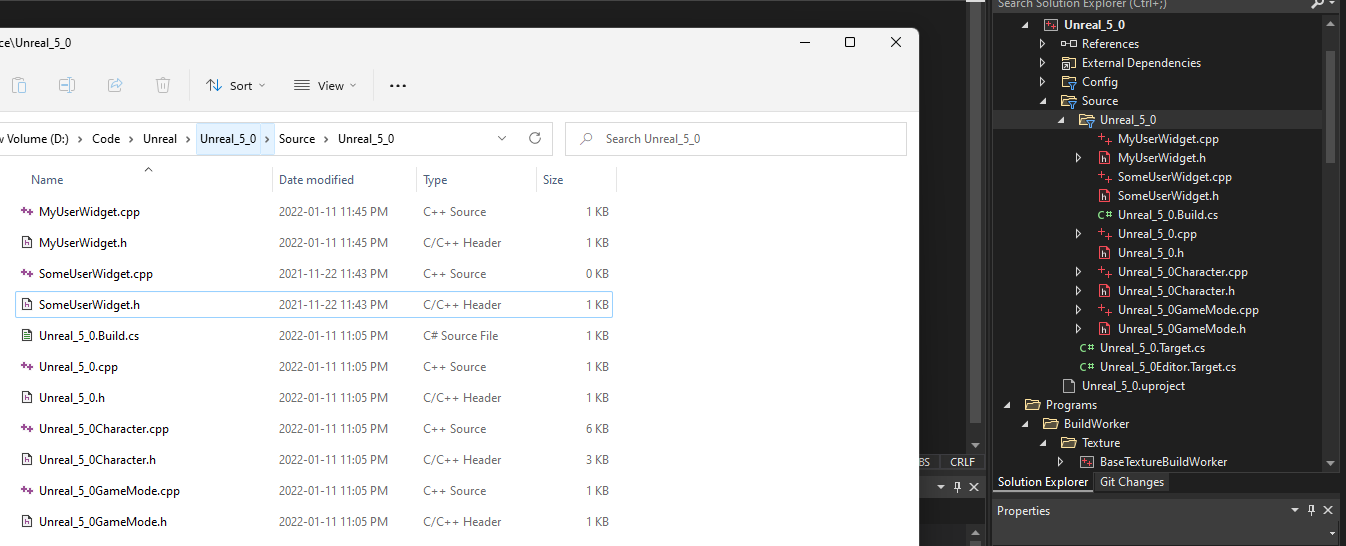
Then you have two files for creating new CPP class.
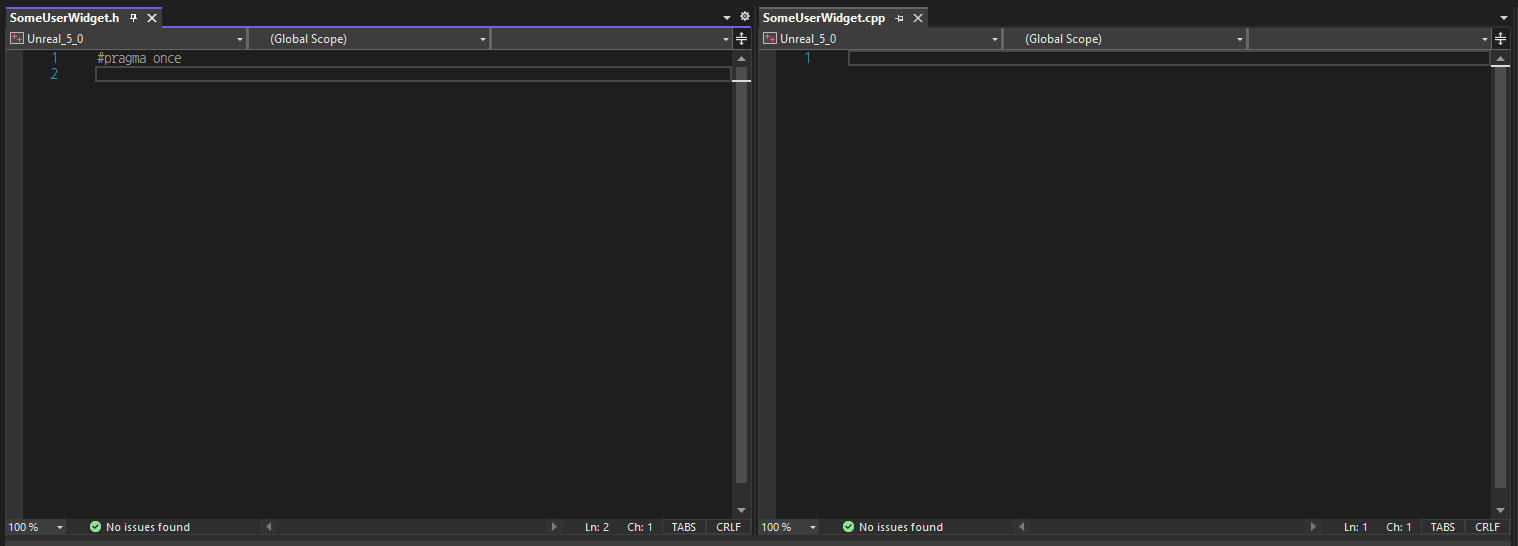
But they have no contents, in other words, empty. So what ? Let us fill the contents manually. The cpp file is very simple as it has only an include statement, #include "[HeaderName]". Problem is the header file. Usually, a generated header file from a class inherits UObject (or child of UObject) has a format like below:
1 | // Copyright notice |
For instance, we had created a class MyUserWidget. The header file MyUserWidget.h has the contents like below:
1 | // Fill out your copyright notice in the Description page of Project Settings. |
FYI, the part [ModuleName]_API is optional as I explained at the method #1.
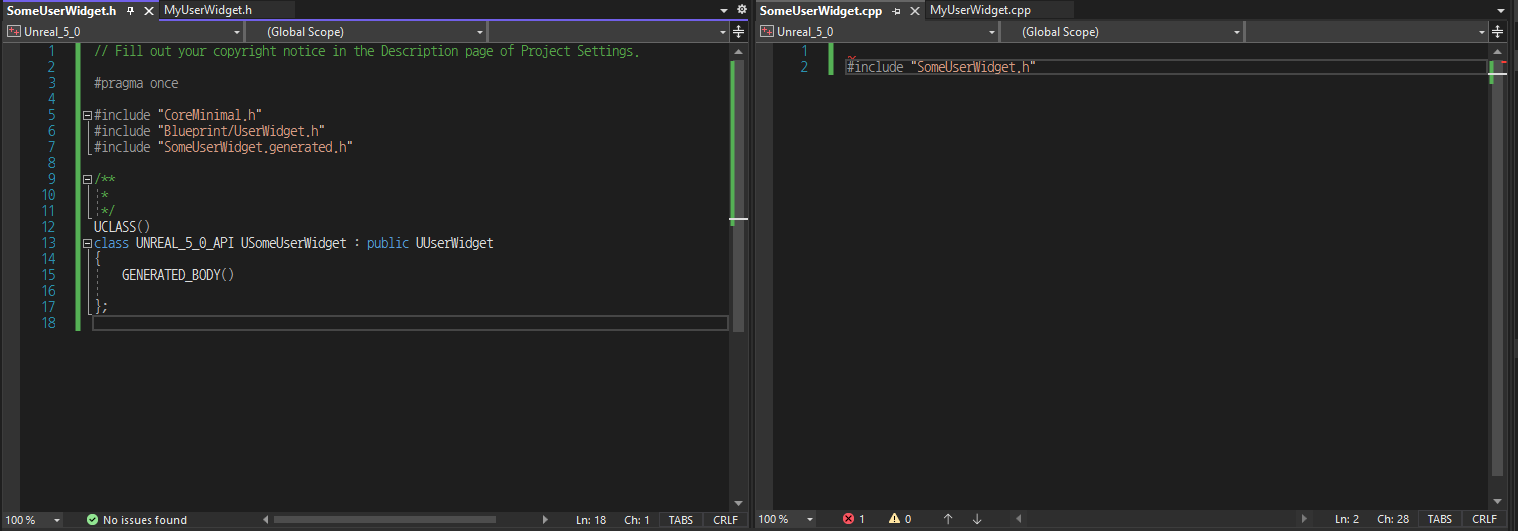
Then, we can write down some codes for SomeUserWidget. They look like above. Alright, now we should generate intermediate files and project files. And then build the source codes.
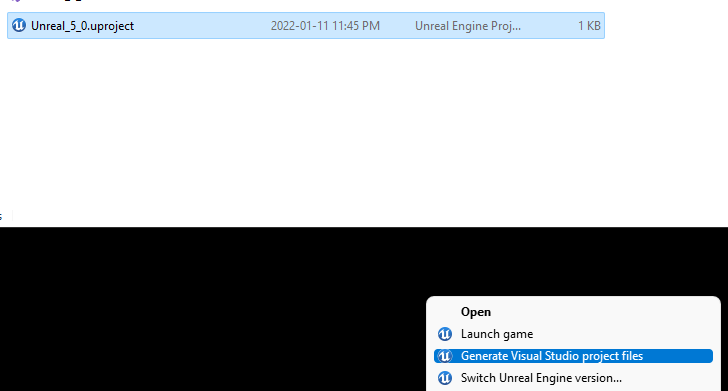
For this, close your VisualStudio IDE. Right click the uproject file and select Generate Visual Studio project files.
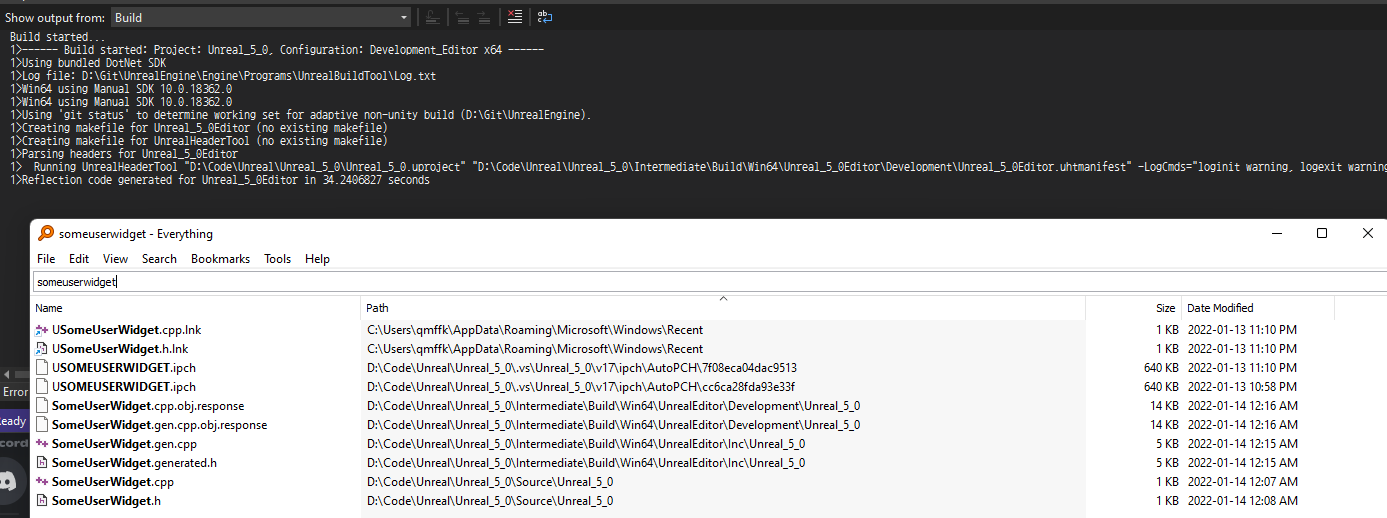
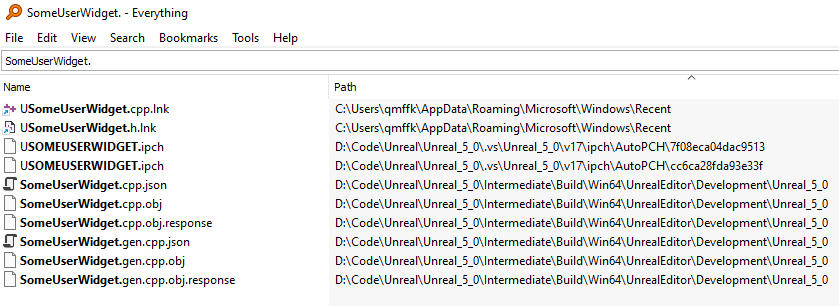
Open your VisualStudio project after generation ends. And build the editor. The engine will generate intermediate files such as generated.h and gen.cpp. For more details about generating intermediate files, visit this post.
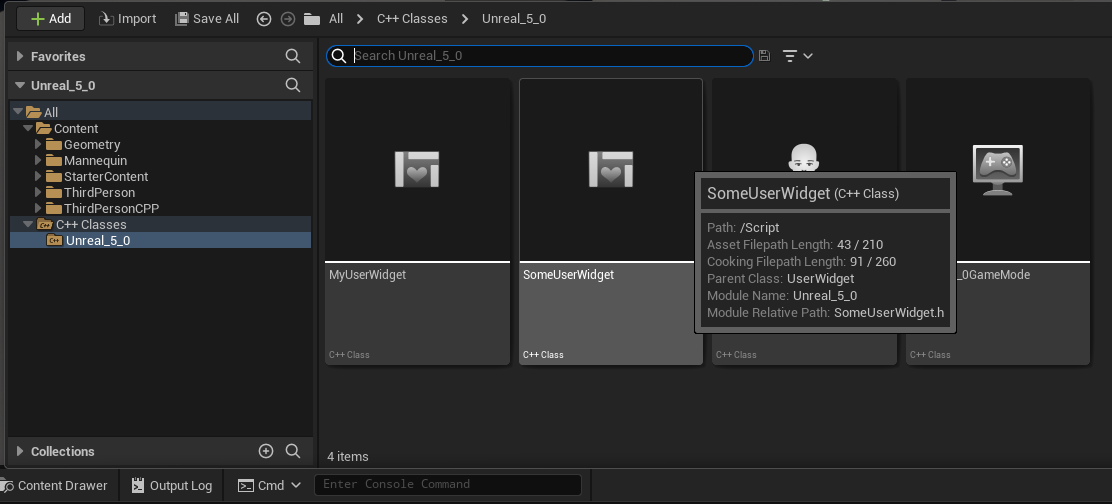
Now build ended. Let us open the editor. We can see new class SomeUserWidget well.
Removing CPP class

As you can see, you cannot select Delete at the option about CPP class in editor. Then, how we can remove a class when we do not need it ? It is quite simple, but you cannot do it in editor.
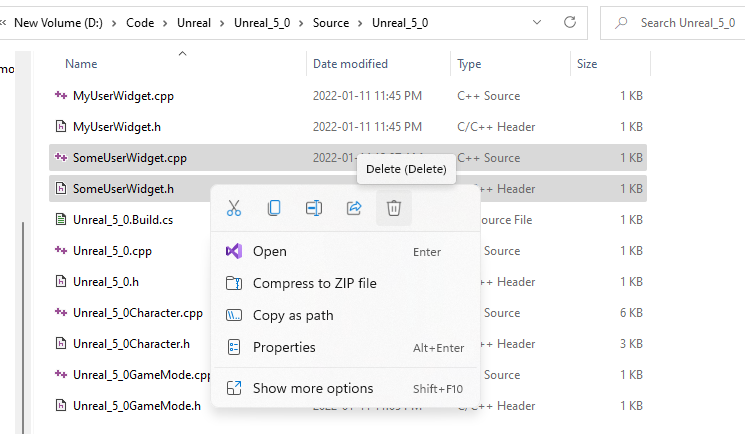
Close your editor and remove files for the class you want to remove. I will remove the files for the class SomeUserWidget.
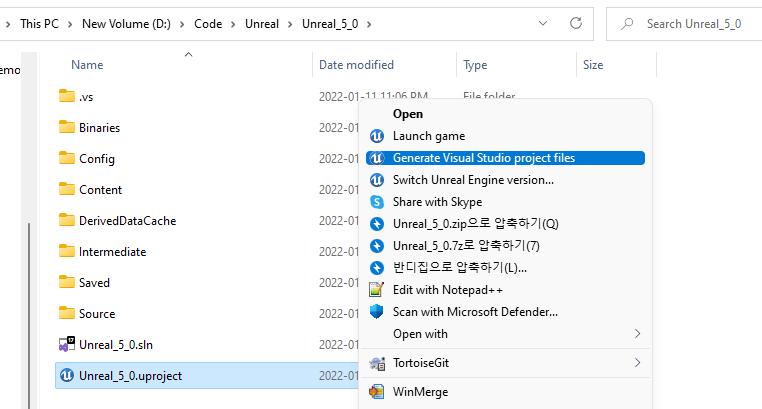
And then generate project files via uproject file. Plus, you must remove [ProjectRoot]/Binaries folder.
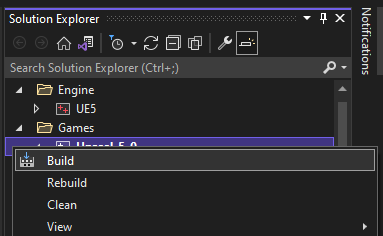
Open your VisualStudio project and build editor.
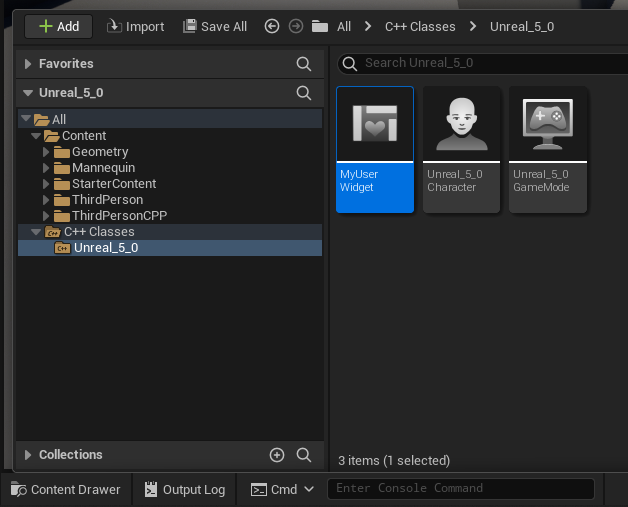
Now you can see the class SomeUserWidget disappeared.
Still the intermediate files could be remained. Remove [ProjectRoot]/Intermediate folder and repeat the steps.