overview
it is first time to write retrospection as a post. with starting a job for game programming and wraping up my university activity, I thought it is good time to write it. regardless of anyone, every new year is the hardest one. yeap, this year was so hard and eventful to me. so you can see me grumble in this post many times. anyway, that would be a retrospection too.
timeline is below:
- being a senior year in university
- having a role of leader in HPC Lab
- working at a start-up company as part-time job
- moving in Seoul for work
- getting a full-time job at PUBG
graduation
being a senior year, as same as usual university, I had to do several tasks for graduation. some of them are easy, but others are not. that below is why:
internship as credit (-> internship issue)
in my university, student must have an internship for essential credit. in other words, students did not have internship cannot graduate, even they are hired with regular job. making matters worse, only an internship satisfying terms of agreement made by the university is approved to get the essential credit. otherwise, the student cannot get the essential credit.
graduation project
like the internship issue, student must complete an project for essential credit. the scale of project is usually forced to be big as possible as by professors, which have right to pass project. that means, you cannot throw away the graduation project with the mind “I do not care that one bit of shit.”.
first of all, the two issues have been solved…but there were so much pain. X( …especially the internship issue tortured me for 1~2 months.

the agreement mentioned above should be reviewed by company’s legal team and personnel team. in worst case, they could reject the agreement. even they accept the agreement, university could reject your request of essential credit for the reason the internship period is not fit in some schedule they planned. crap ! though students should take care of everything unnecessary, university insists this system help the students get a job. actually, I could not get the essential credit with my first internship for complicated reasons. I do not want to tell about it more…just disgusting. university made me fight to company and themselves. early 2019 was that time mentally weak.
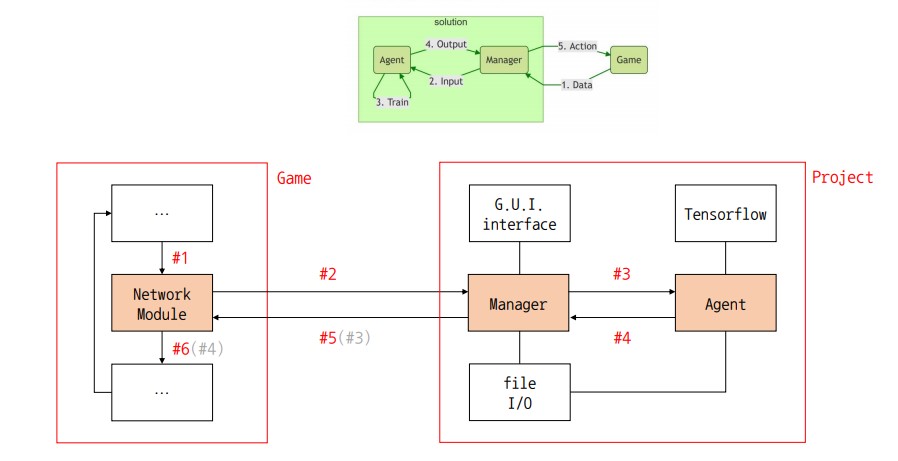
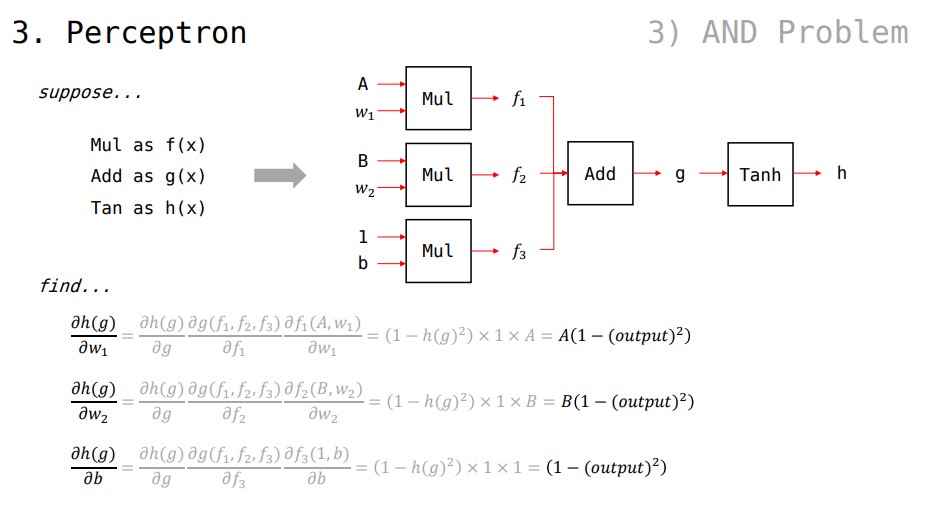
graduation project, this one bullied me too. I could not choose my team member by myself, and the members to go with were very passive. that is, they did not proceed the project on themselves. I had to take care of both development and team management. although I had many tasks to do, the project has been made most by me. anyway, on developing the project, I found this funny moment: https://twitter.com/Thanang/status/1171038097024307200?s=20 my graduation project was about automation of making game agent. mainly used Tensorflow and BizHawk, Tensorflow as machine learning framework and BizHawk as reinforcement learning environment. you can visit the repository in my github: https://github.com/BaeMinCheon/BizHawk and https://github.com/BaeMinCheon/street-fighter-agent
lectures
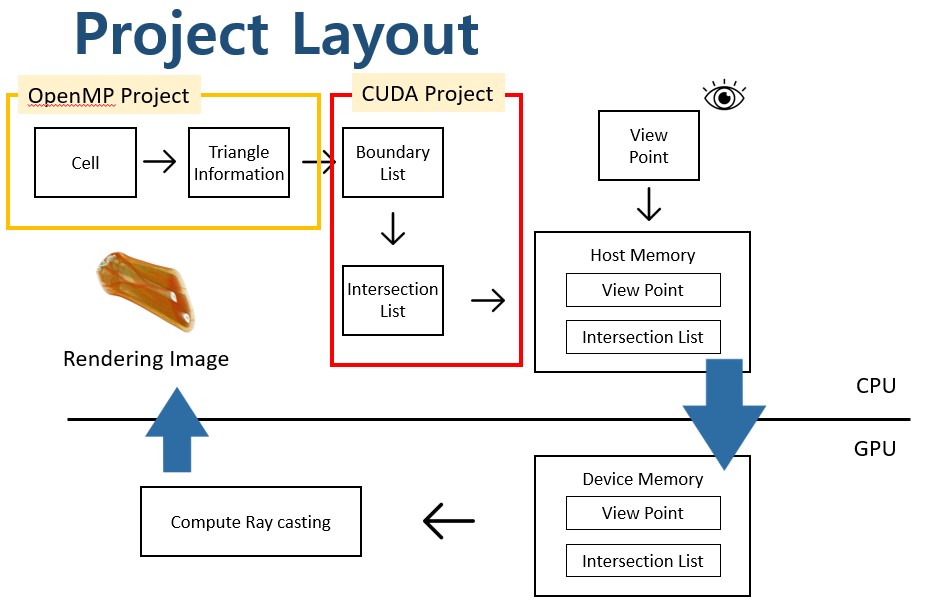
took various lectures, too. specially, lecture multicore-programming (-> MP) and virtual-reality-programming (-> VRP) are remained in my memory. in MP, I learned CUDA and could improve it with several projects. these experiences gave me insight of multi-thread things. and it helped me when the multi-thread subject were appeared at job interview in future. I learned VR and AR with intuitive explanation in VRP. thanks to the professor, I could get more understanding on Unity Engine and its usage. this helped me after when I use Unity Engine at start-up part-time job. the project repo is: https://github.com/beat-kids
laboratory activities
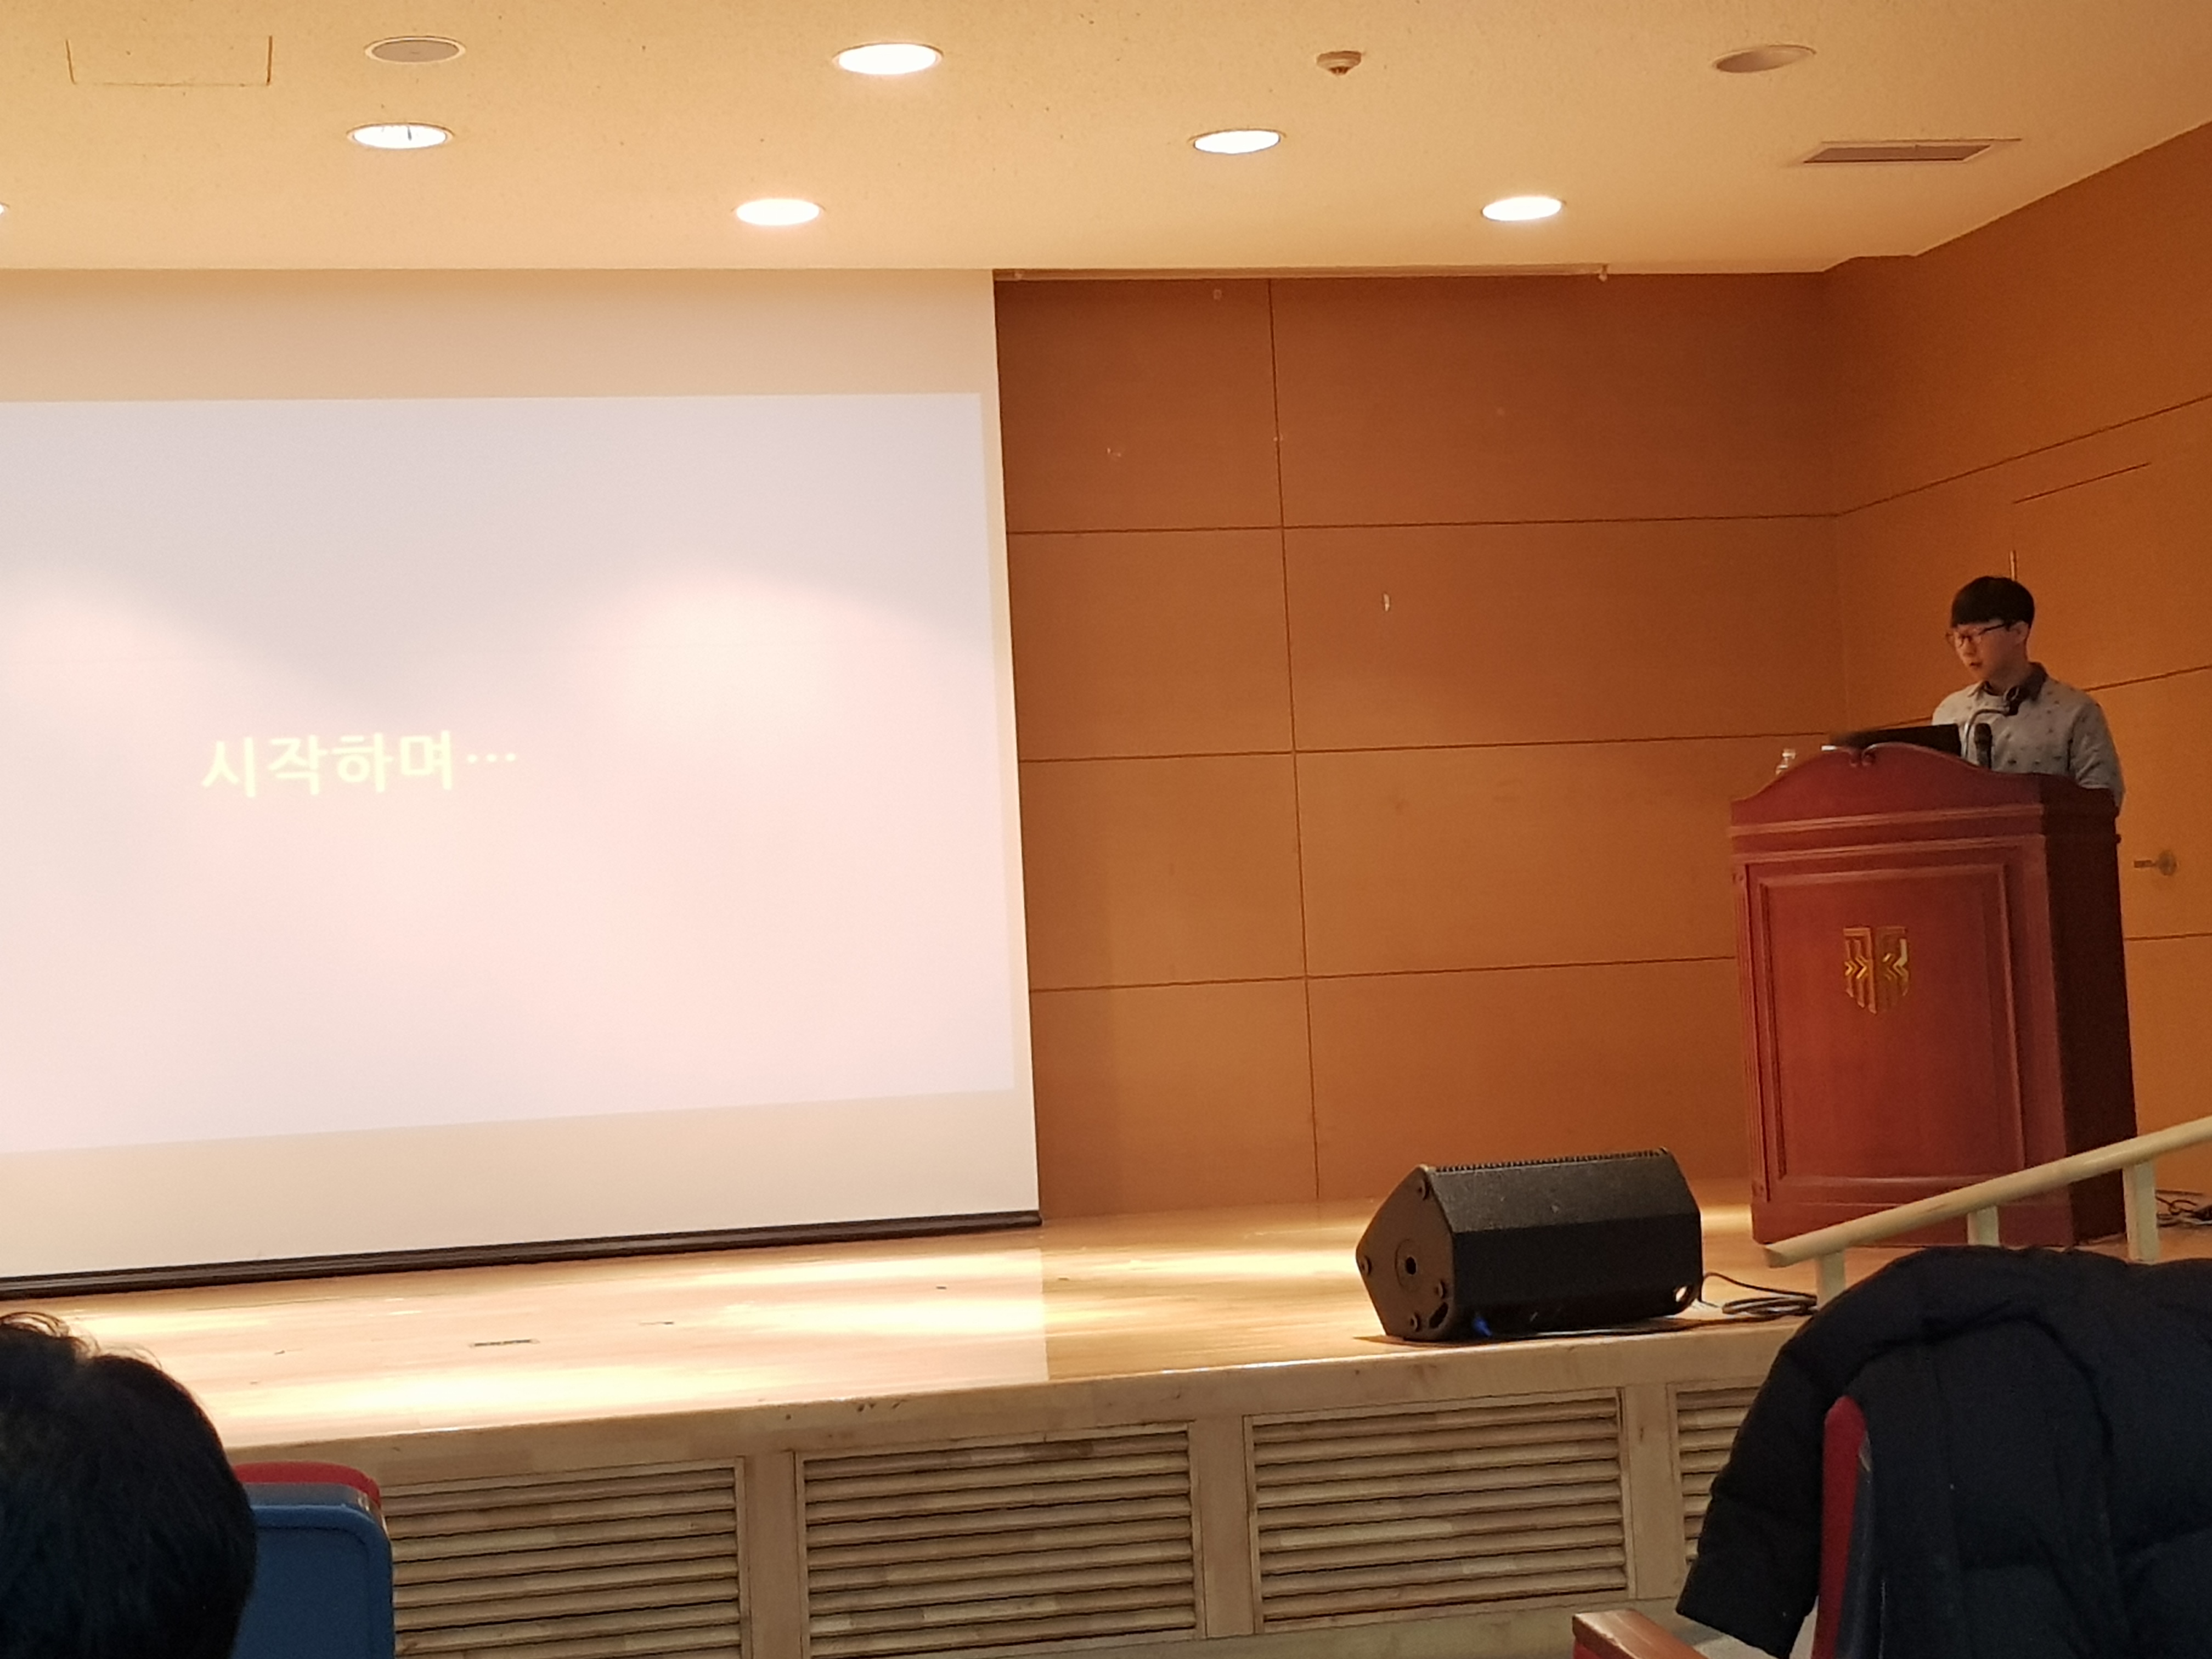
in previous year, 2018, I entered laboratory specialized in high performance computing (-> HPC) on my foot. mid 2018, I started a role of undergraduate researcher in the HPC lab. from the time, studying machine learning and multi-core programming, I got much experience and intense feedback from professor. though this activity was light than a graduate course, I could learn many things useful: how to research, how to present and how to write English. feeling being respected, I could do my best on HPC tasks and get more skills.
time goes on, senior researchers graduated by ones and twos, leader position came to me. not having any reason to refuse it, I accepted the position. and I started to fix almost everything in HPC. especially laboratory workflow and infra. I recommended slack as the messenger and trello as the issue tracker (for kanban-board). taught members how to use git and gitlab. due to these tries, we could work together more efficiently. setting up small infra was enough for me to apply computer network techs. installing APs and setting internal route protocol, turning and using server remotely…etc. every work was associated to network theory and became a good review.
start-up & job hunting
kept to follow those who are in game development field on twitter, I could get various information about game development things including job post. fortunately, this activity led me to get a part-time job as Unity game programming. was a beginner in Unity game programming at that time, I was hired to do small potion of works. but it was the first time that I made money with programming, I did my best on almost things and also tried to learn skills that will be required in future. the motive might be come from self-esteem and a will to give a good impression.
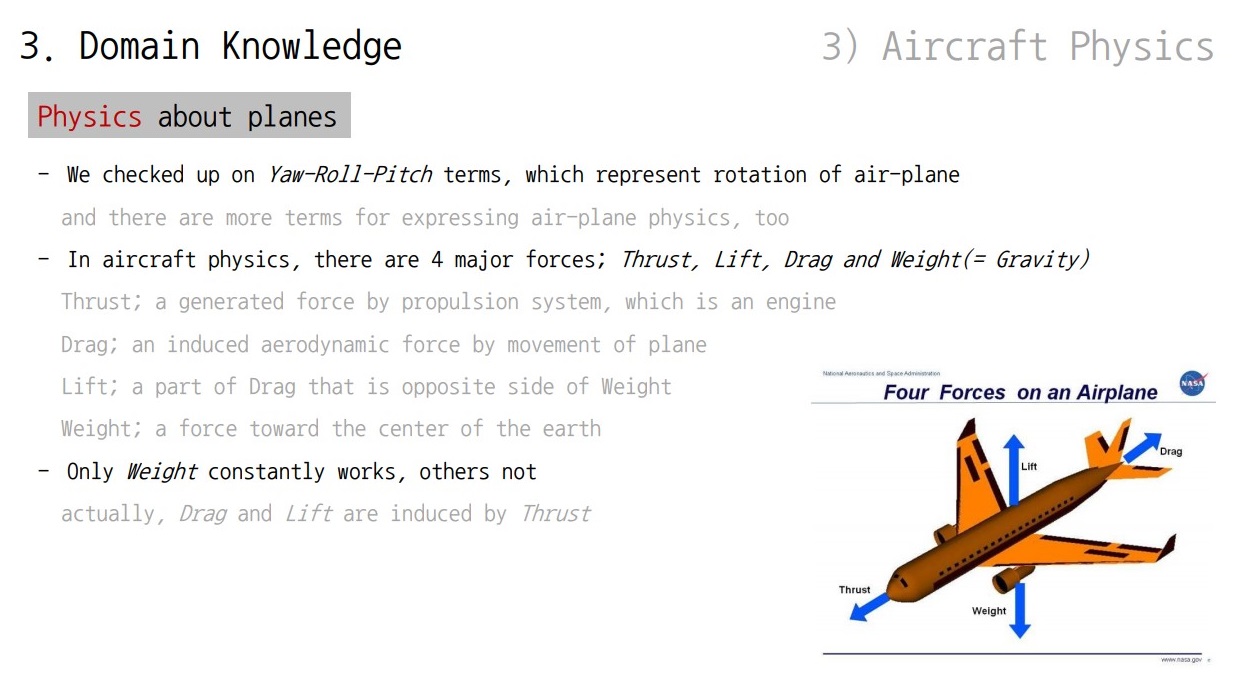
at there, I developed two games and they were both for mobile platform. so I had a chance to study for mobile platform especially Android. despite Unity’s multi-platform support, there is sometimes extra work for platform specific issues. stuck in Android Studio, I suffered so many times. one of the games was about flight fight game. as only my experience about flight in game was battlefield series, I had to play some flight games such as Ace Combat series. in addition, aircraft physics was not that easy. though I thought that I am fit in this kind of job, it was not. applying theory into code is not the same level with just knowing theory. everyday I struggled for expecting what happens on aircraft physics code changes.
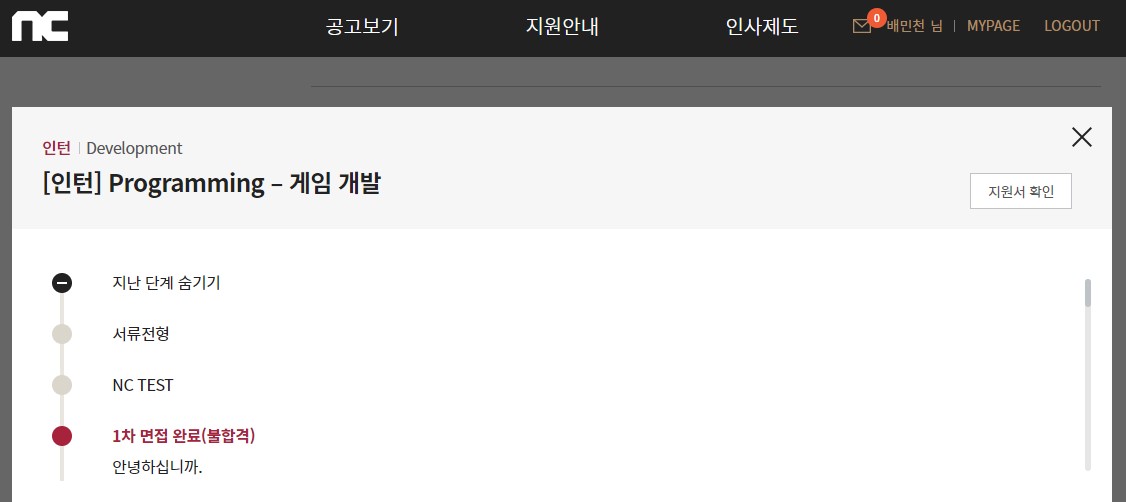
after end of the part-time job, as planned, I sought for job of game programming. applied to several companies: Pearl Abyss, NC Soft, Bluehole, PUBG…etc. target position was primarily the game client programmer. continued job hunting, I could join interview many times. some of them were bad enough to fail the interview, some of them were good enough to pass the interview. by the time I engaged the 5th interview in my life, taking an interview could not bother me to relax. absolutely practice makes everything fine.
topics on interview were similar regardless of what company is. in other words, what they want from fresh recruit like me. three main topics are below:
- Object Oriented Programming theory (based on cpp)
- why is it needed ?
- what is virtual function and how it works ?
- show me explanation of function overriding
…etc
- Computer Science / Engineering theory (related to game)
- what is multi-thread and race condition ?
- tell me difference between mutex and semaphore
- why a cube is used for view projection in graphics pipeline ?
…etc
- Project Experience (as a team)
- what did you think learn from the project experience ?
- why did you do this (on the code / on the feature …etc) ?
- talk about the most critical situation in the project and how did you overcome ?
…etc
Work Experience 😂 (but it is appealing one too…)
uneasy yearly rent
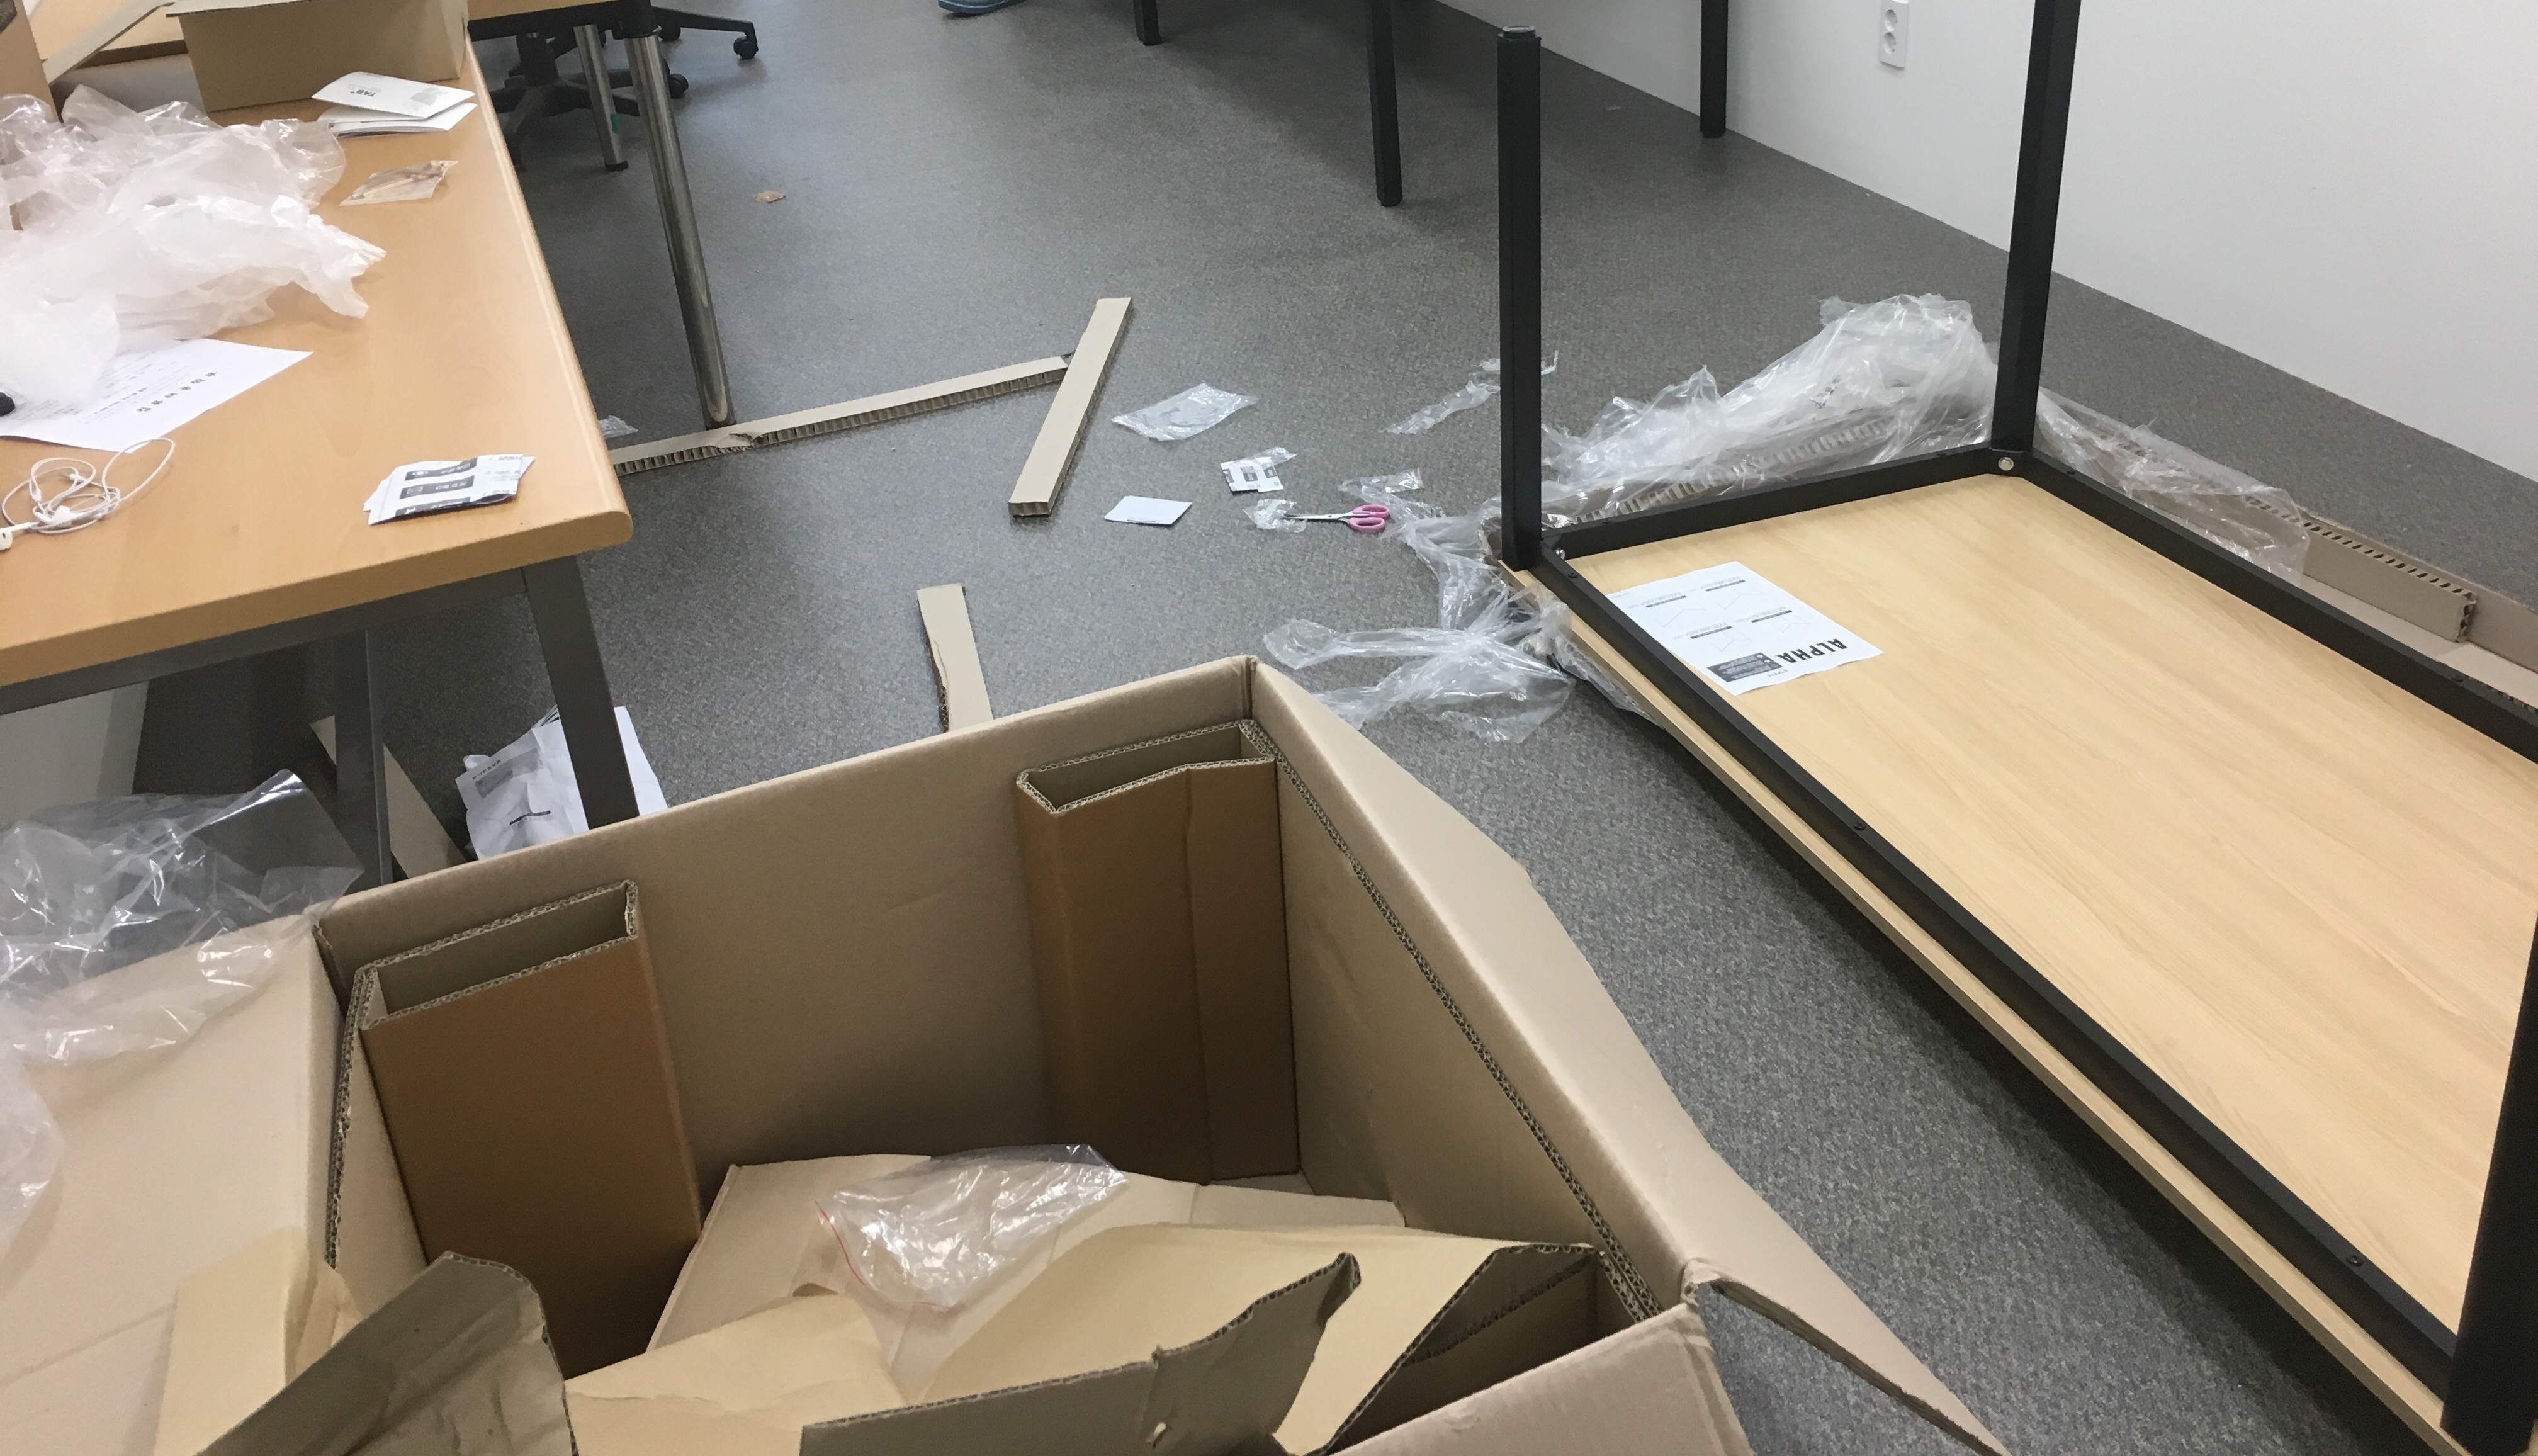
after the hectic job hunting, I got informed of acceptances from each company. had to choose one among companies, finally I decided to join the PUBG. as Korean office of PUBG is located in Seoul, that was the time to move into Seoul ! I lived in Chungcheong-Namdo for almost whole life. born in there, graduated schools in there, even attended university in there ! these events made me wish to get out of this little world. however, the move was not that easy going.
everyone recommends you yearly rent (“전세”) to save the money. ummm, that is right answer. but you may be suffered with horrible documents and tasks for “전세” loan. a job beginner like me cannot apply the loan from bank due to lack of career. even the loan from government asks you for strict conditions. while on dealing with these difficulties, you might give up and settle to monthly rent (“월세”).
in my case, PUBG provided a fund for renting house. so I could manage to rent a small room near the office as “전세”. unless it, I also had to settle to “월세”. keep in mind that looking for a room with “전세” using any loan is a really hard work needed patience. if you have no time and no patience, just starting as “월세” is not that bad option. particularly for job beginner like me.
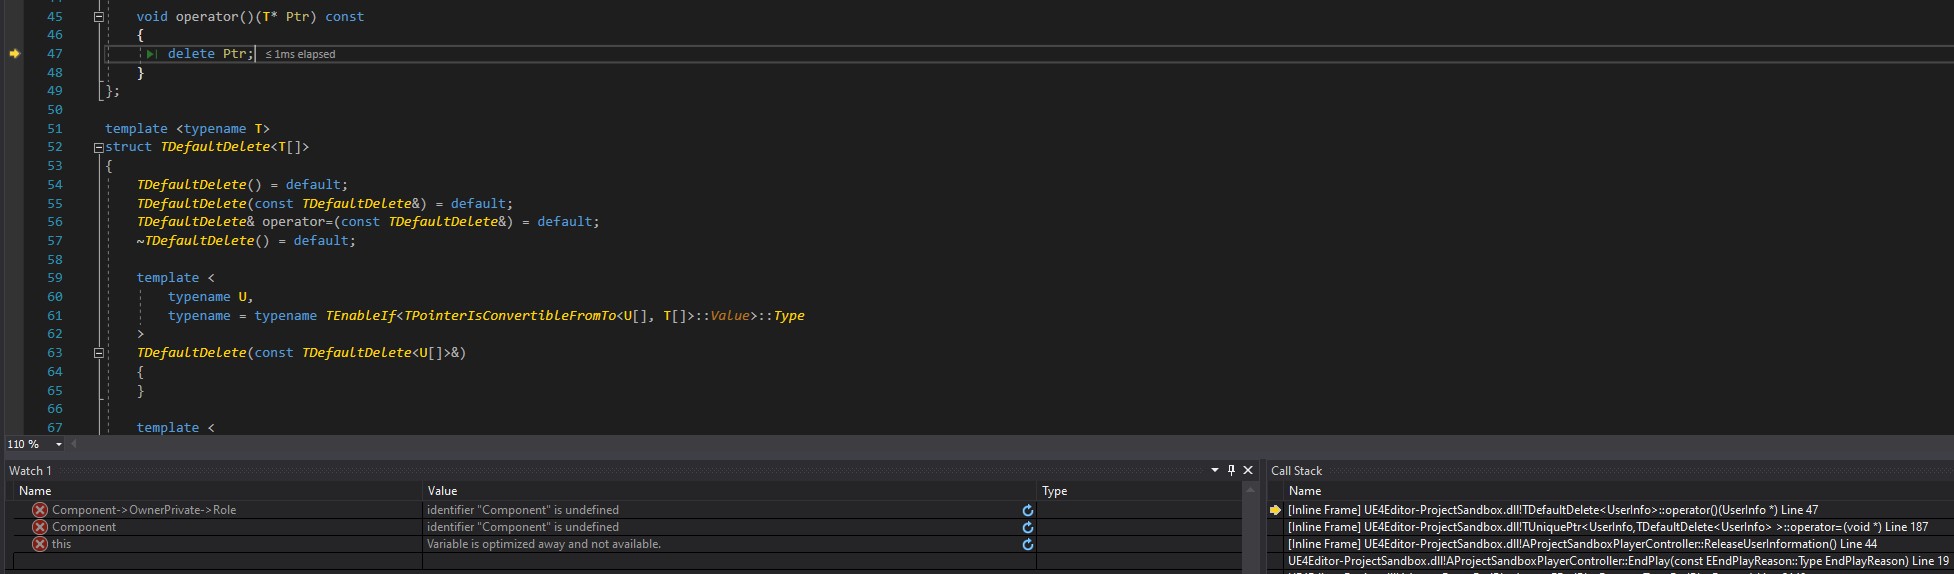
PUBG life

it has been 4 months after I started a full-time job in PUBG. there were so many happenings within that short period. I cannot tell the whole stories now, but someday I will tell some of them. just now, I do contents programming for console platform PUBG. XBox One and Play Station 4 are my playground and workplace at the same time. these days I am quite good at handling game-pad, differently before. also been familiar to low-spec HW causing delay of work. ;D

as I expected, many employees in game company are like nerd. many of them love to play games or develop games. they are knowledgeable to games than the average people. just…well…I wanted to meet these people who have these pure mind that makes games with a hope to make users be fun. the truth I can work with them made me excited. it lasted quite long time. and also game programmers are usually interested in physics things. now I am happy that have someone to talk about these subjects.
task is not easy, but enough to challenge. almost everyday I learn something new. there are chances to conversate with foreign programmer. now I know they are usual human beings, too. their thinking is not that different from us (korean programmer), and they can either make basic faults. as a result, I met someone or something new many times, and tried to understand he/she/it. so…during the PUBG life in 2019, I think I could have developed my view to the world.
wrap up
this year 2019, was the hardest one to me. I had to deal with so many tasks in simultaneously such as university works, internship, job hunting, personal development project, even my job. I only wanted to focus on developing something, however, there was always something else in society life. anyway, it was successful to harvest my effort for 4 years in university. I also achieved my target: be a FPS game developer. cheers. 🍺
next year, I might be able to do these tasks below:
- university graduation and degree acquisition
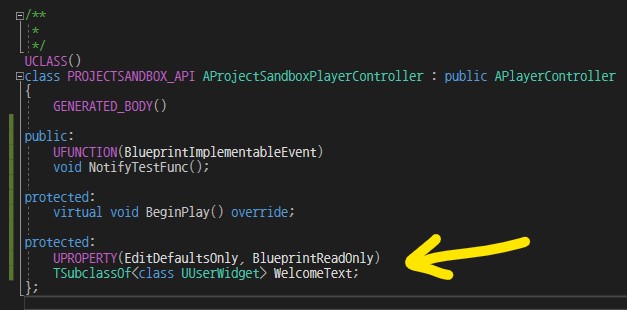
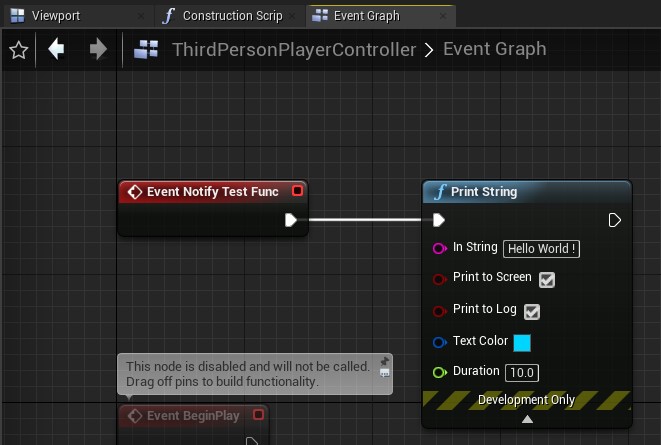
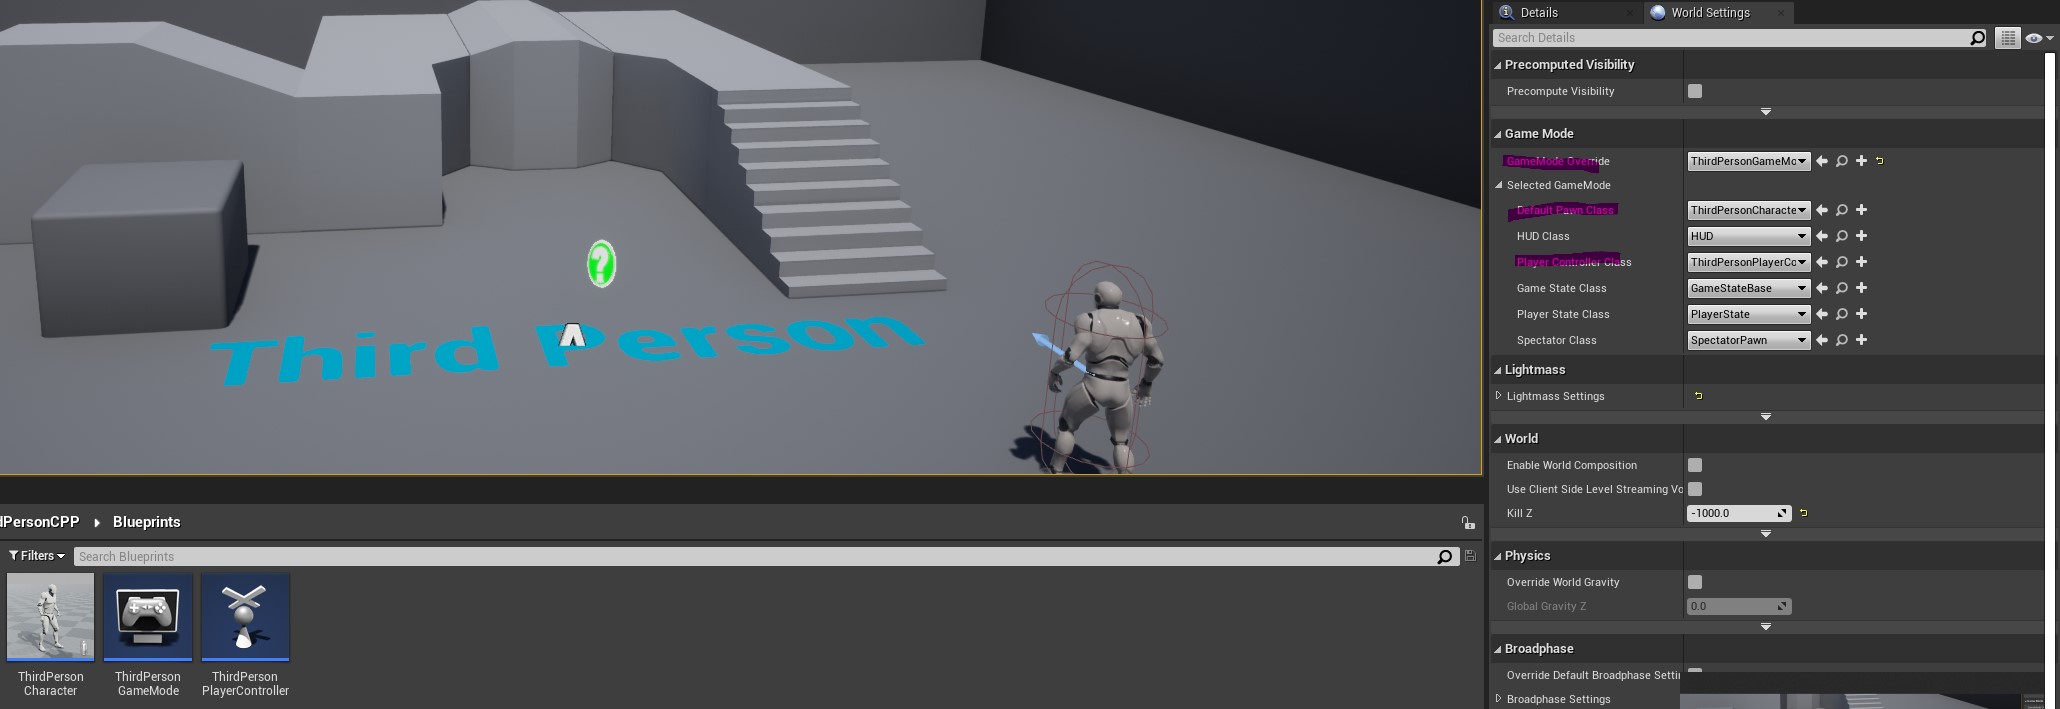
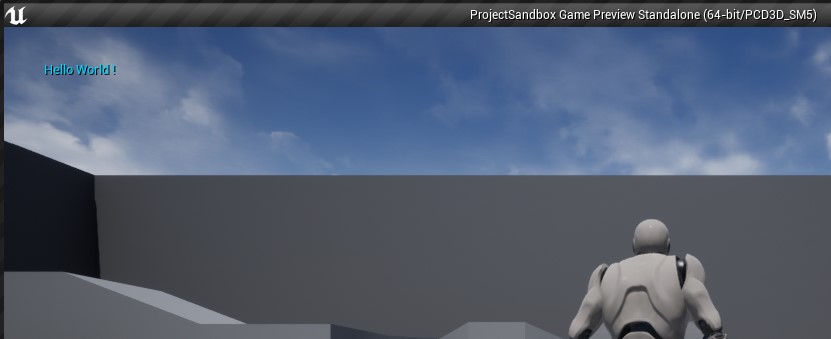
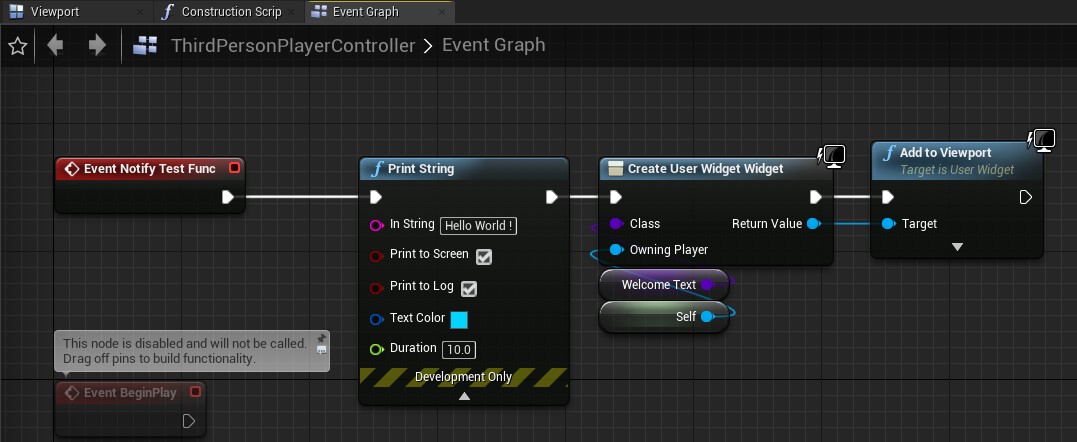
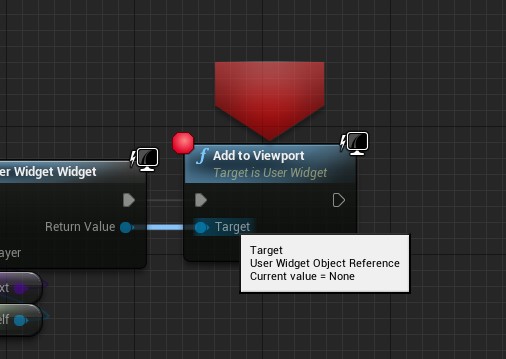
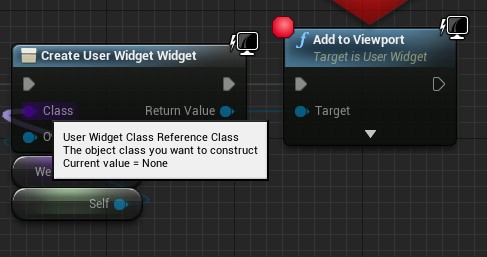
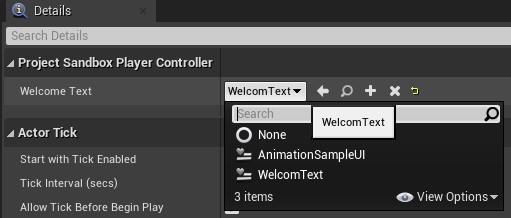
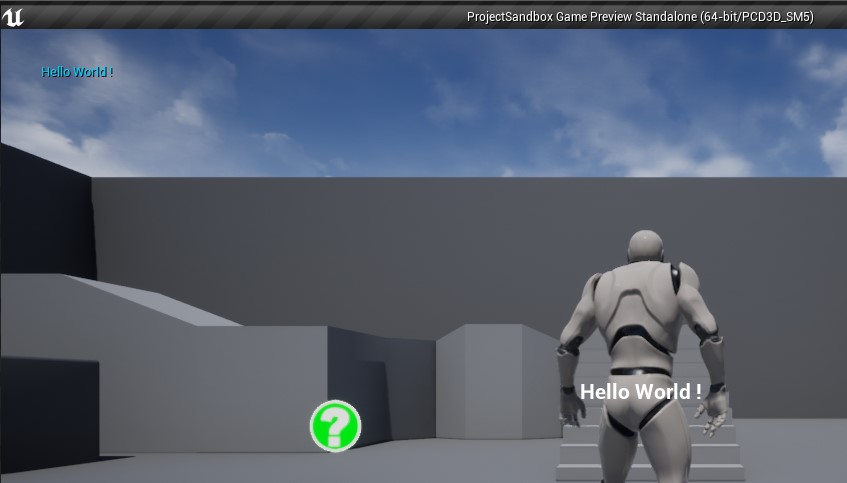
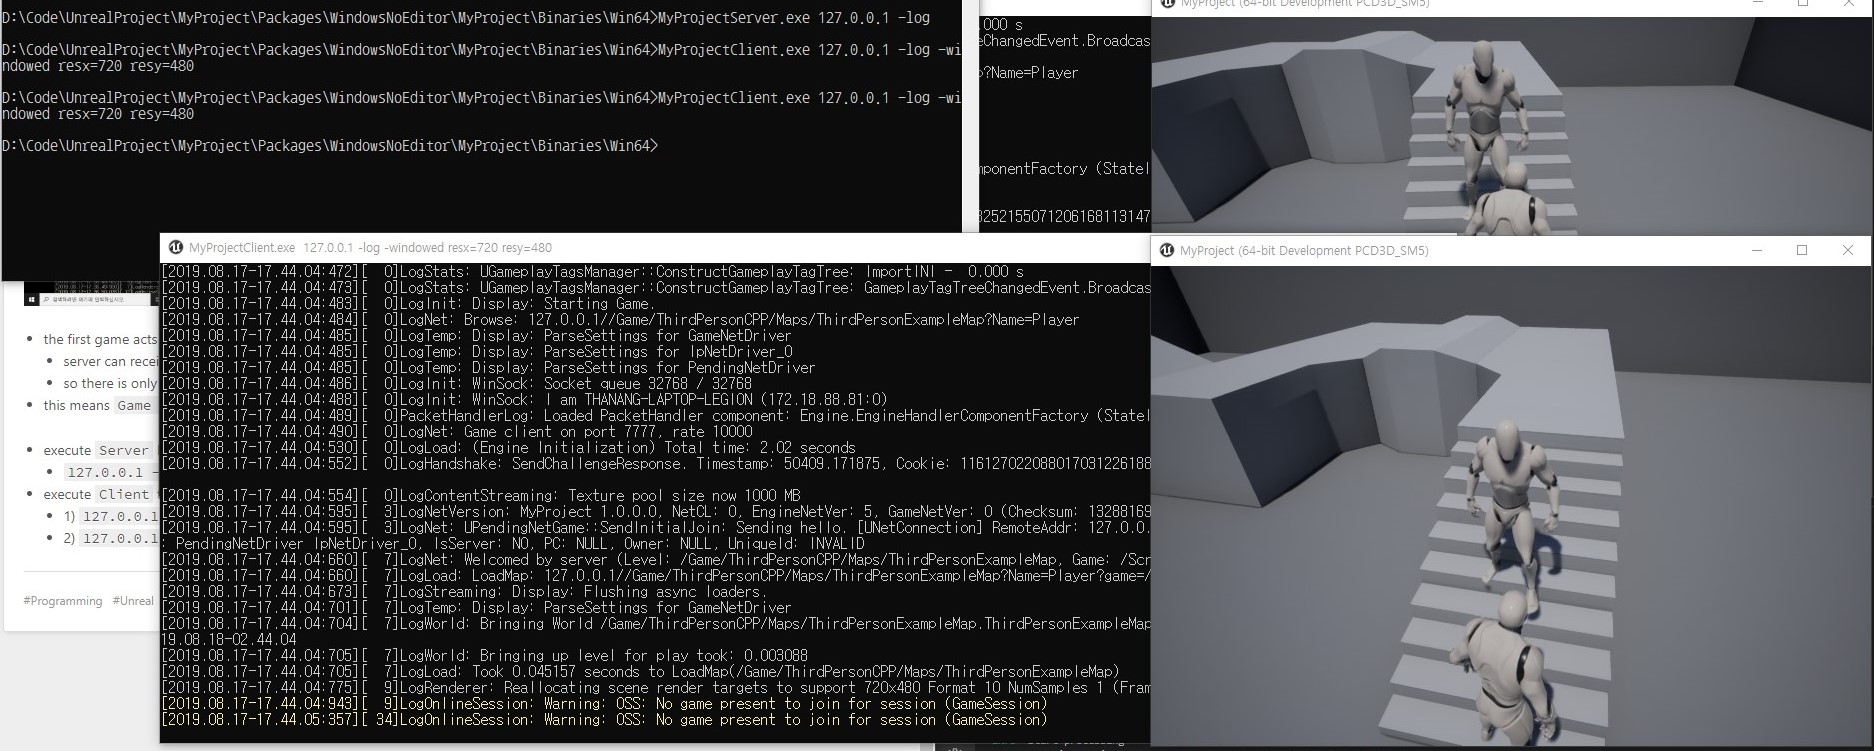
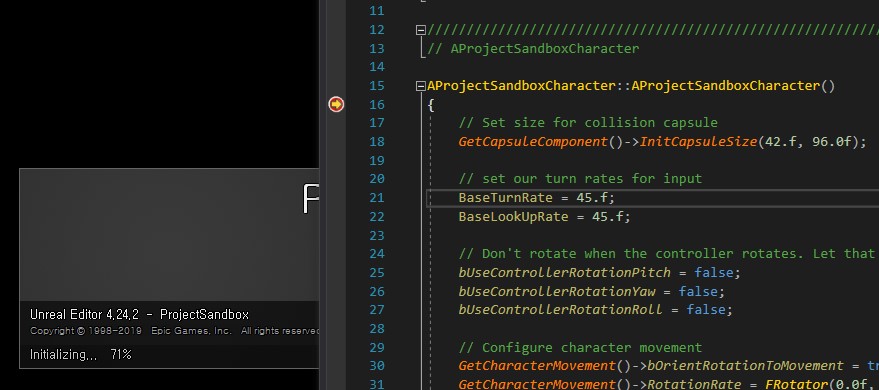
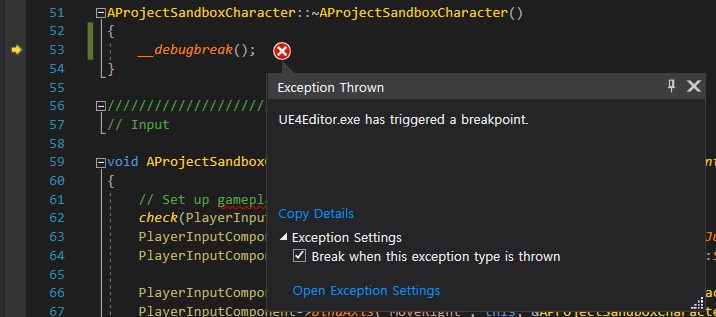
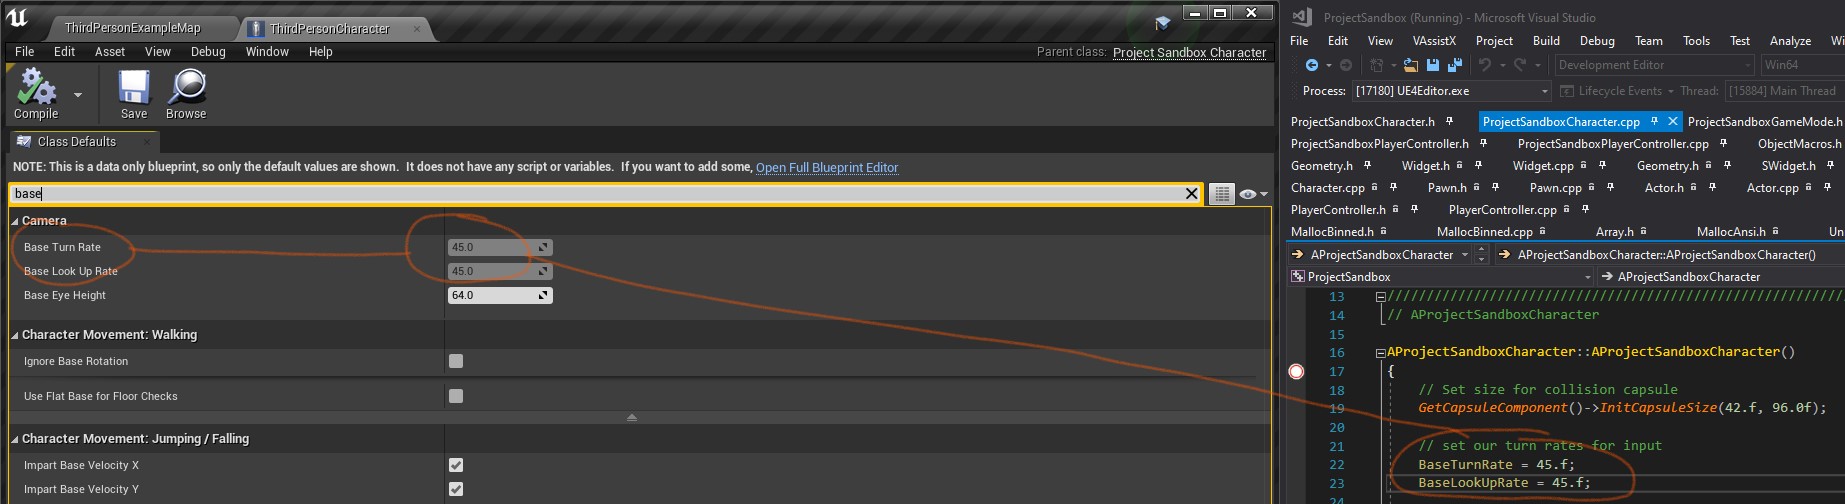
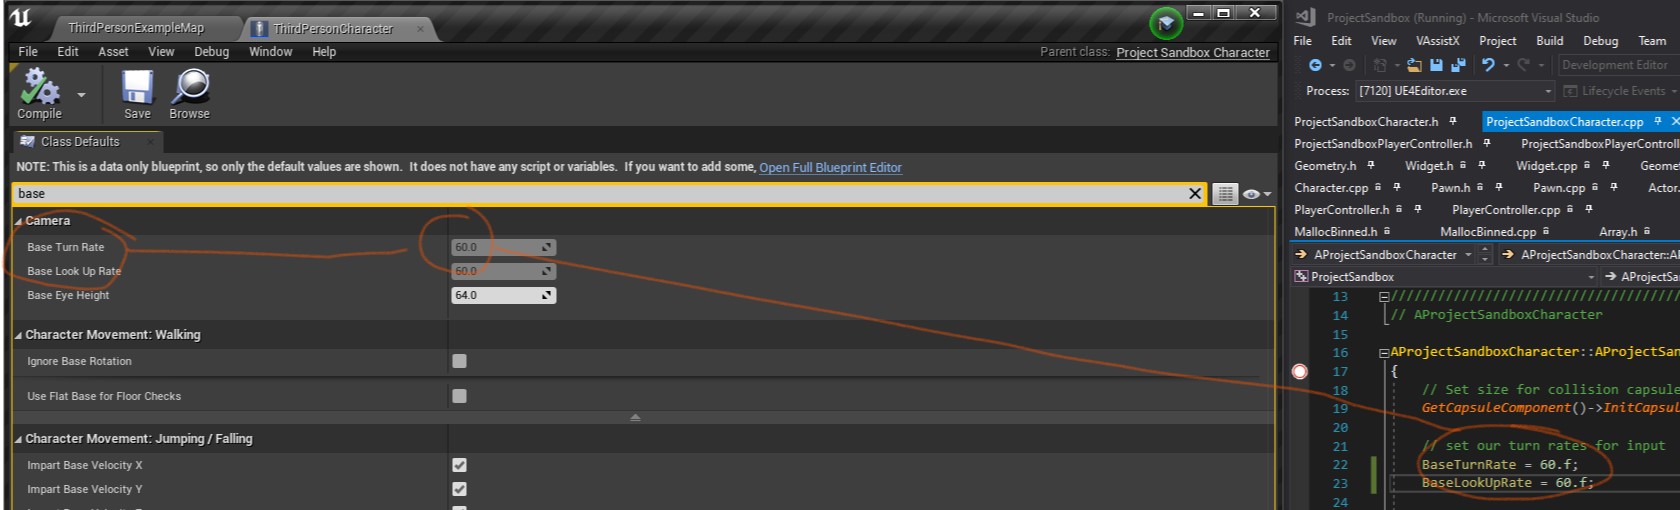
- practical and useful project about Unreal Engine
- hanging out with more people
- getting pretty good evaluation on peer review at work
- helping the new comer to game development industry
EOF.


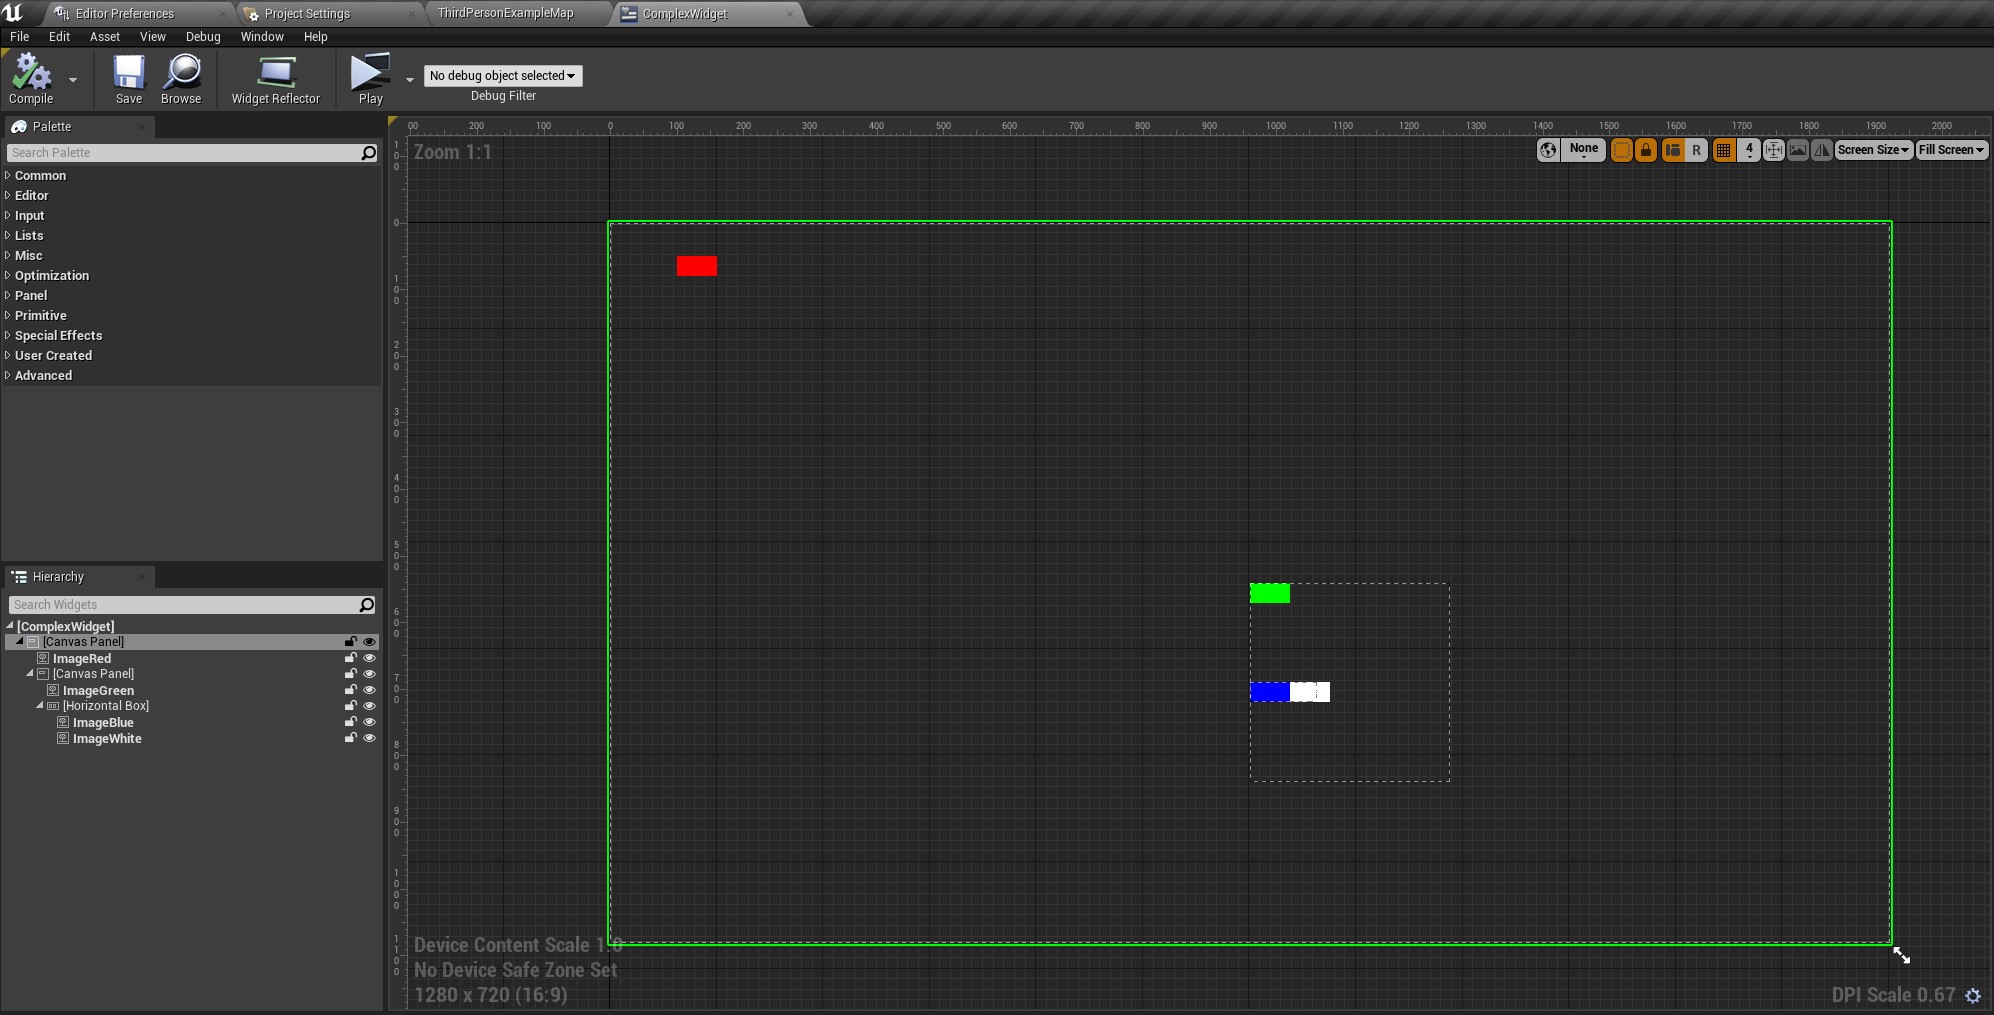


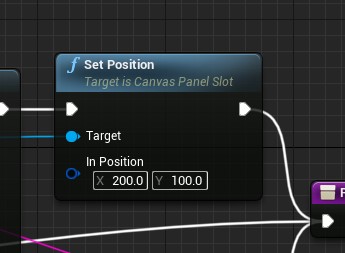
 - position
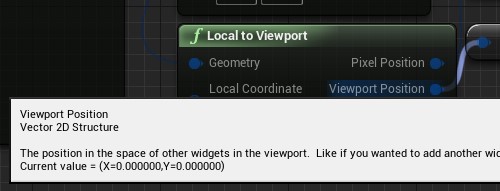 cannot calculate. also not meaningful, unless the `DPI Scale` is the same with system's one
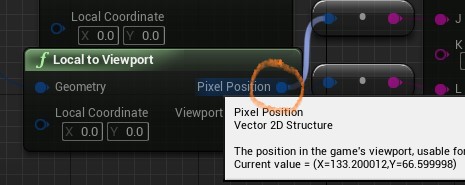
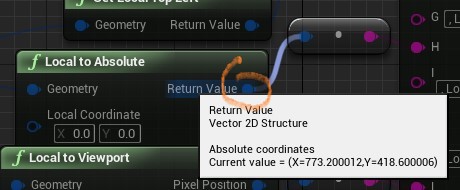
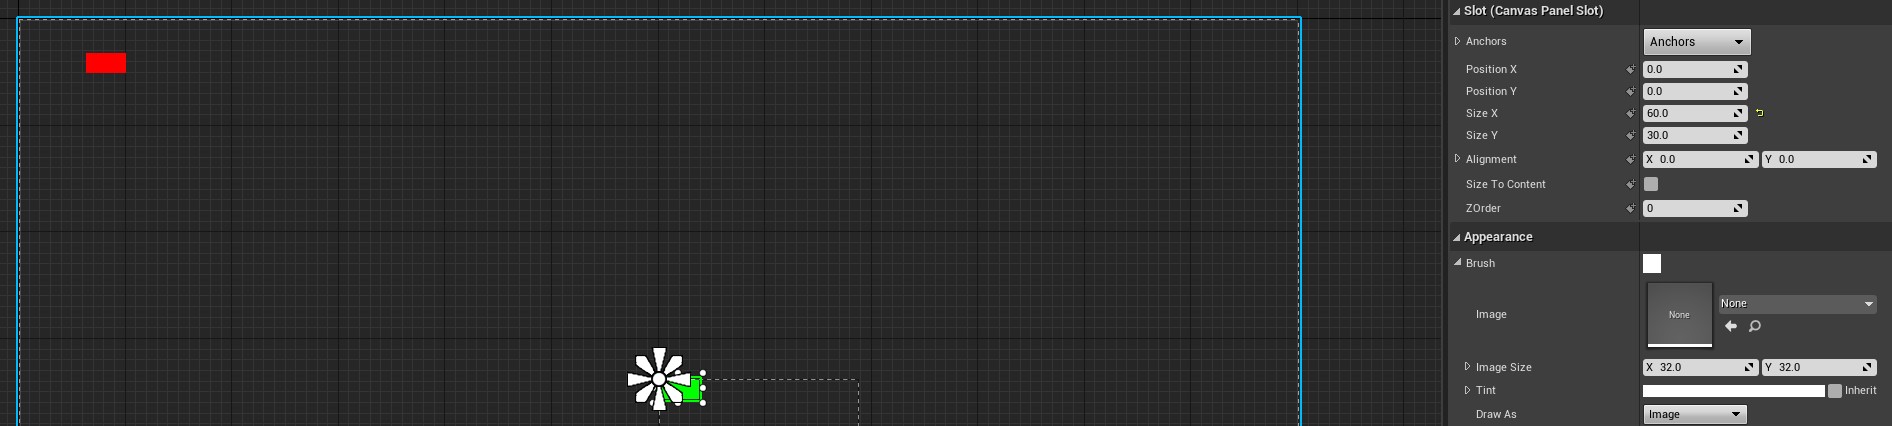
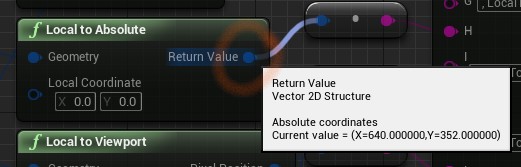
- absolute
cannot calculate. also not meaningful, unless the `DPI Scale` is the same with system's one
- absolute
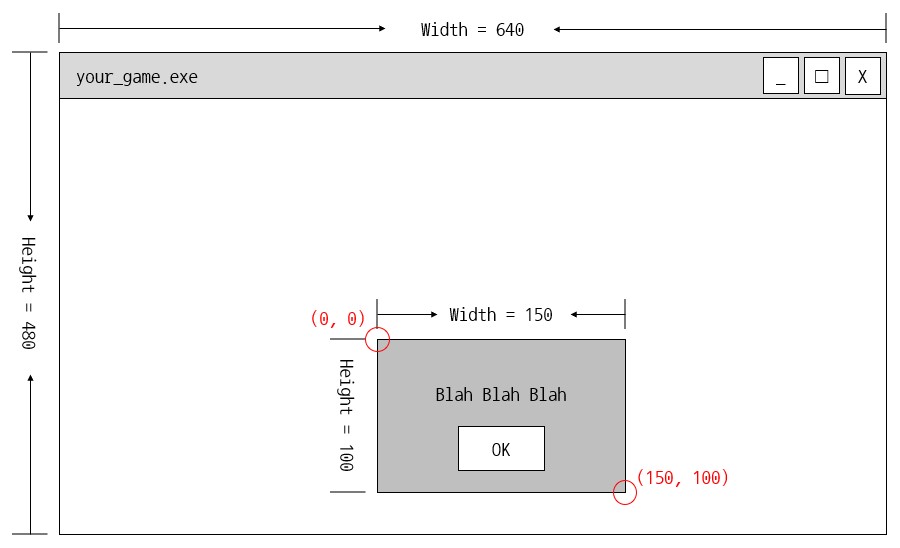
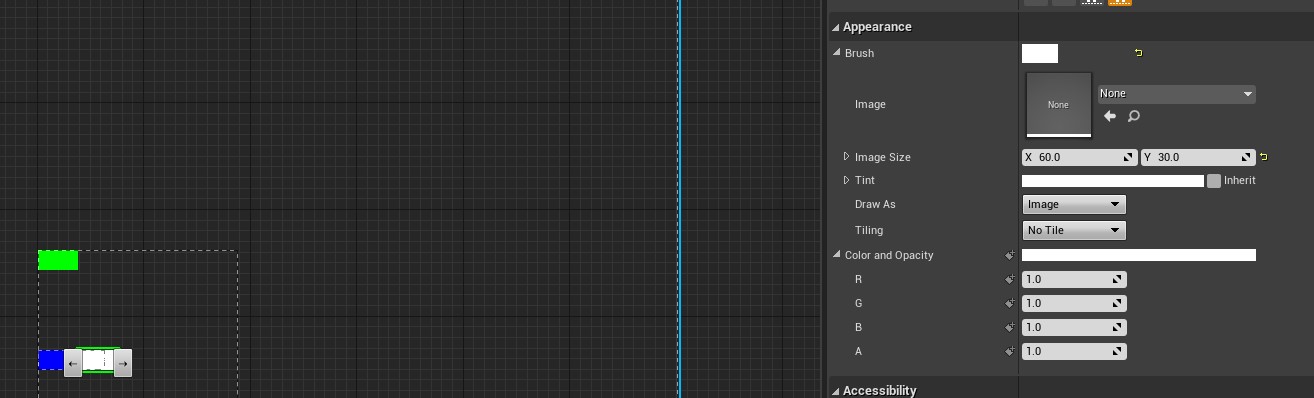
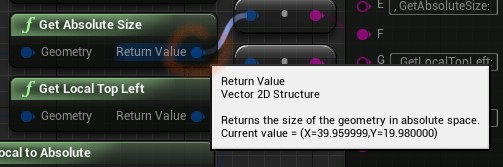
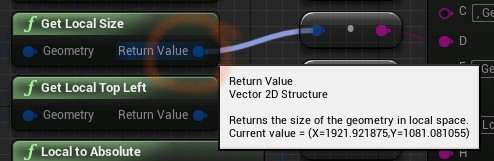
 - widget
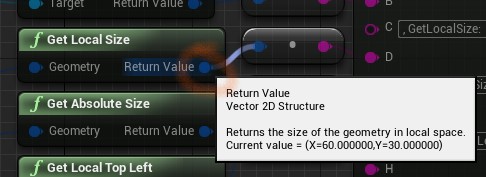
- size
the same with before
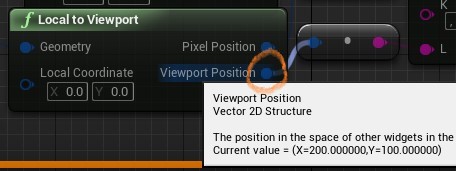
- position
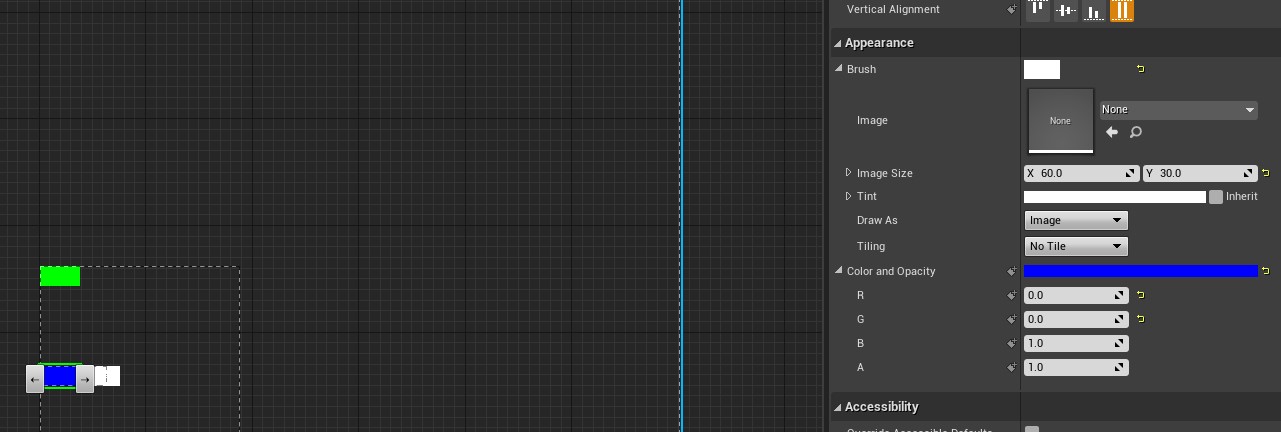
- local
cannot calculate. also not meaningful, unless the `DPI Scale` is the same with system's one
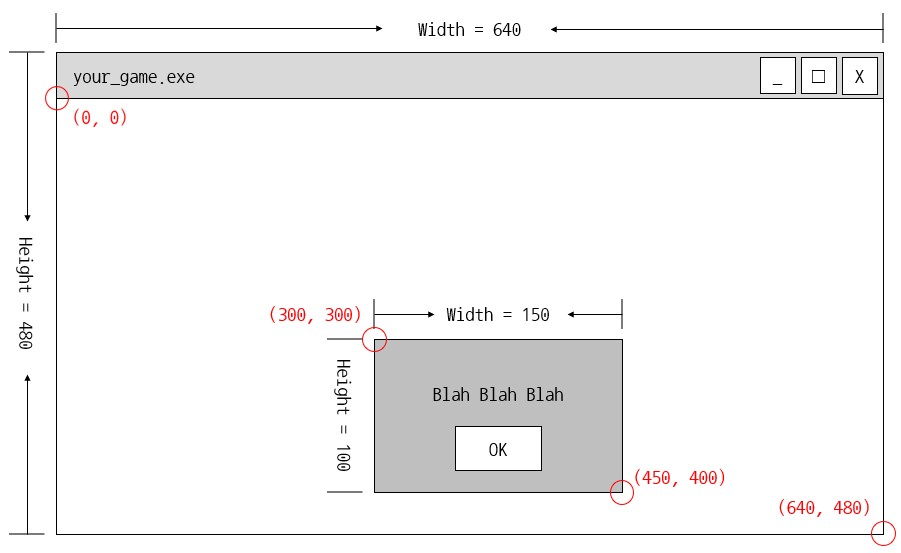
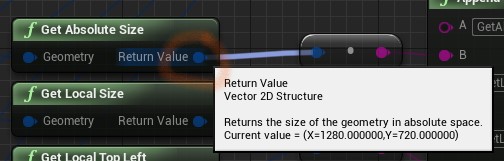
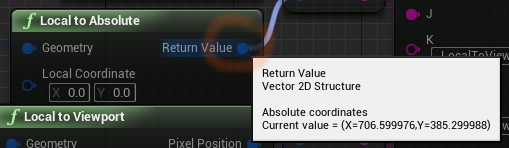
- absolute
- widget
    - size
the same with before
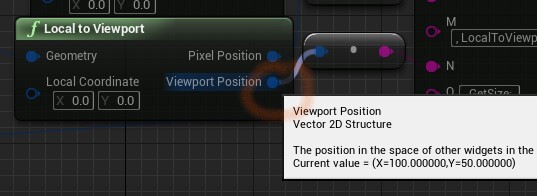
- position
- local
cannot calculate. also not meaningful, unless the `DPI Scale` is the same with system's one
- absolute
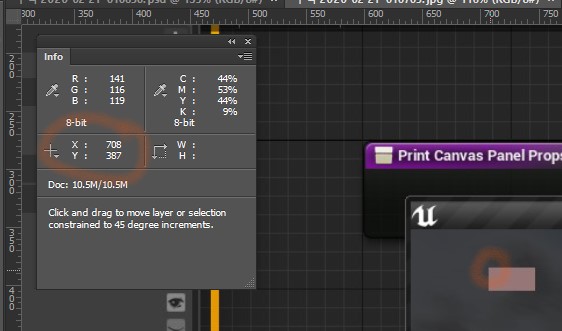
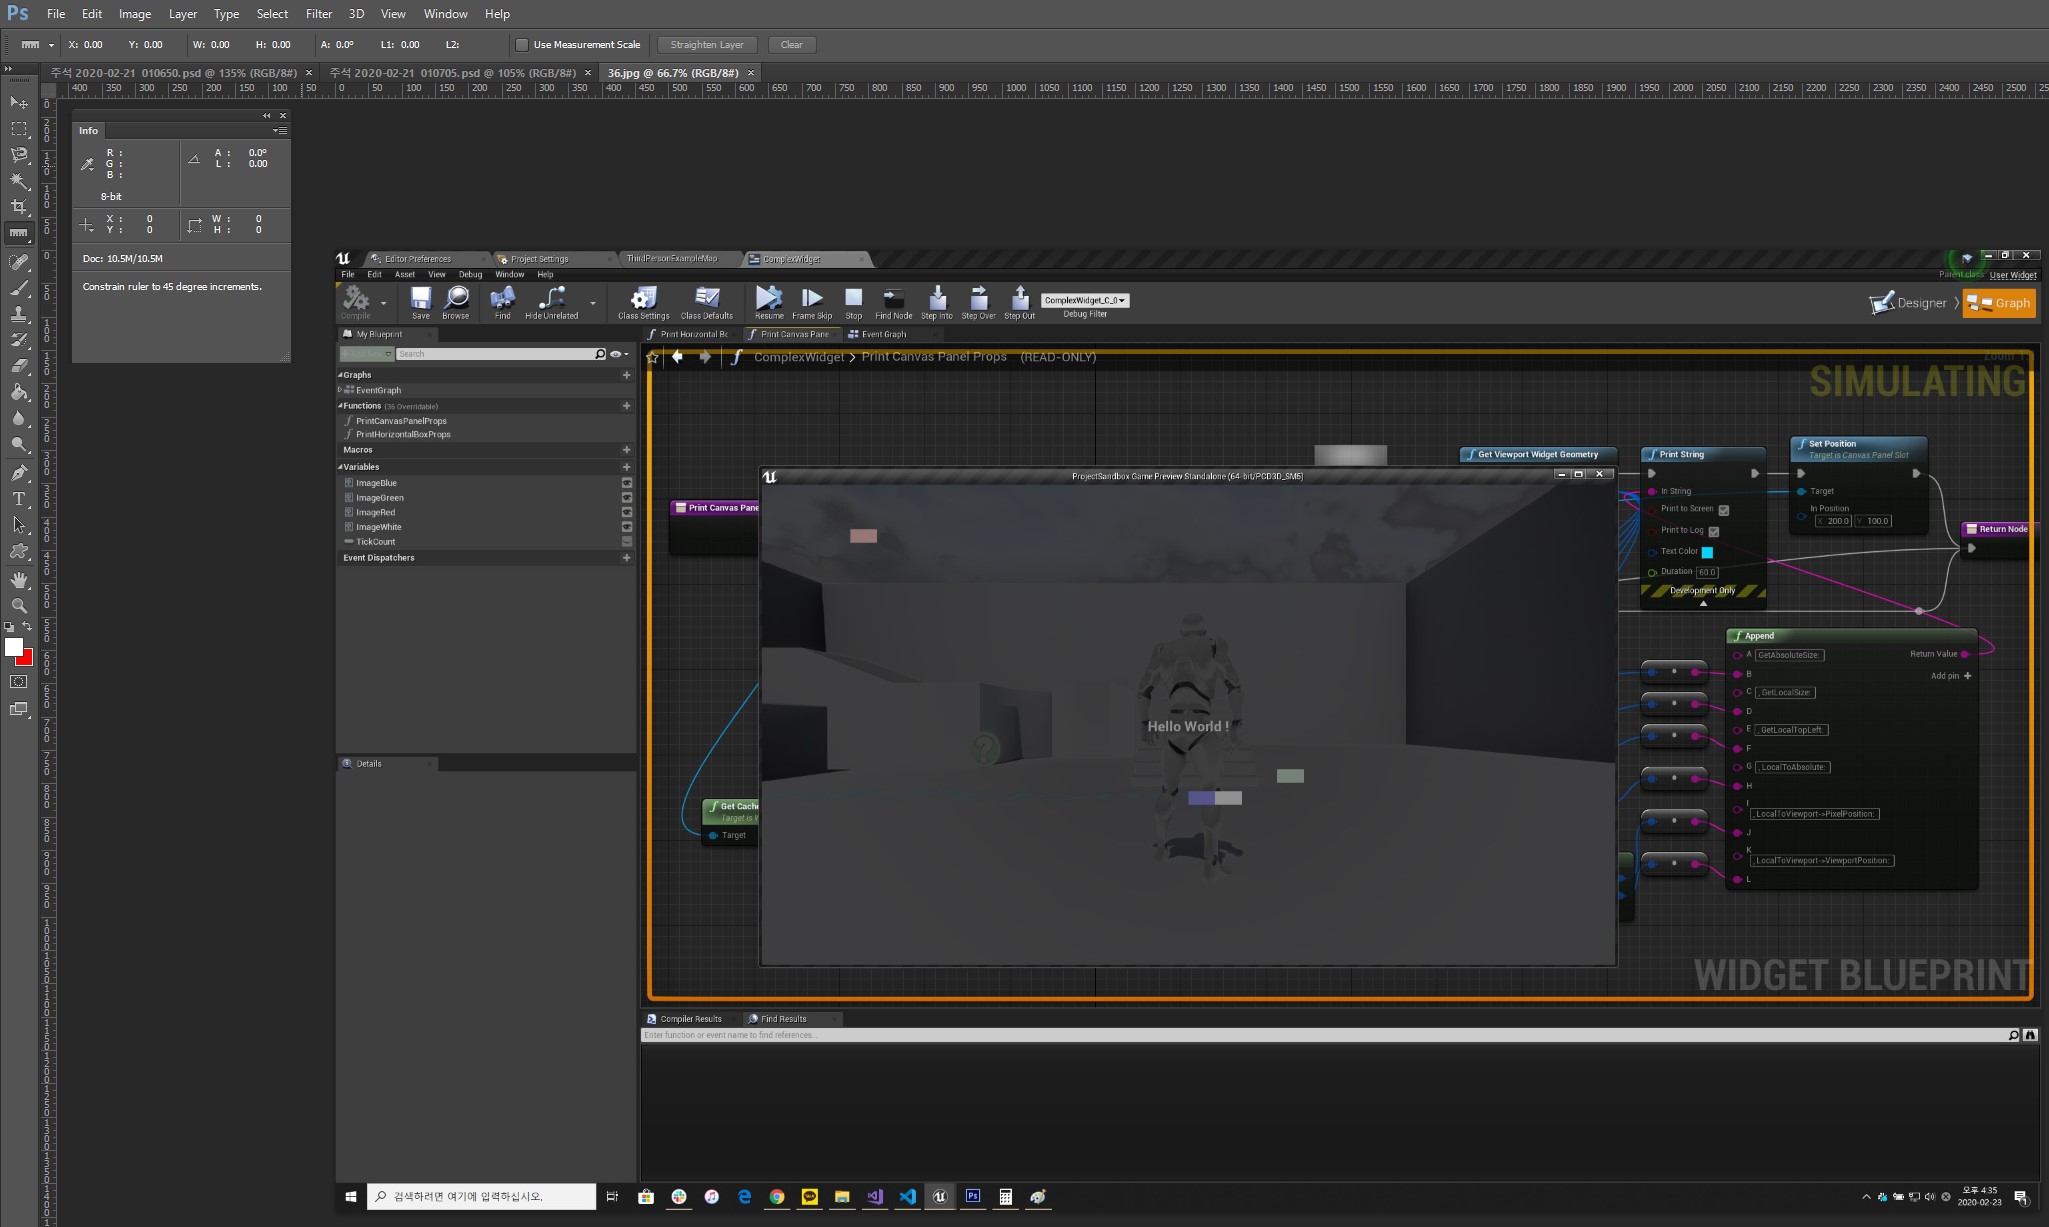
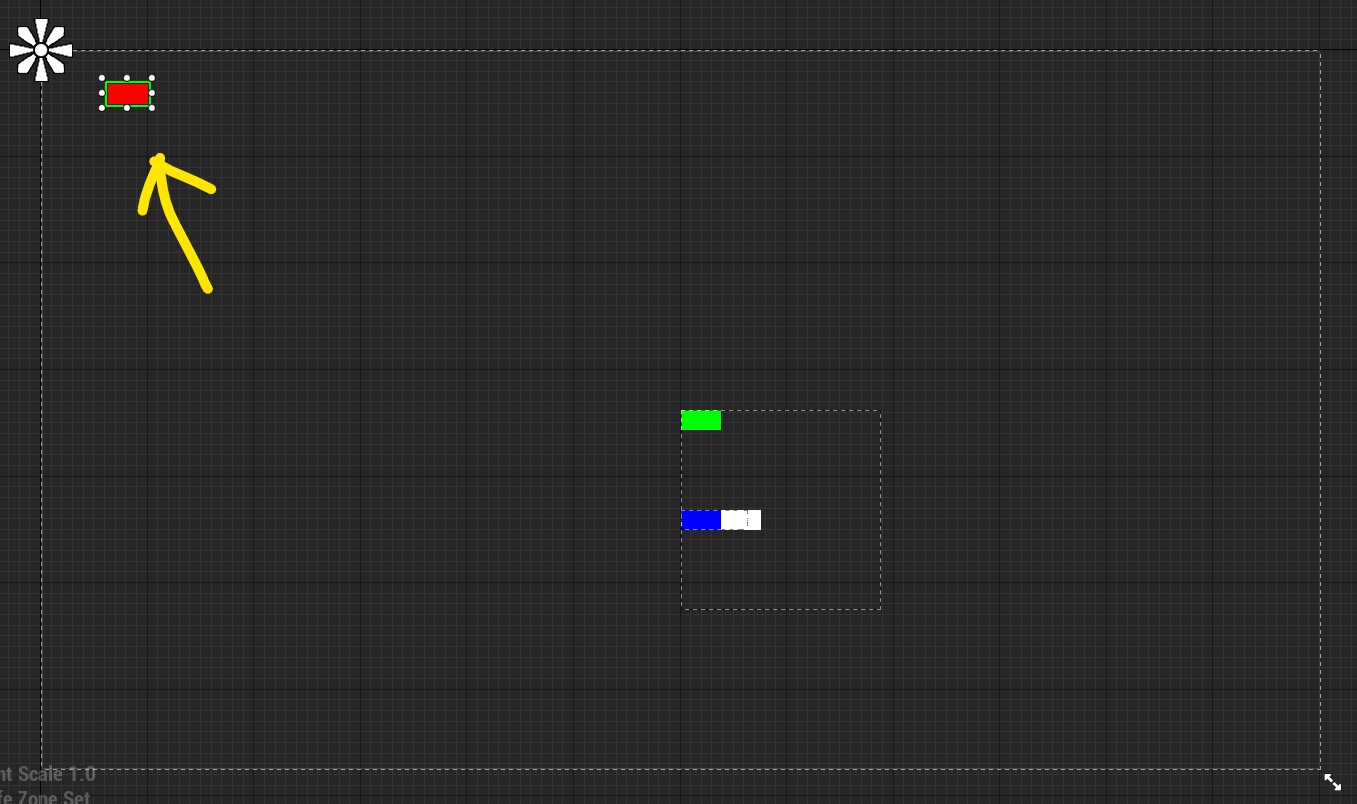
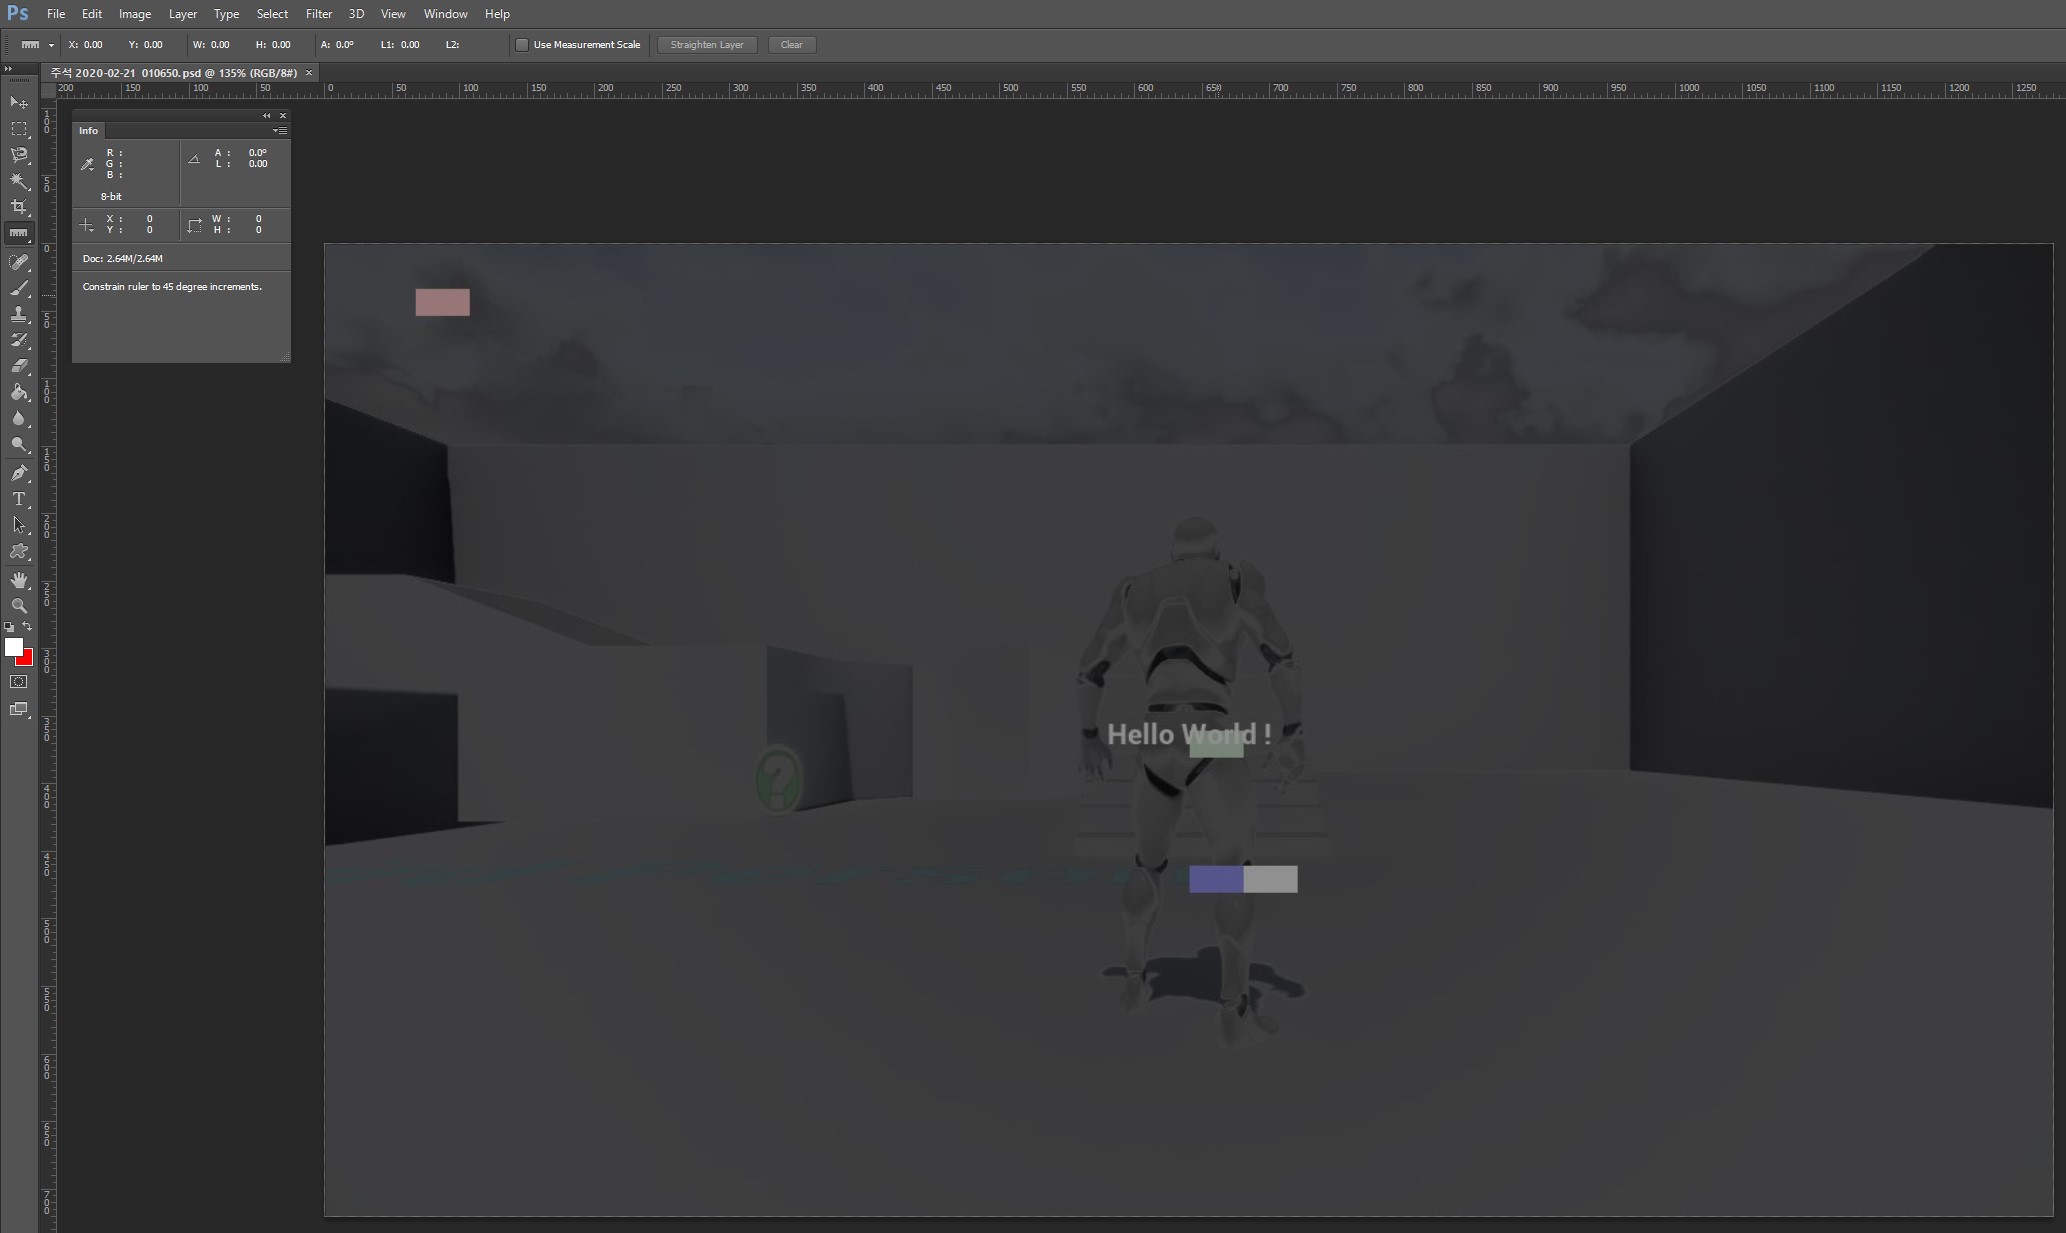
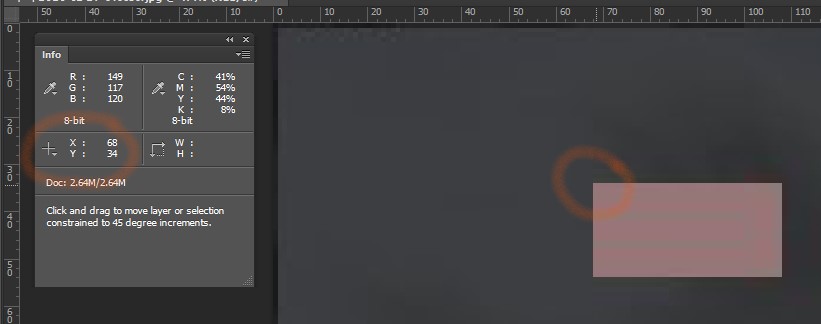
 - verification (with Adobe Photoshop)
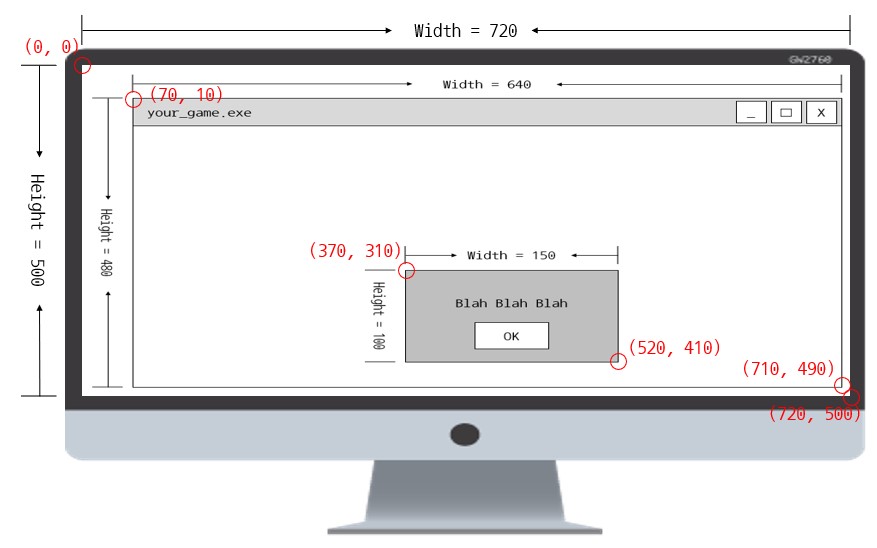
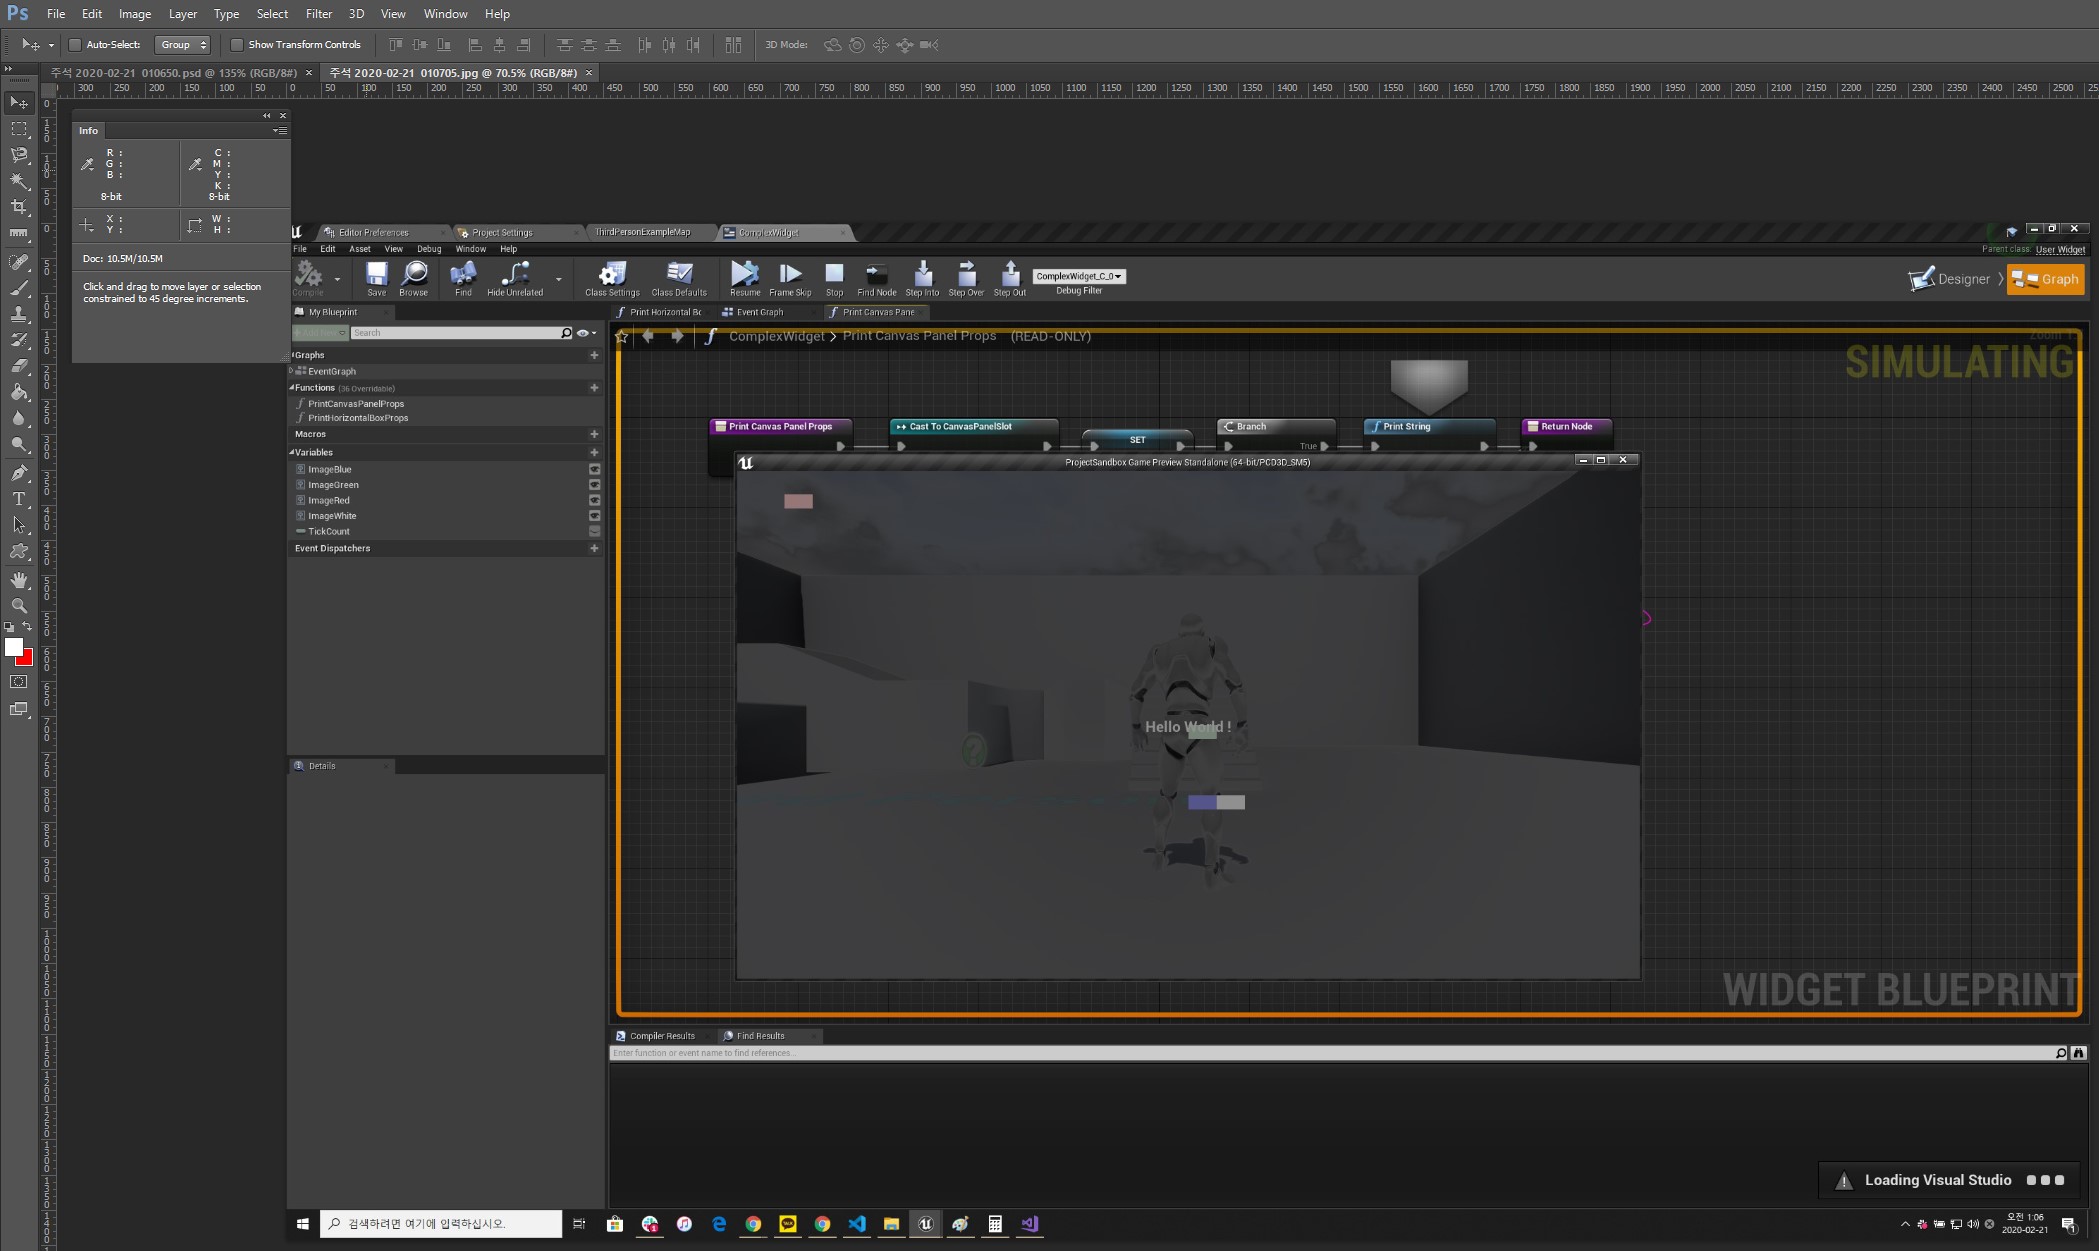 - window
- size
- window
- size
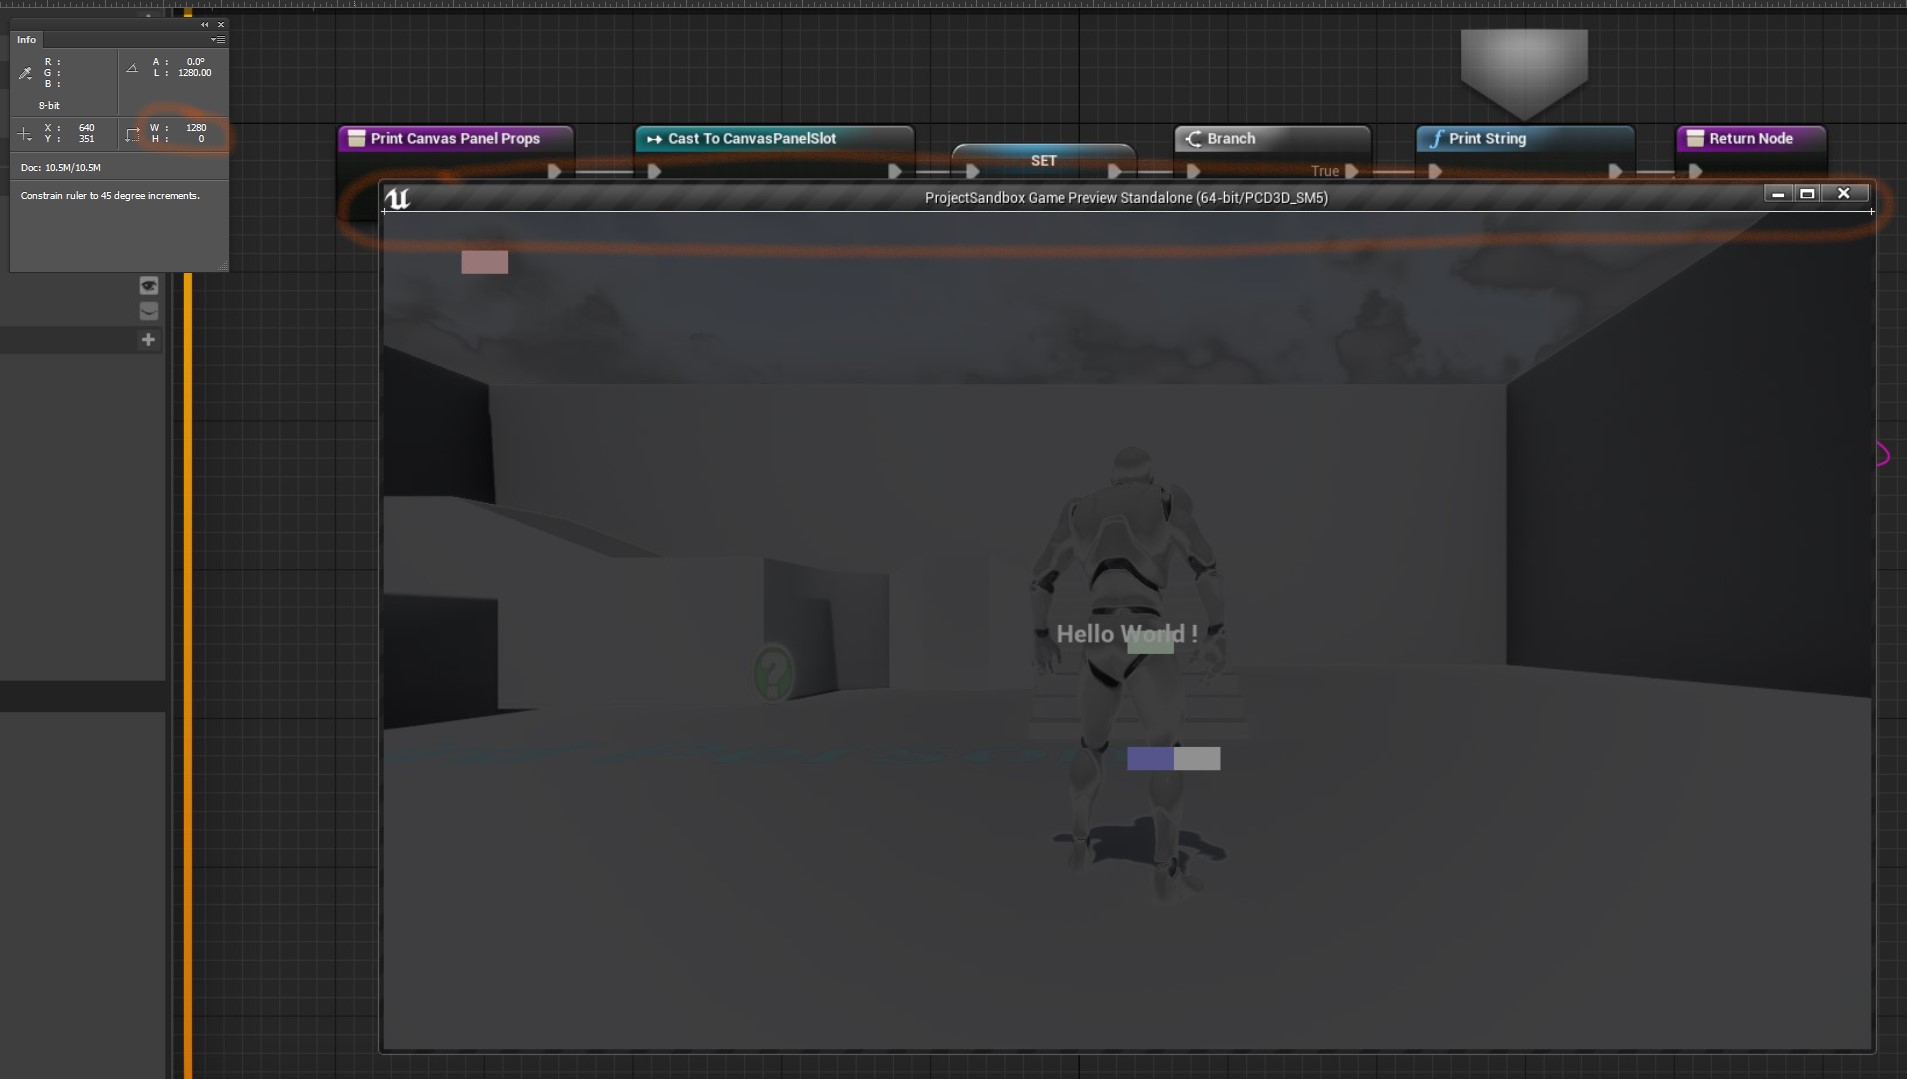
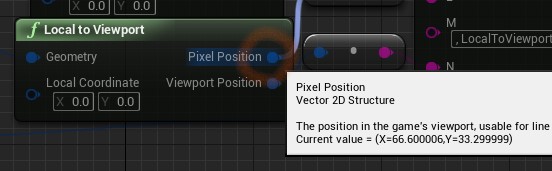
 - position
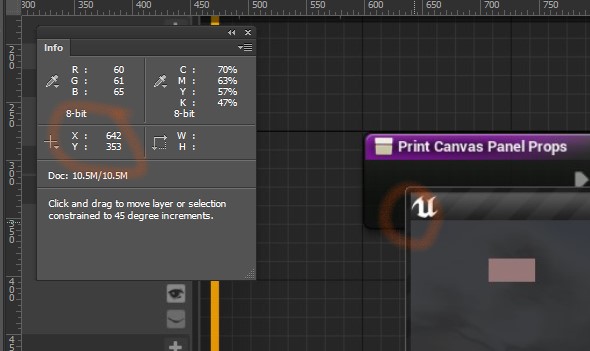 - widget
- size
the same with before
- position
- widget
- size
the same with before
- position