| Environment | |
|---|---|
| UnrealEngine | branch: 5.0 |
| Visual Studio 2022 | version: 17.2.6 |
| Windows 11 Pro | build: 22000.795 |
Overview
We have learned about the TextBlock in UnrealEngine at the previous post. As we saw, the TextBlock provides the function to split a long text into multiple lines. But, it was only for the text, combinations of character.
Sometimes, we want to put something that is not a character in the middle of text. For example, you may want to put an image for key icon into the text that describes character’s skill. Maybe, you want to highlight a part of the text by coloring it. Furthermore, you could want to put a “widget” in the middle of text. The widget would interact with the player’s action so that they can have better experience of the user interface.
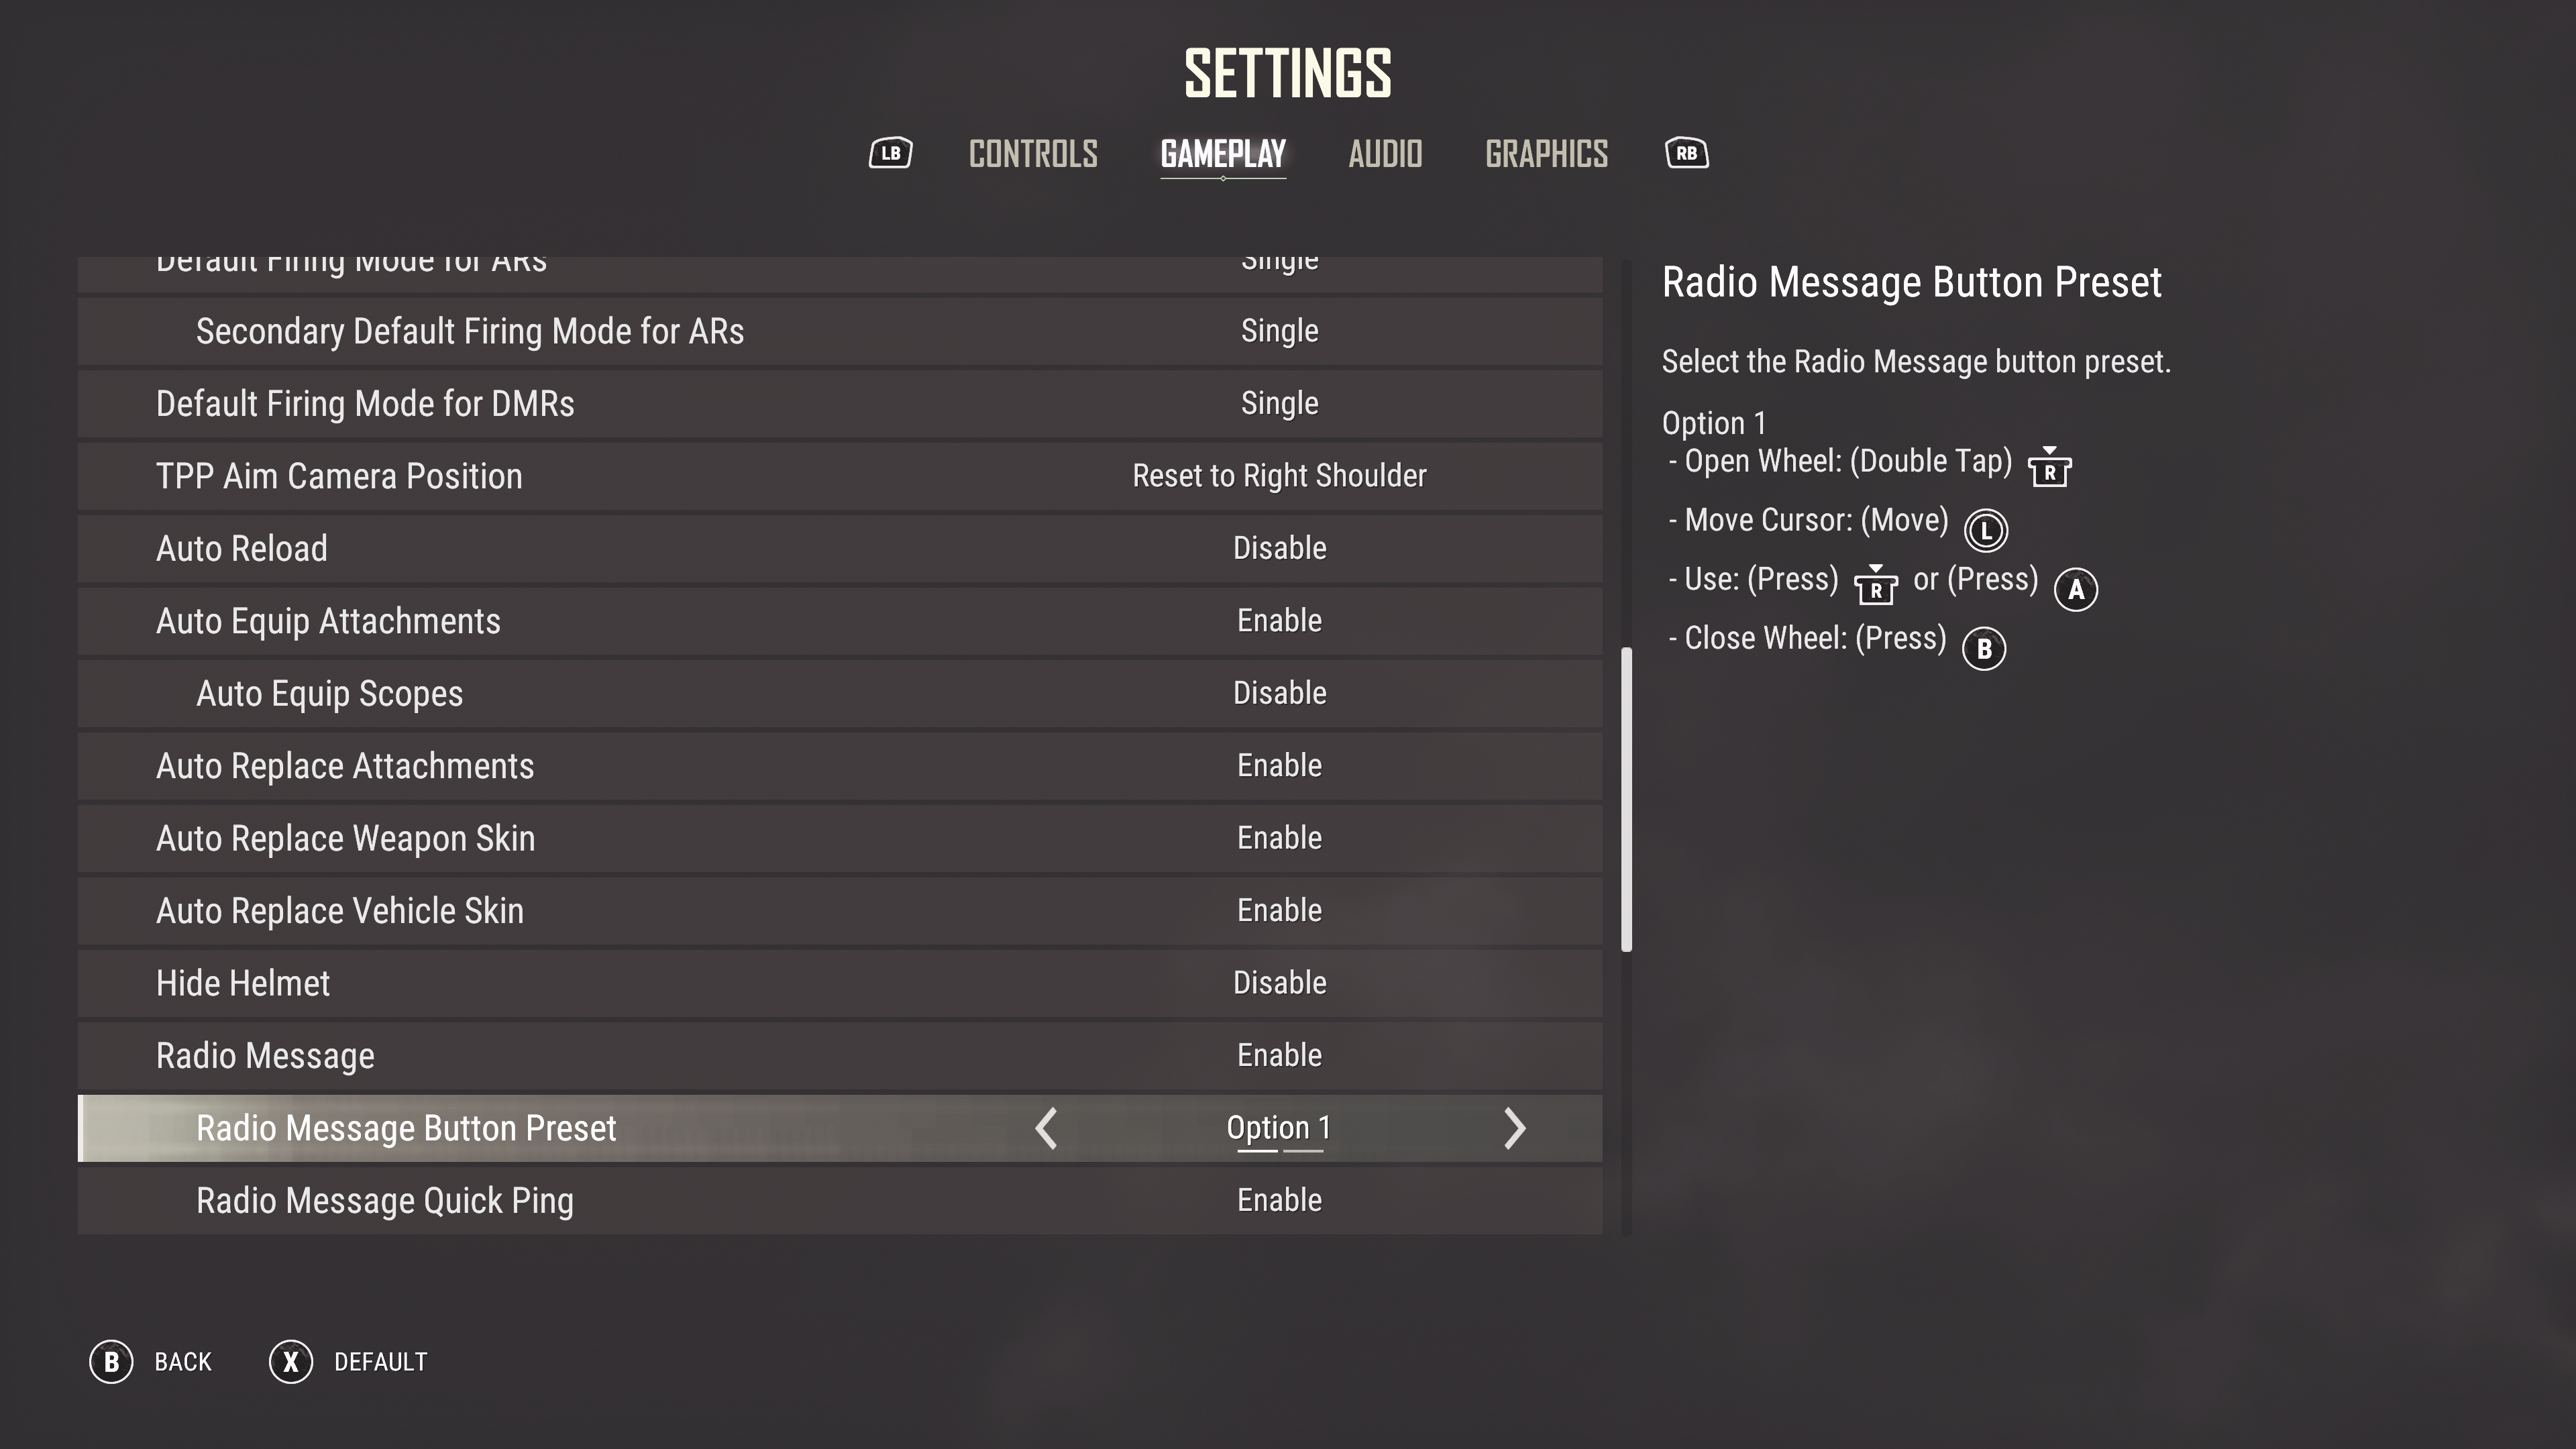
An option description in PUBG Xbox.
UnrealEngine has a solution for that, the RichTextBlock widget. You can put an image or anything else in the middle of text. Plus, it also supports auto-wrapping just like at the TextBlock. Now you know why its name is the “Rich”TextBlock. Then, let us check out how the RichTextBlock widget is implemented and how it works.
An example
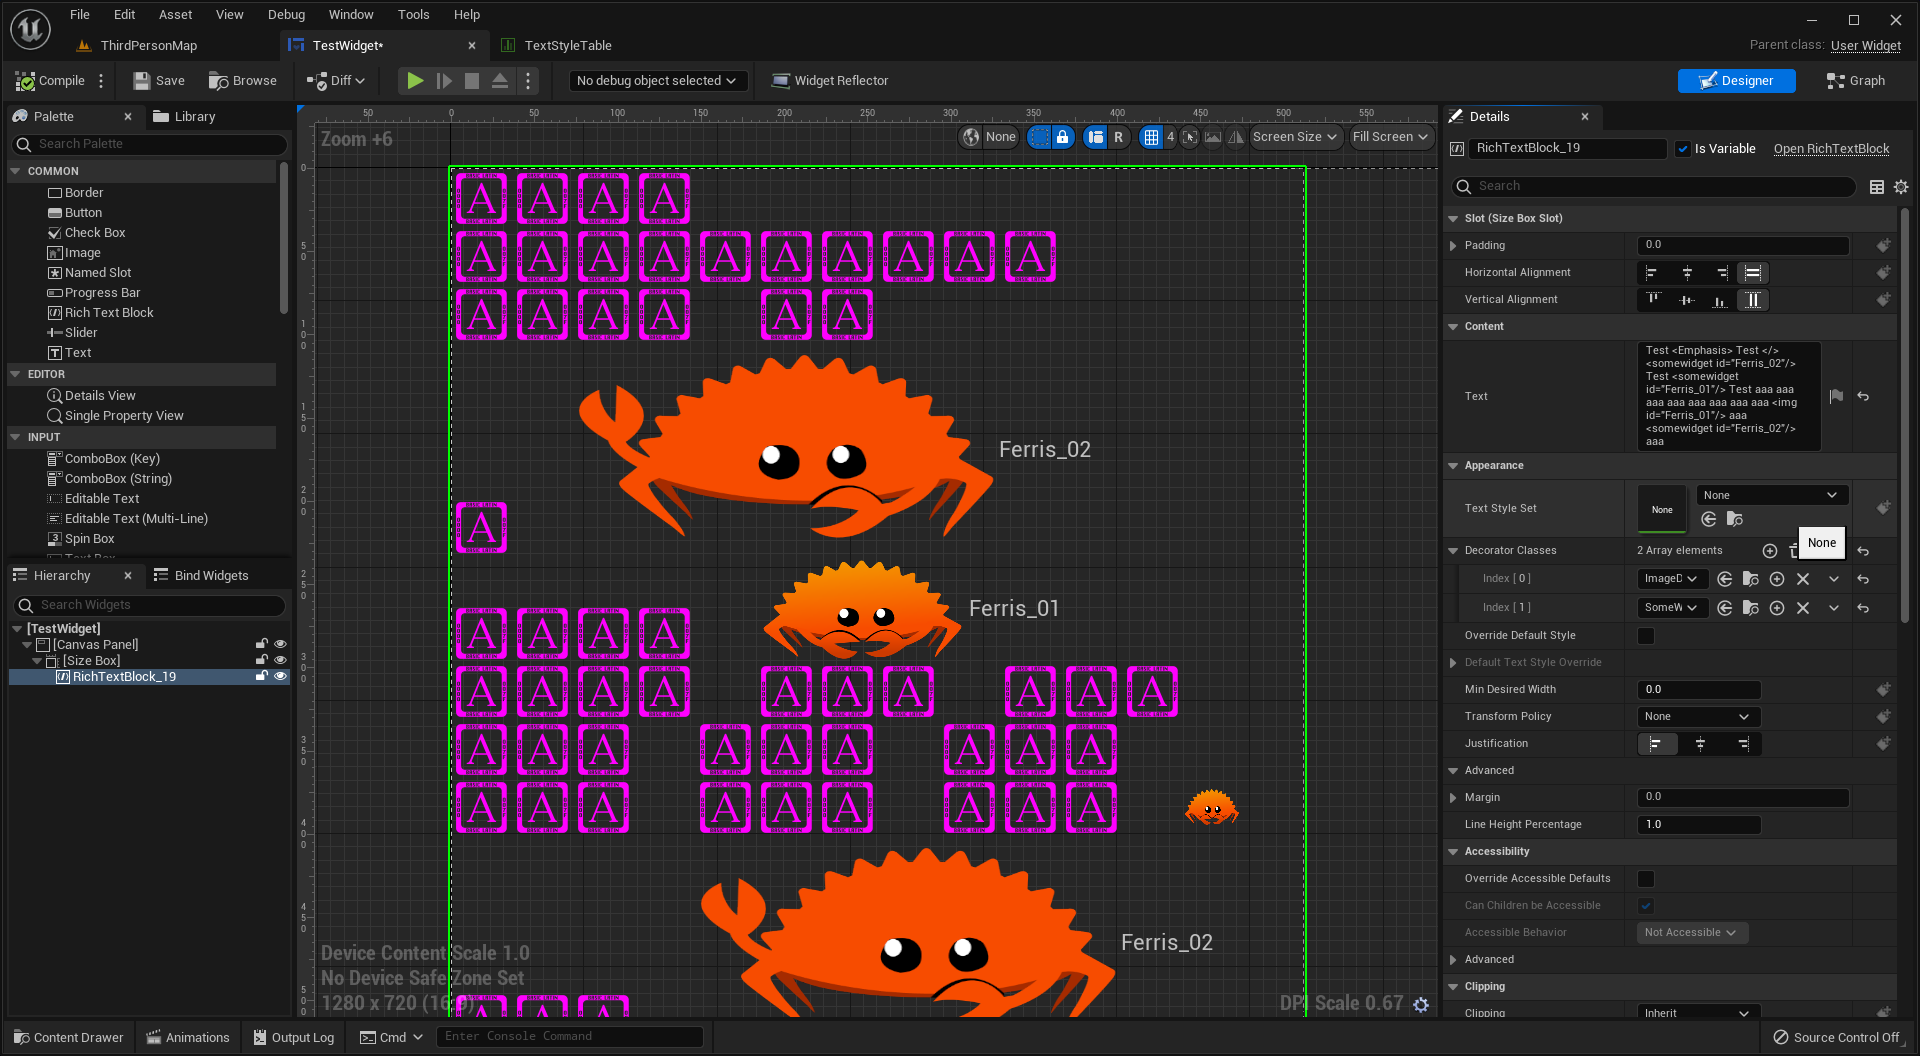
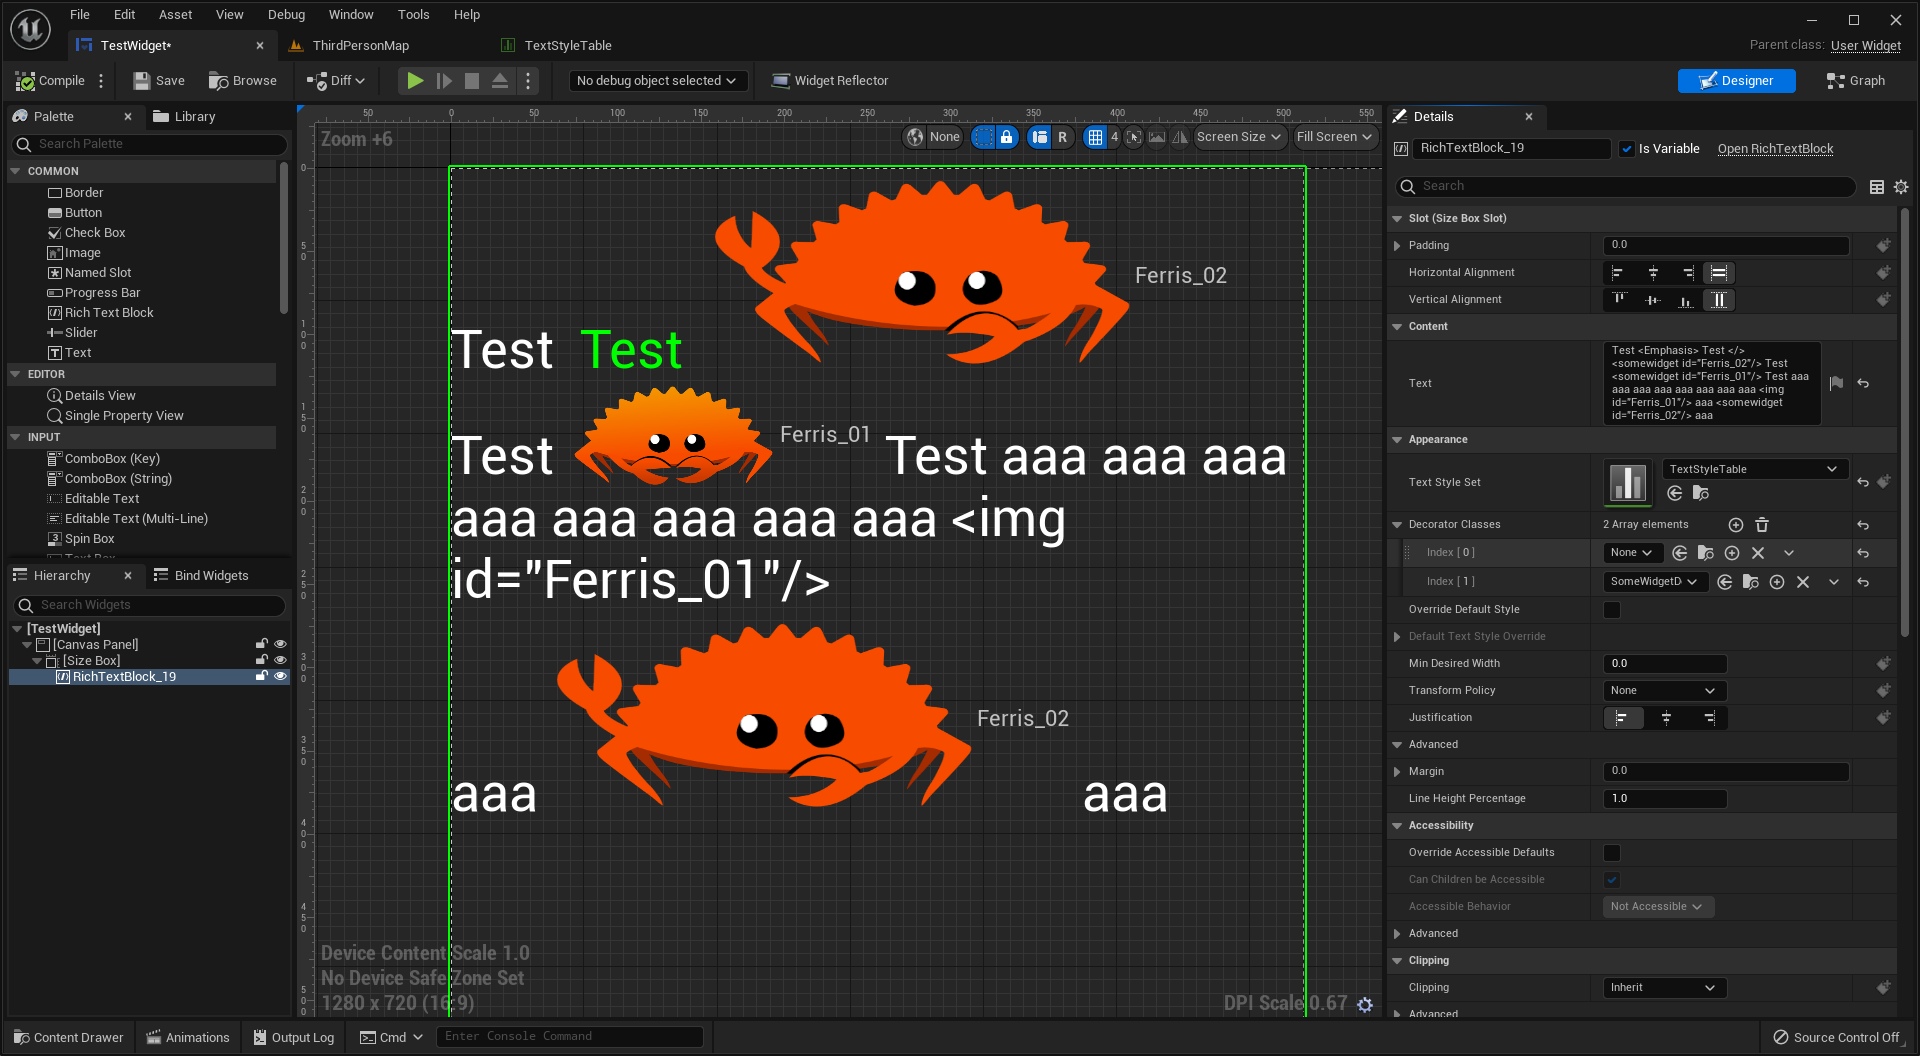
Already there is a tutorial in the document, but I will show you an another example including how to make your custom RichTextBlock decorator. Suppose you want to display the text like the screenshot below.
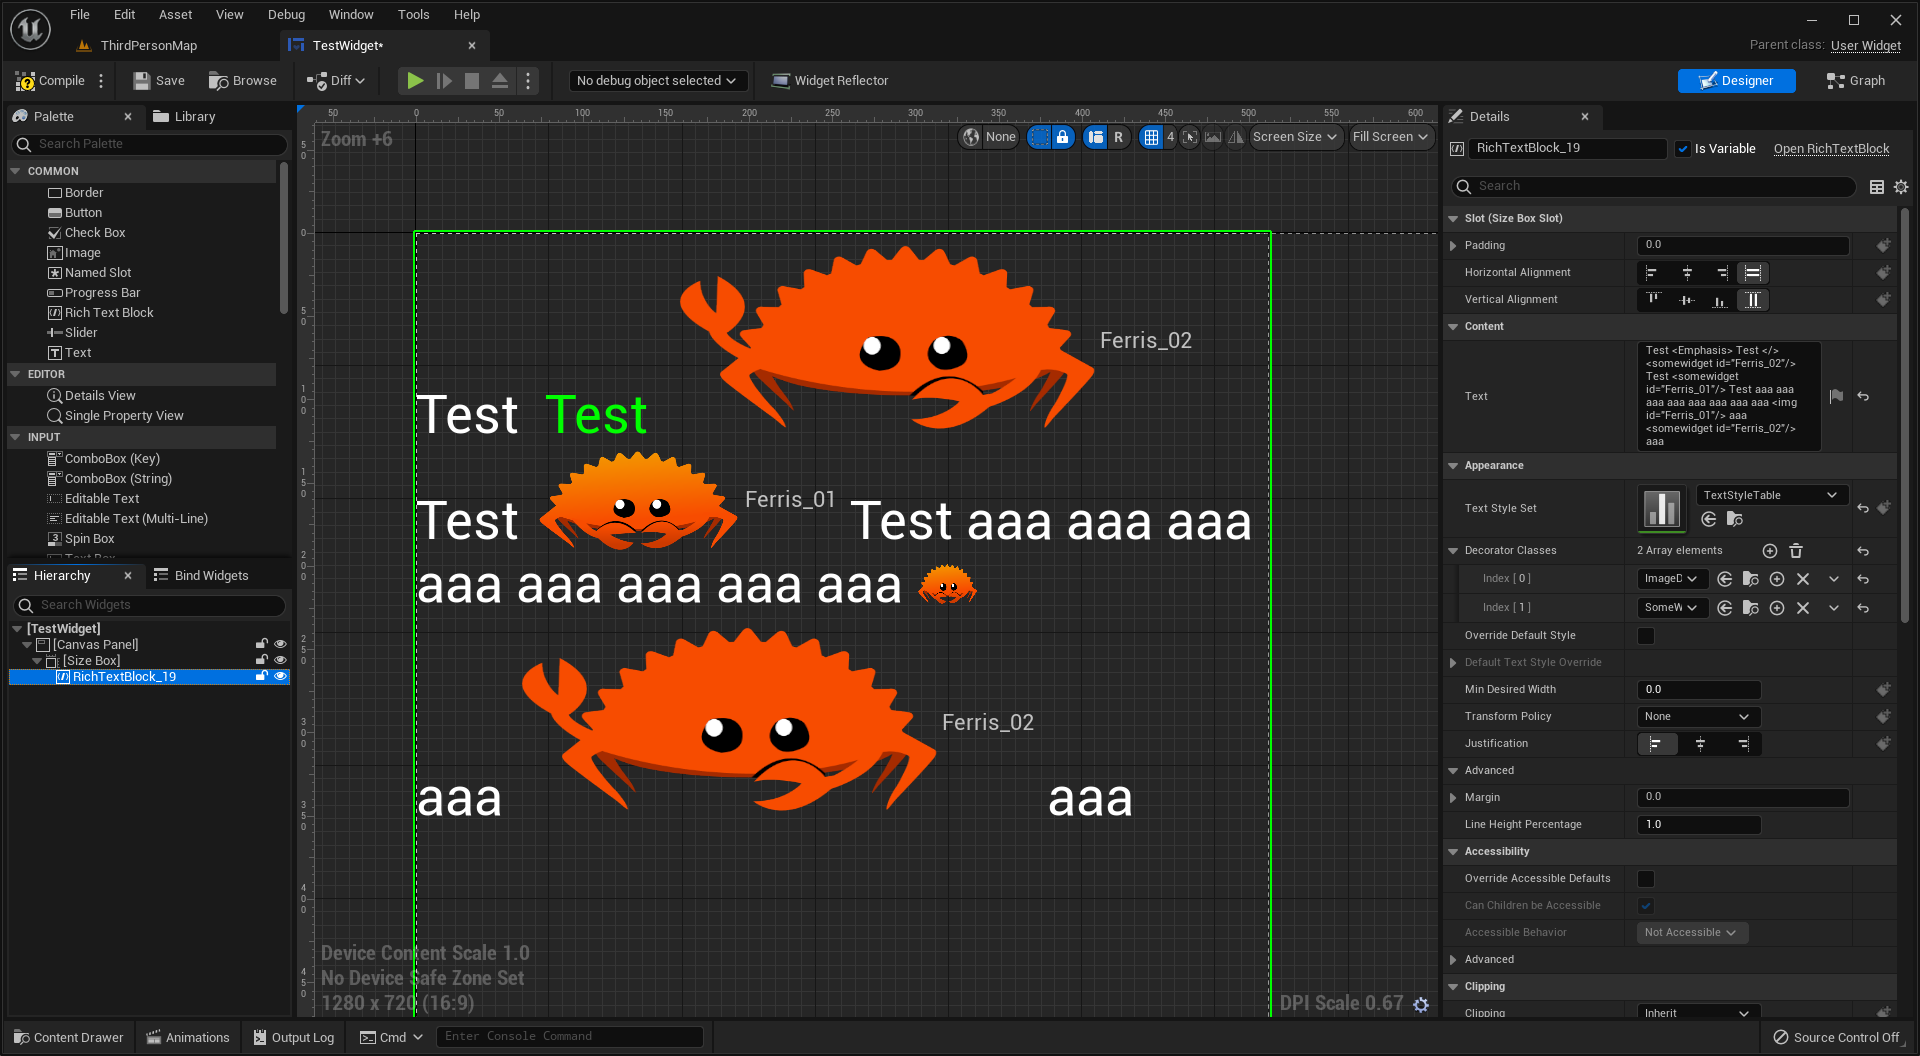
The size of SizeBox is (512, 512). The text used in RichTextBlock is here:
1 | Test <Emphasis> Test </> <somewidget id="Ferris_02"/> Test <somewidget id="Ferris_01"/> Test aaa aaa aaa aaa aaa aaa aaa aaa <img id="Ferris_01"/> aaa <somewidget id="Ferris_02"/> aaa |
As we can see, the images are put in the middle of text. The RichTextBlock parses the input text and decorates the text with your configurations. Without some configurations, the tags such as <Emphasis> and <somewidget> would be displayed as a plain text. Yes, you should do some configurations for using the RichTextBlock.
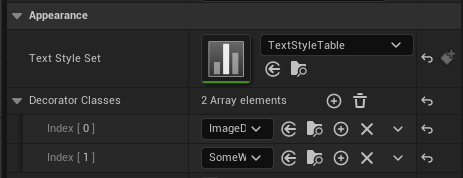
I have already set some properties, TextStyleSet and DecoratorClasses.
RichTextStyle
The TextStyleSet is used for decorating a text just like a markup. You can specify a font, size, color, and so on with it. I made two data rows in the data table, and that is why some of text was displayed with green color. Check the screenshot below.
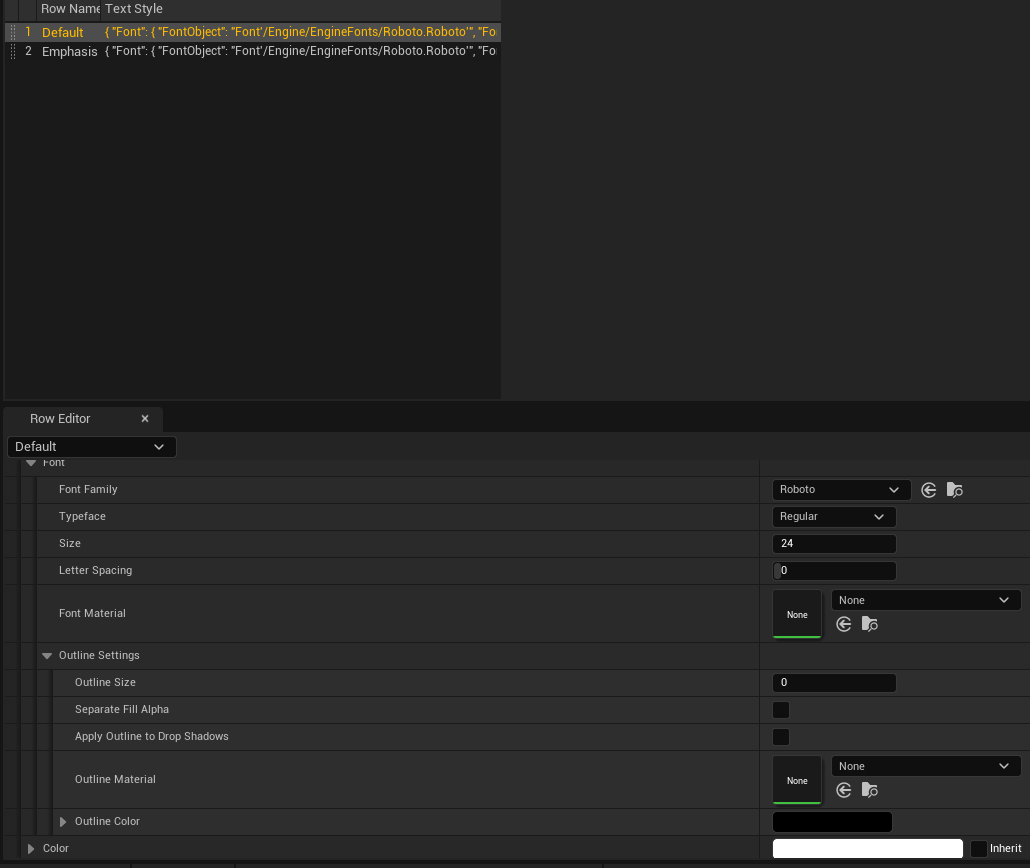
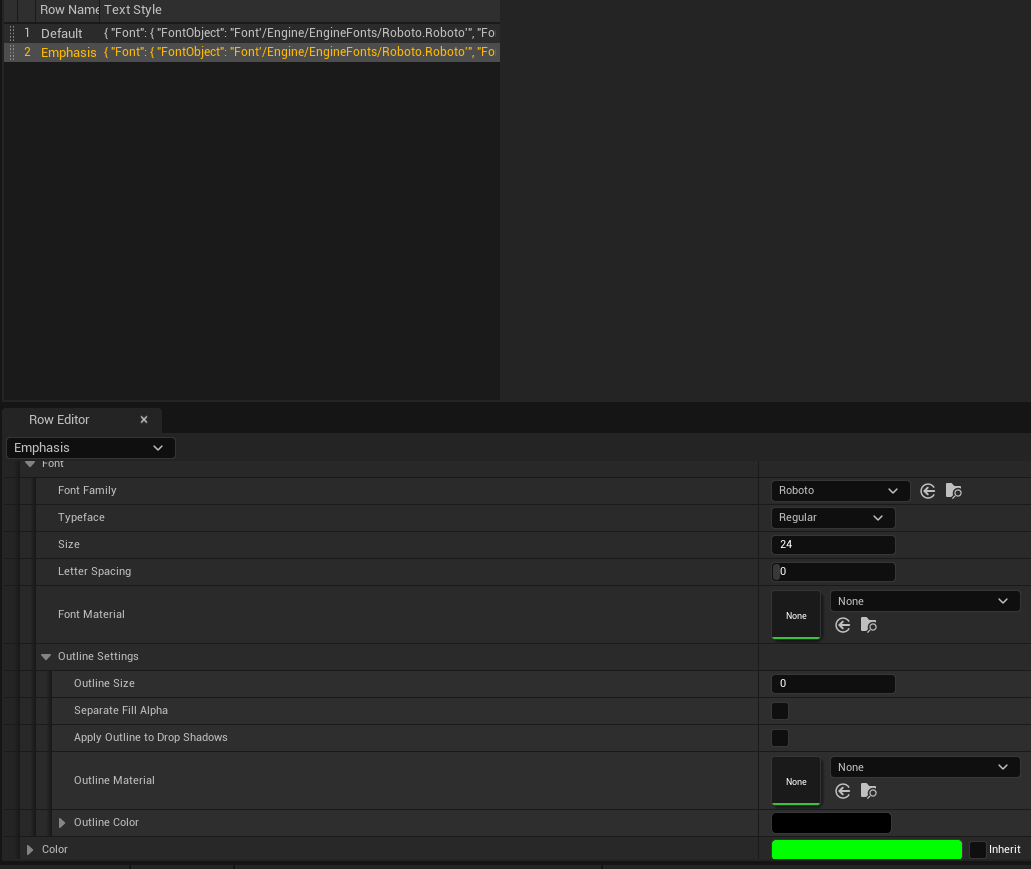
The RichTextBlock decorates rest of text if you make a Default row. That is why the text not embraced with tags was displayed with white color.
Without the TextStyleSet, the RichTextBlock cannot display the text properly. You can make a data table containing RichTextStyleRow with the instructions.
1 | 1. Right click on contents browser. |
Now, you can manipulate the data table. But, you should be careful that the name of data row is the same with the name of tag in the RichTextBlock.
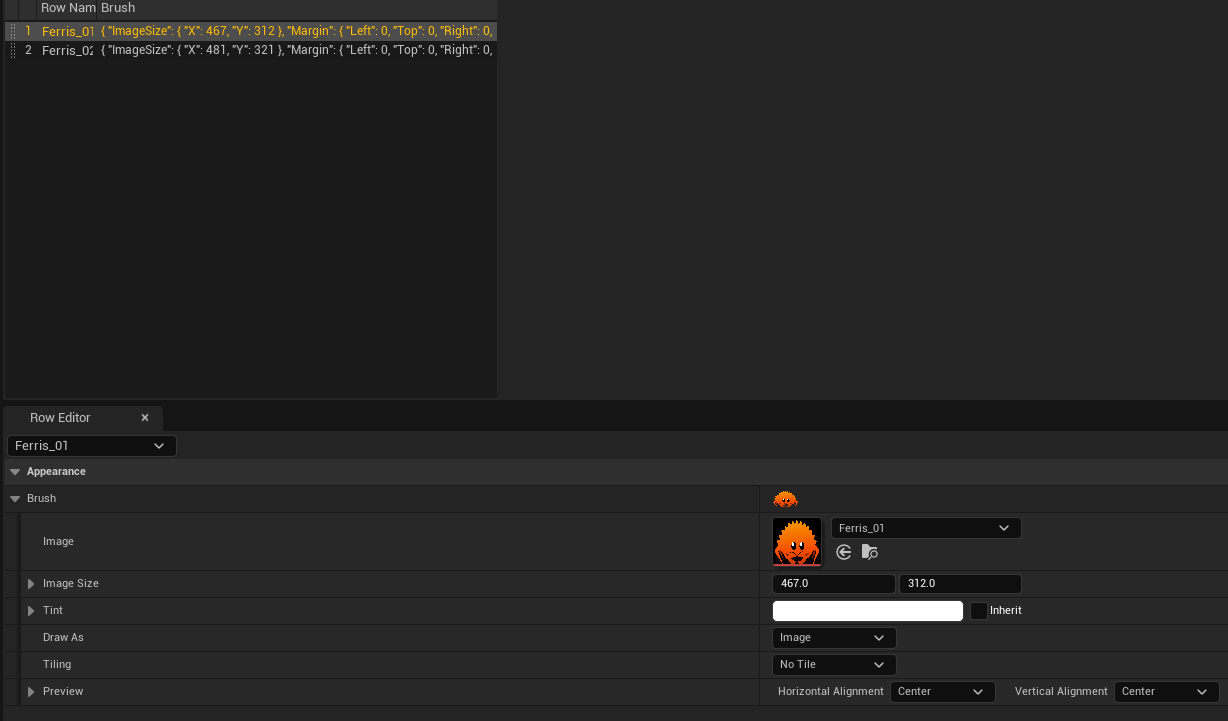
RichImage
1 | /** Simple struct for rich text styles */ |
UnrealEngine provides a decorator class, URichTextBlockImageDecorator. It helps you add an image widget in the middle of text.
Without it, the RichTextBlock cannot create an image from the tag img. You can make a data table containing RichImageRow with the instructions.
1 | 1. Right click on contents browser. |
Now, you can manipulate the data table. Also, you should be careful that the name of data row is the same with the name of tag in the RichTextBlock as I mentioned at the RichTextStyle. So, remember it because this mechanism will work on other cases (Decorators using their own data table) too.
However, you need one step more to apply the data table.
1 | // Engine/Source/Runtime/UMG/Public/Components/RichTextBlock.h |
The TextStyleSet needs only a data table, but the DecoratorClasses takes a class inherits URichTextBlockDecorator. That is why URichTextBlockImageDecorator inherits that.
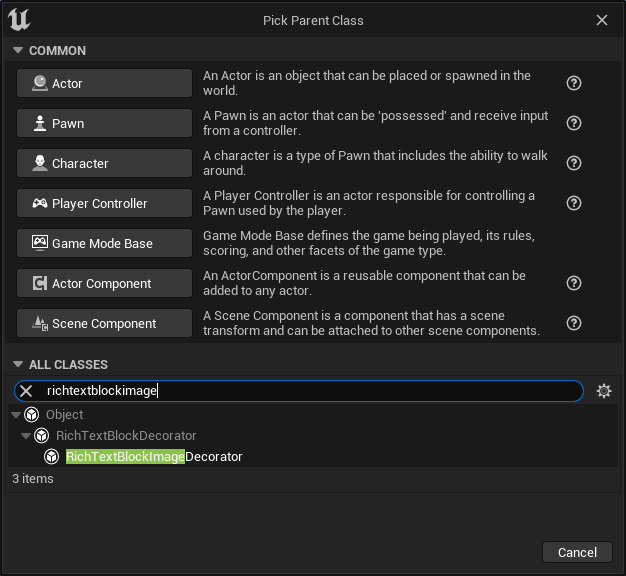
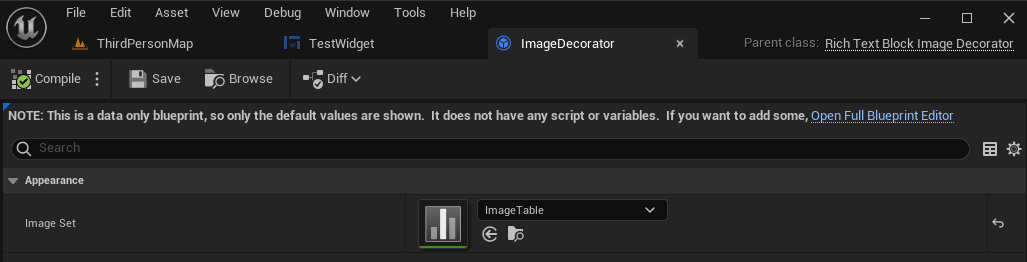
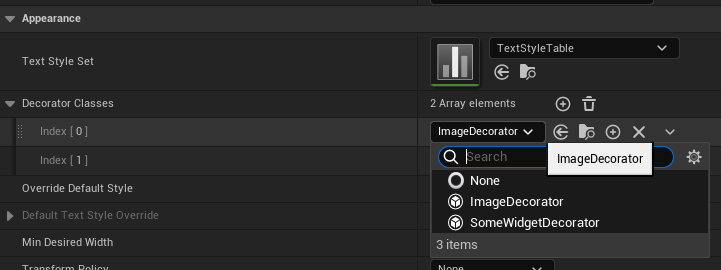
So, you should create a blueprint class inherits URichTextBlockImageDecorator because the class URichTextBlockImageDecorator has the UCLASS keyword Abstract. And, assign it into the DecoratorClasses at the RichTextBlock widget. The blueprint class should reference the data table for images.
Custom decorator
I have written a custom decorator for this example, the URichTextBlockSomeWidgetDecorator. As you can see in the example, it displays a combination of image and text. First of all, the code for this class is here.
And the followings are the major changes.
1 | public class TestRichTextBlock : ModuleRules |
You must add the modules at your Build.cs: UMG, Slate, and SlateCore.
1 | bool FRichInlineSomeWidget::Supports(const FTextRunParseResults& RunParseResult, const FString& Text) const |
I have changed the tag that my decorator supports. img -> somewidget
1 | void SRichInlineSomeWidget::Construct(const FArguments& InArgs, const FRichSomeWidgetRow* Row, const FTextBlockStyle& TextStyle, TOptional<int32> Width, TOptional<int32> Height, EStretch::Type Stretch) |
Used the max value for IconHeight because I wanted to display the image properly. Plus, the decorator has a TextBlock for descripting an image. In the example, a text Ferris_01 or Ferris_02 is located on the right of Ferris’ image.
So, you can create a custom decorator like this. Rest works are just similar with RichImage, creating some blueprint classes (decorator and data table) and assigning each other. Let your decorator have awesome functions :)
Preview of Part #2
At this part, we have seen how to use the RichTextBlock and how to make a custom decorator.
- Only for a text, you should create a data table and assign it.
- For other content, you should create a custom decorator and assign it. But, UnrealEngine has already made a default decorator for an image,
URichTextBlockImageDecorator. - When creating a custom decorator, you should know them below:
- Specify an unique tag name. There should be no confliction.
- Design a widget layout with Slate. You can reference many examples from engine codes, just find all references of
ChildSlot. - Create a SWidget version of your widget if you want to put your widget into the custom decorator. As you can see, the
SNewaccepts only the class inheritsSWidget. In most of cases, it is okay to inherit the classSLeafWidget.
At next part, we would find out how does the RichTextBlock wrap its contents. It will be interesting because the RichTextBlock can have an image as a content.