- recommend to read first
- this post covers
- how to setup cross compile environment
- how to build linux server
- how to use client and server in cross platform
- environment
- Windows / 10
- Visual Studio IDE / 2017 Community
- Unreal Engine / 4.21 Built From Source Code
overview
- if you want to seperate the game into client and server
- mostly, the clients would be executed on windows
- as the server is up to you, you can select more efficient option
- in aws, linux server instead of windows to save cost
- so it is needed to build linux server, but you can use cross compilation
- this makes you can build linux server on windows
- in this post, I suppose you have already an unreal engine built from source code and test project
- especially, I used 4.21 version
setup
- download the proper toolchain from this document
- in my case,
clang-6.0.1-basedtoolchain is needed
- in my case,
- execute the toolchain installer
- you do not have to do extra works when your engine version is equal to or over 4.14
- if not, reference the document mentioned for the details
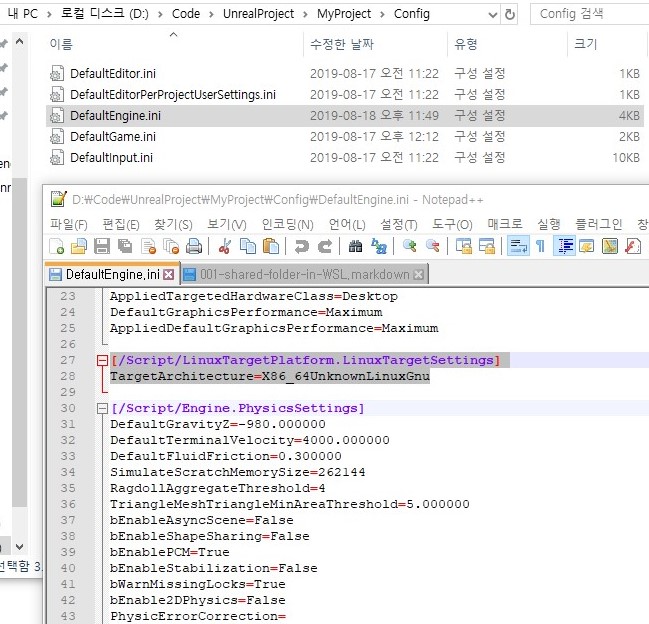
- in the test project, edit the
DefaultEngine.iniof[ProjectRoot]/Config/DefaultEngine.ini- add the code below
- the code will add configurations for linux version build
1 | [/Script/LinuxTargetPlatform.LinuxTargetSettings] |
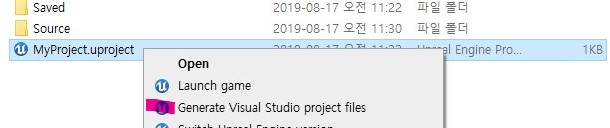
- right click
uprojectand selectGenerate Visual Studio project files- open
slnand build the test project withDevelopment Editor & Win64
- open
build
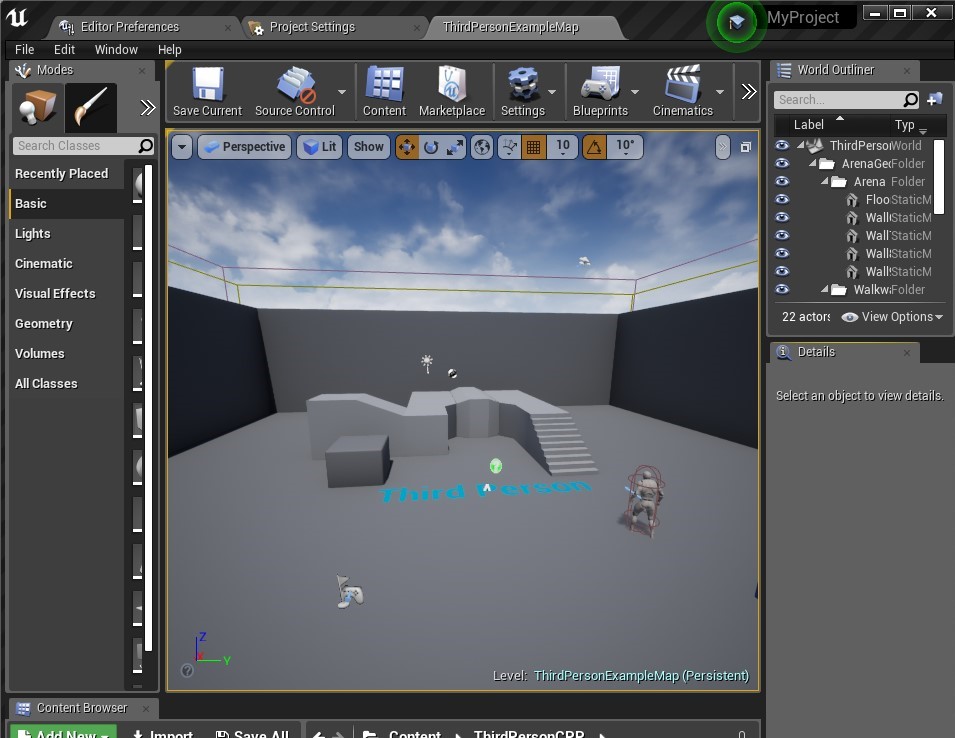
- double click
uprojectand you would see the test project on unreal editor
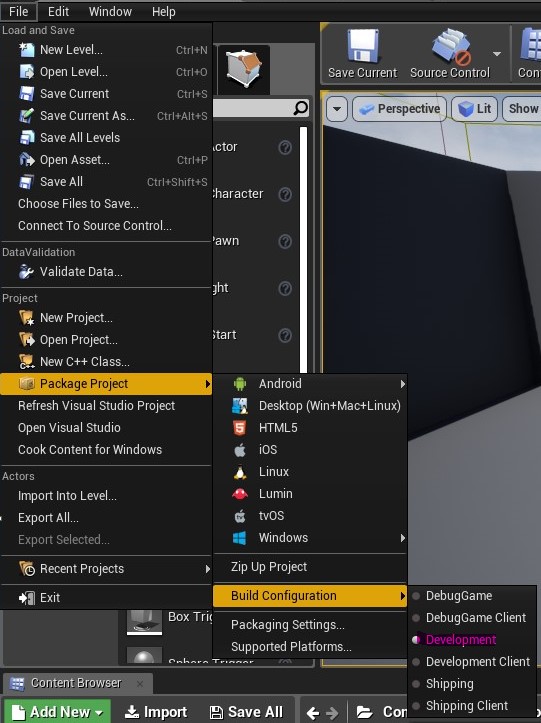
- select
DevelopmentinFile/Package Project/Build Configuration
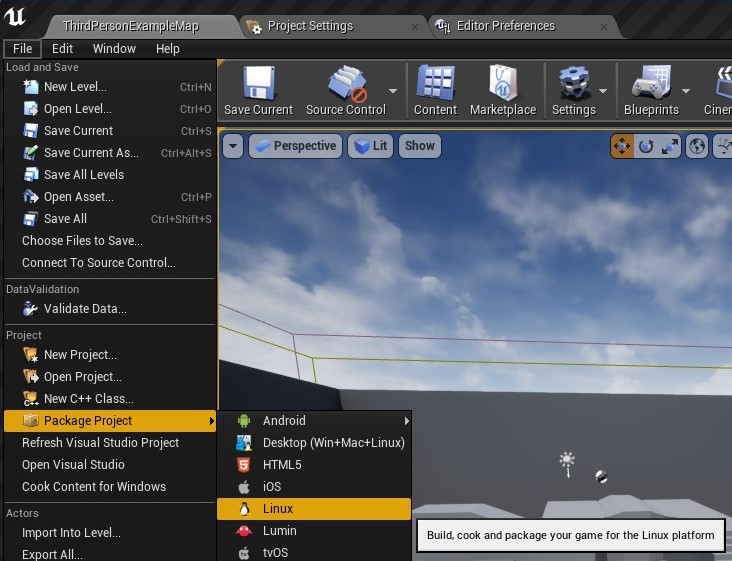
- select
LinuxinFile/Package Project- choose an arbitrary directory for saving the package
- in my case, I created
Packagesfolder in project directory and use it
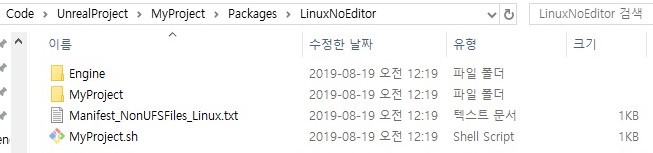
- after packaging, you can see the directory like this

- open
slnand build the test project withDevelopment Server & Linux
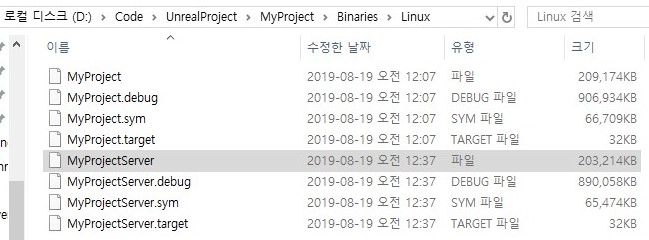
- you can see the
[ProjectName]Serverbuild, which will be executed on linux

- copy the
[ProjectName]Serverinto package binary folder- now you can execute
[ProjectName]Serveron linux
- now you can execute
usage
- in this post, I will show you an example with wsl
- I recommend to make shared folder for sharing files
- if you do not know about it, read this post

- I used a shared folder called
LinuxSharefor sharing the package files
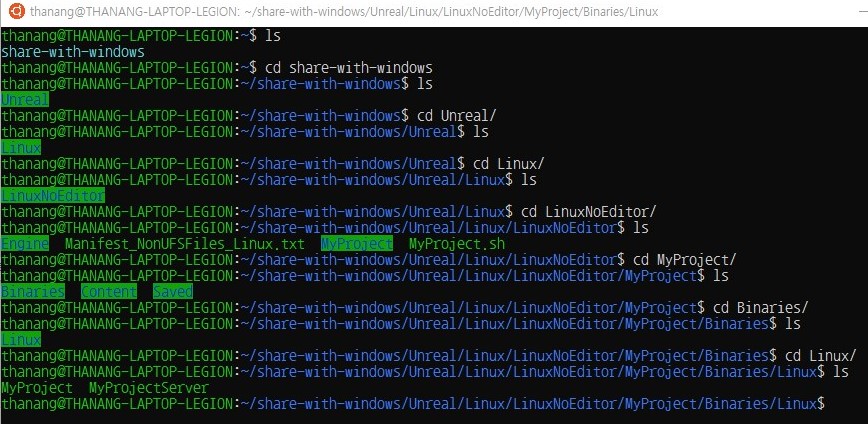
- there are build files in package binary folder
[ProjectName]is build file fromGamebuild target, which cannot be executed for absense of graphics api[ProjectName]Serveris build file fromServerbuild target, which is copied by you

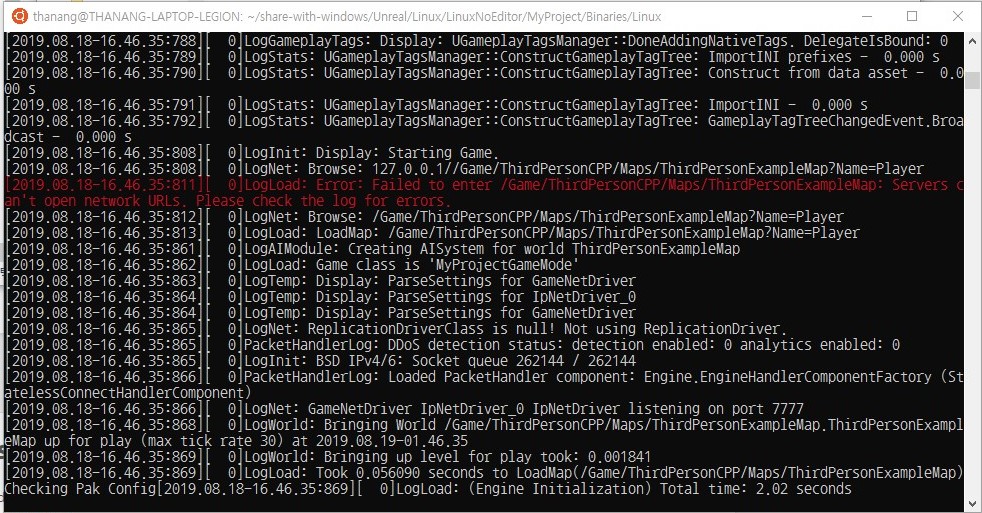
- execute server build with option
127.0.0.1 -logon wsl(linux)
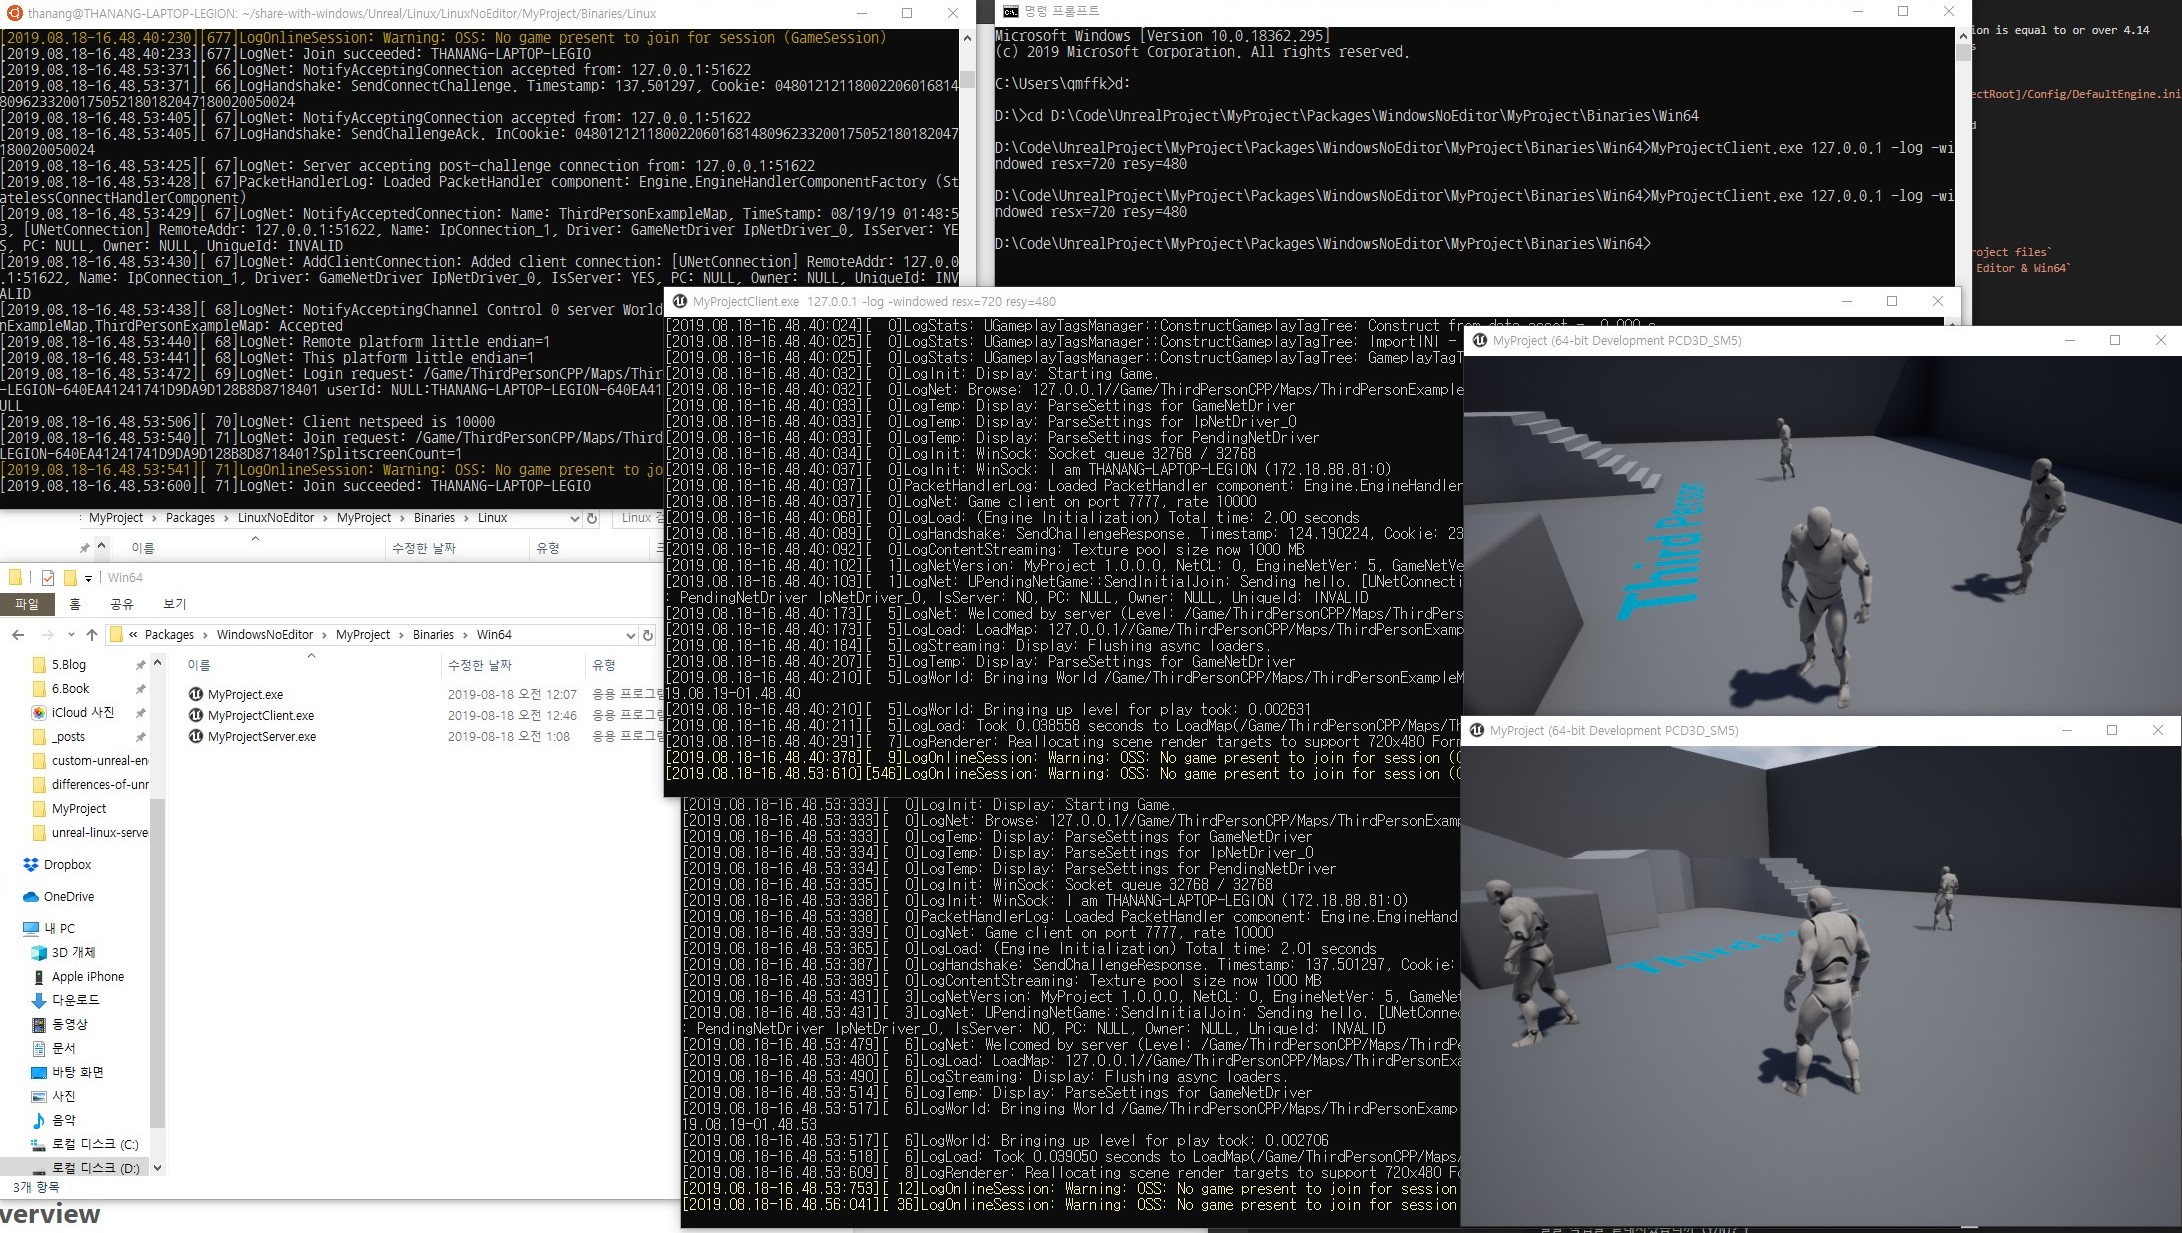
- execute client build twice with option
127.0.0.1 -log -windowed resx=720 resy=480on windows- you can see the same result that we saw in previous post