- recommend to read first
- this post covers
- what does mean each build target
- how to use each build target
- differences of some build targets
- environment
- Windows / 10
- Visual Studio IDE / 2017 Community
overview
- I suppose you already have the unreal engine built from source of 4.21 version
- if you do not, read the
custom-unreal-engine-buildpost
- if you do not, read the
- once you build the
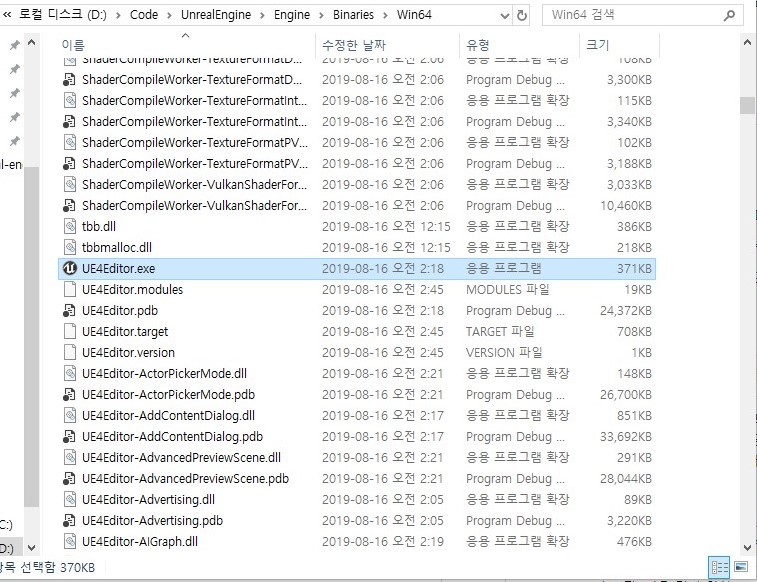
UE4project with optionDevelopment Editor & Win64- you can find
[EngineRoot]/Engine/Binaries/Win64/UE4Editor.exeand execute it
- you can find
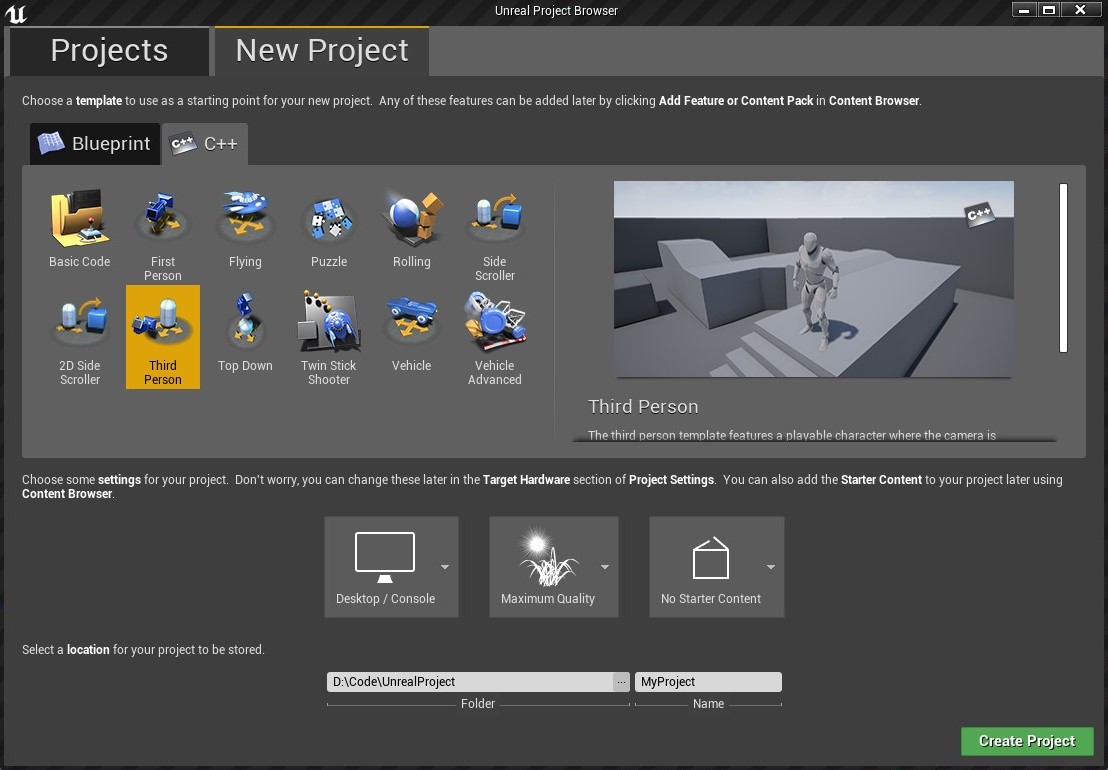
- in this window, you can create project using your custom engine
- create a
Third Persontemplate project for testing several build targets in this post
- create a
build-targets
in unreal engine, “build (file)” means the executable file or library file made from source code
- ex1)
UE4Editor-[ProjectName].dllofEditorbuild target - ex2)
[ProjectName]Client.exeofClientbuild target - ex3)
[ProjectName].exeofGamebuild target
- ex1)
there are four build targets frequently used
- Client
- Server
- Game
- Editor
Client- this target is used for building only client
- it has several features especially displaying screen
- so if the system does not have any graphics API, it cannot be executed
Server- this target is used for building only server
- it does not have several features especially displaying screen
- so regardless of graphics API, it can be executed
Game- this target is used for building whole game
- it has all features from
ClientandServertargets - so a build from this target can be used as client, and server too
- it is not recommended for the commercial game project because user could get the server feature
Editor- this target is used for executing the game on unreal editor
- only the build from this target can be opened in unreal editor
- also, unreal editor only can open this build, which means packaging impossible
- totally, it has all features from
Game
packaging
- because build files do not contain unreal assets, it cannot be executed alone
- we have checked out what happens when only using a build file in previous post
- so, executing the game from any build file, you need to package unreal assets used in the project file
- and packaging can be done in unreal editor, not the source code editor such as visual studio IDE
- there are some prerequisites for pacakaging the test project
- open the
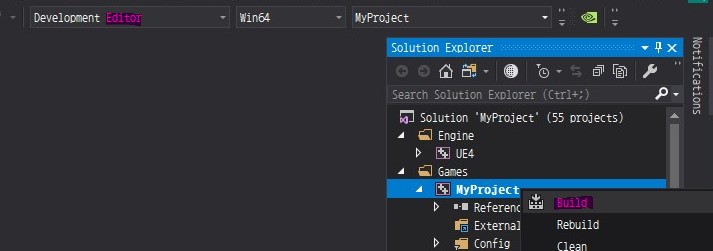
slnfor the test project and build it withDevelopment Editor & Win64- and press
F5to start debugging
- and press
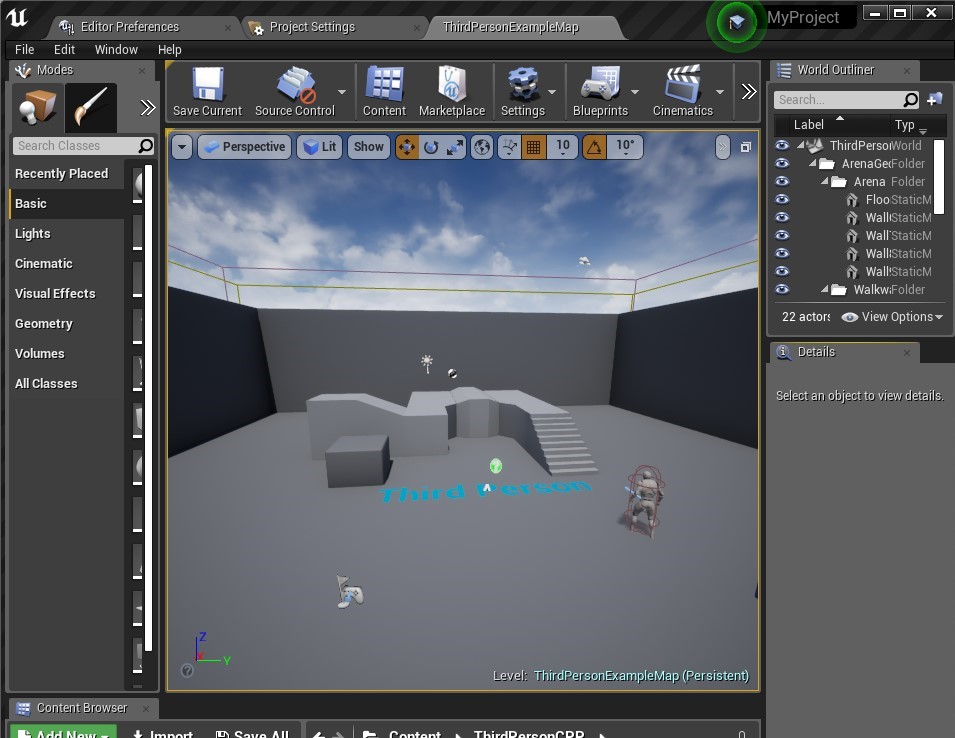
- you would see the
Third Persondefault map with unreal editor
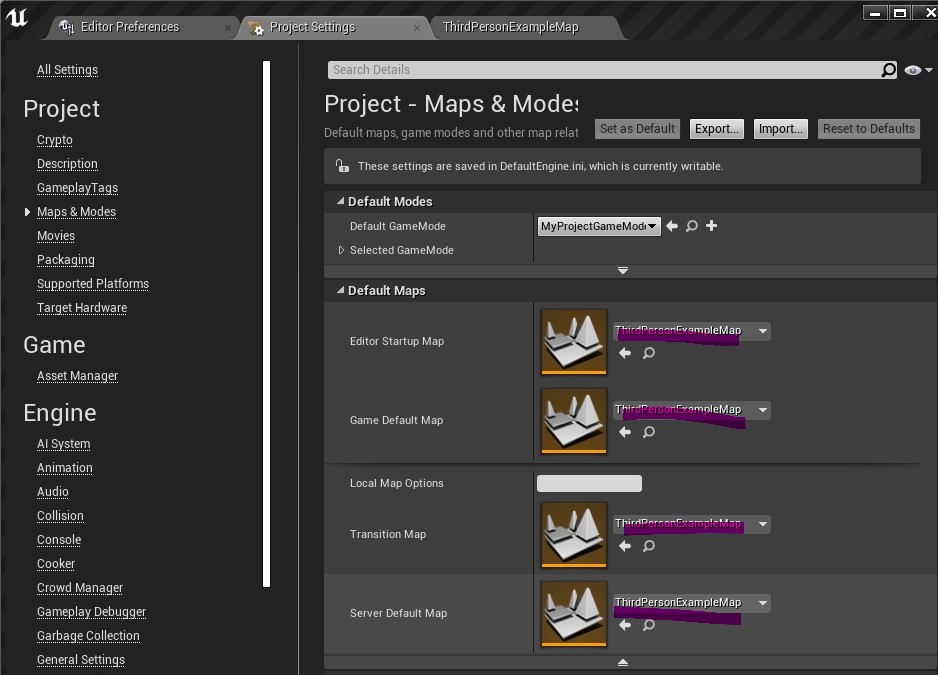
- open the
Project Settingswindow and findMaps & Modestab- set every map with the default map
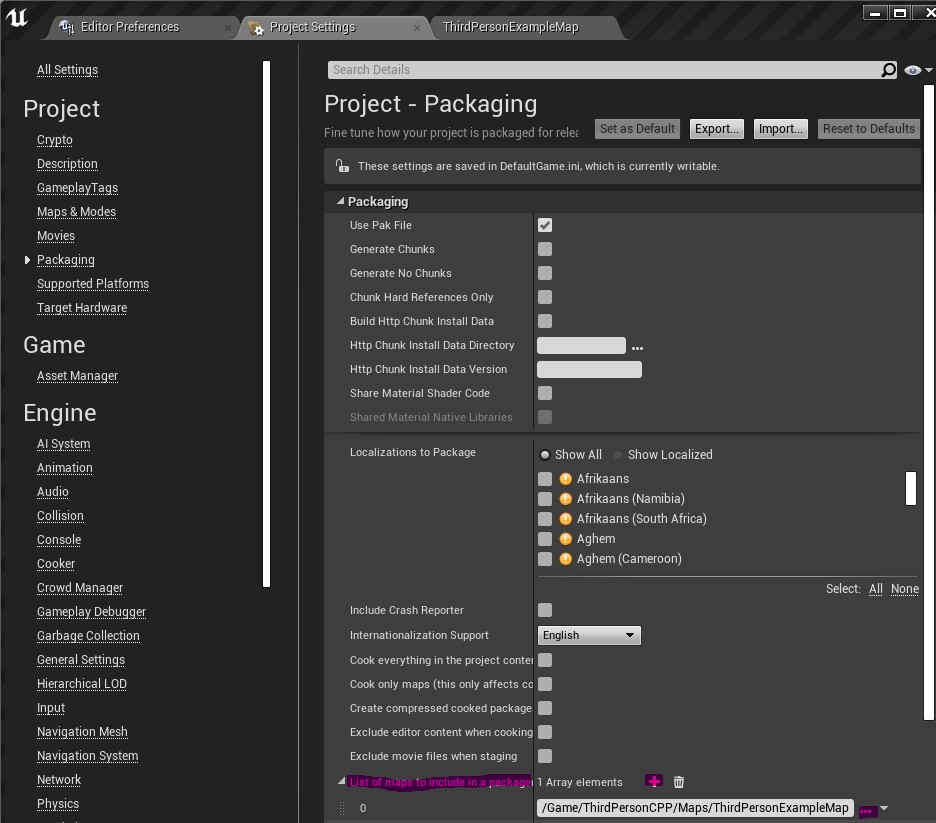
- find
Packagingtab- add the default map to the
List of maps to include in a packaged build
- add the default map to the

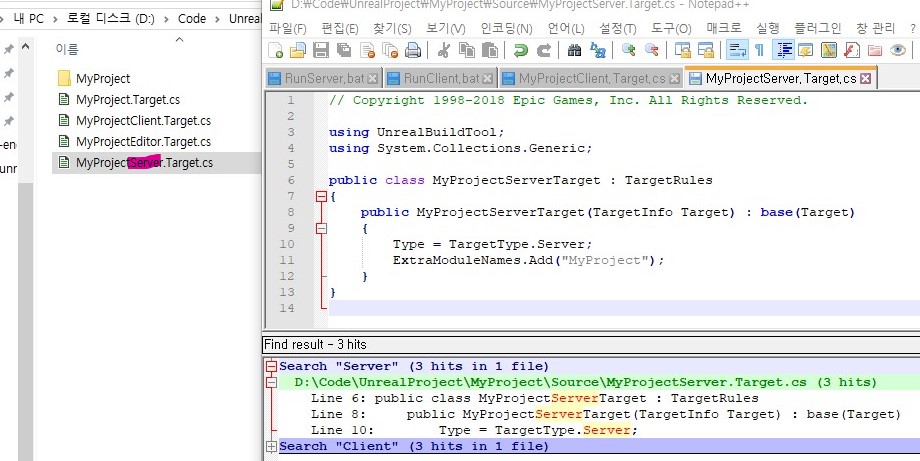
- write target config files for
ClientandServertargets
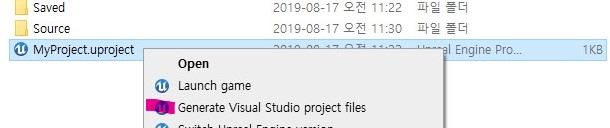
right click
uprojectand selectGenerate project filesre-open the
slnand build the test project with each solution configurationDevelopment & Win64Development Client & Win64Development Server & Win64
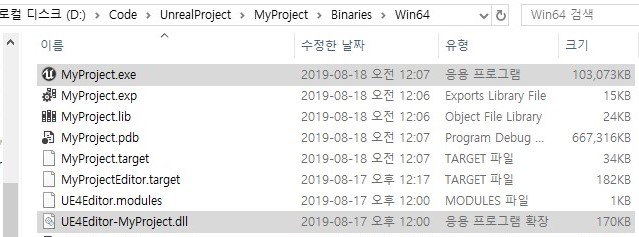
now you can see the three build files
open the test project with unreal editor
- way1) double click
uproject - way2) execute
[EngineRoot]/Engine/Binaries/Win64/UE4Editor.exeand select the project
- way1) double click
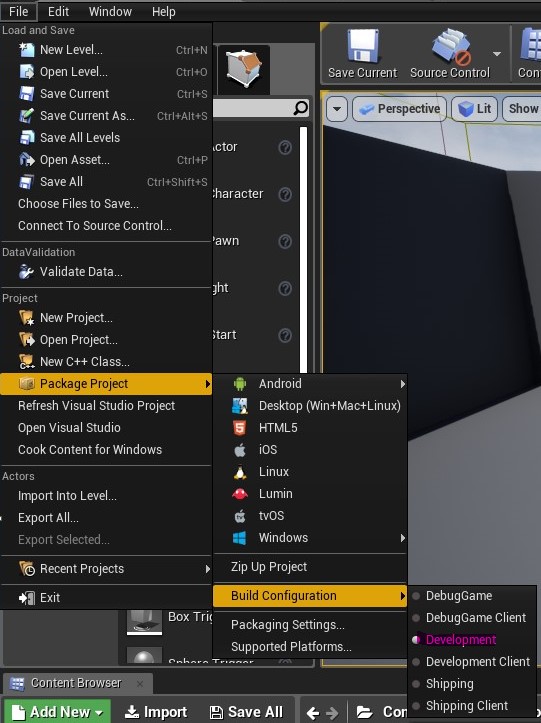
- select
DevelopmentinFile/Package Project/Build Configuration
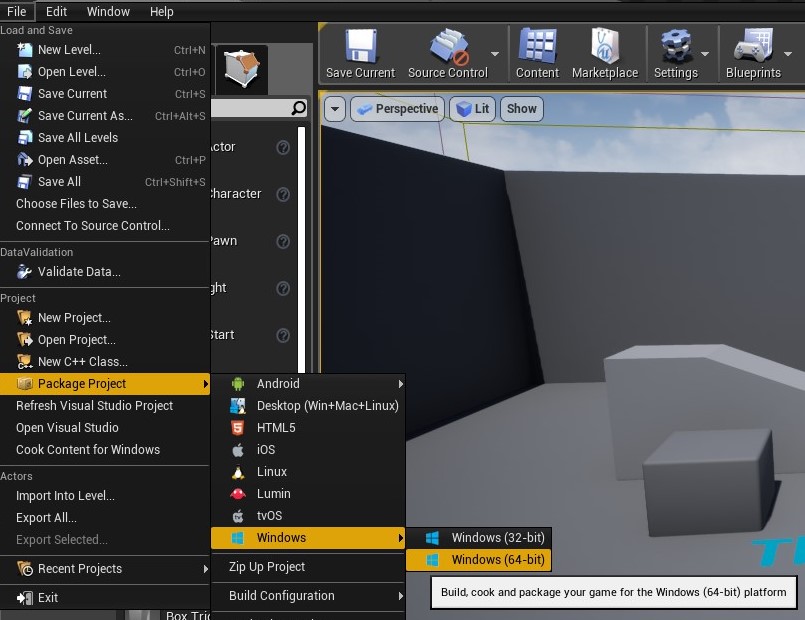
- select
Windows (64-bit)inFile/Package Project/Windows- choose an arbitrary directory for saving the package
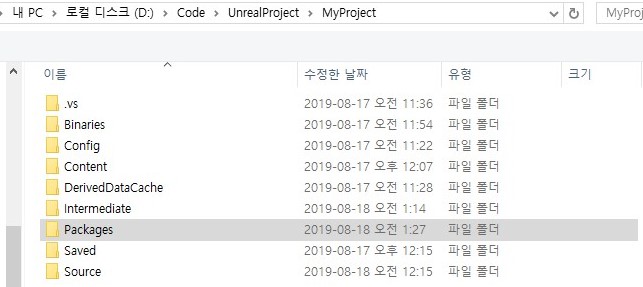
- in my case, I created
Packagesfolder in project directory and use it
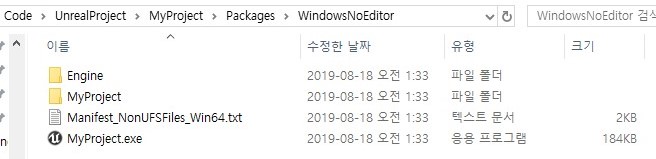
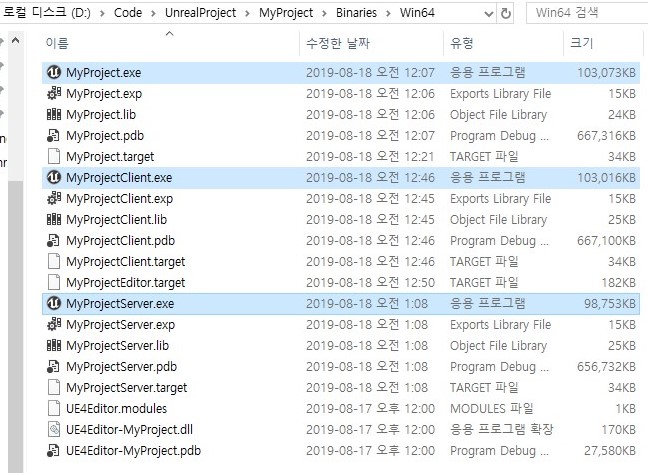
- after packaging, you can see the directory like this
- as we packaged the project with
Developmentthe executable files are the same
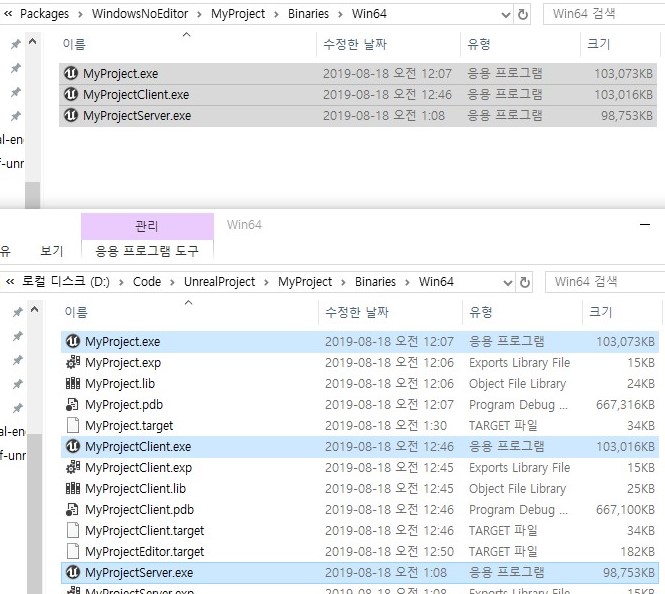
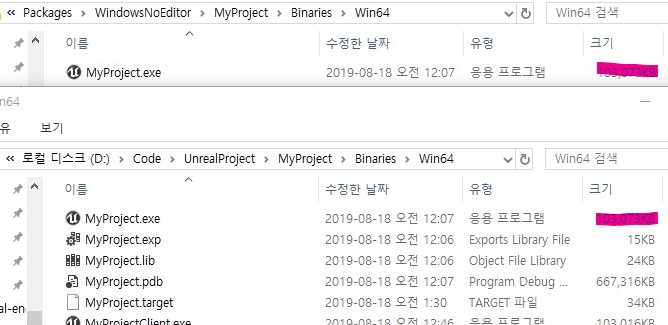
- copy the build files into the
Packages/WindowsNoEditor/[ProjectName]/Binaries/Win64[ProjectName].exe[ProjectName]Client.exe[ProjectName]Server.exe

- run the command prompt and move to the
Packages/WindowsNoEditor/[ProjectName]/Binaries/Win64- execute each build file with some options for knowing what happens inside
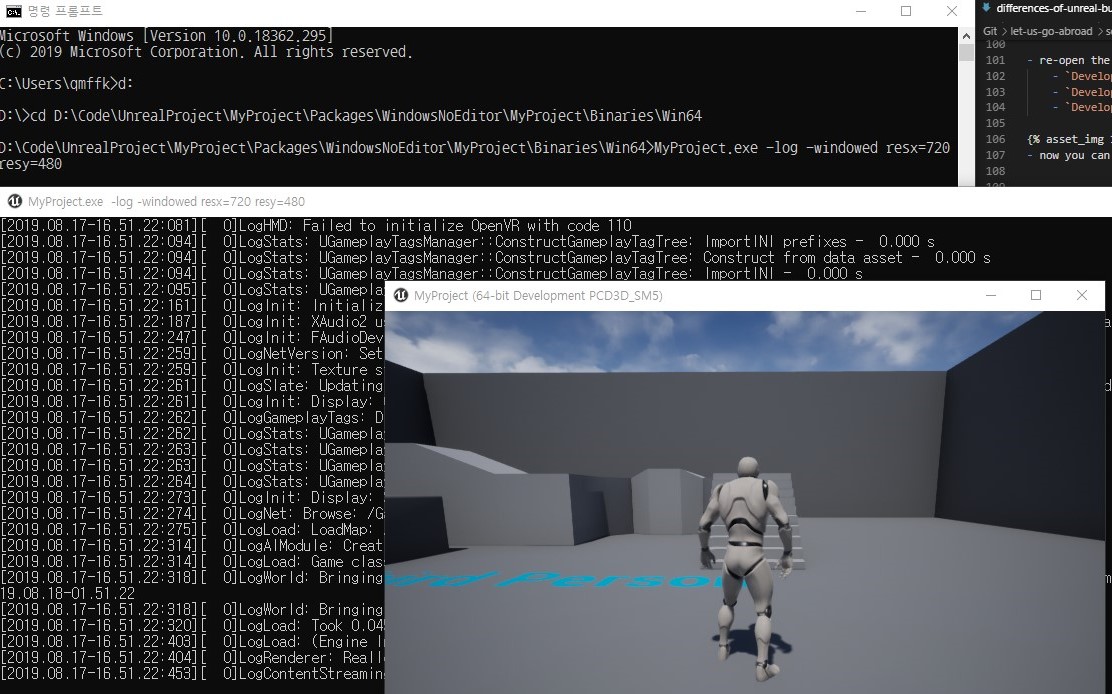
- execute
Gamebuild file with options-log -windowed resx=720 resy=480-logoption makes the game print logs-windowedoption prevents the game from running as full-screen
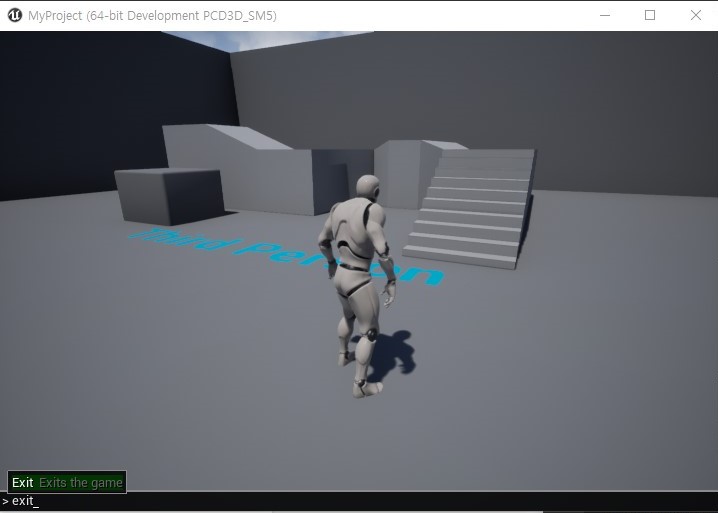
- you can terminate the game
- way1) click
Xon the right of game window - way2) press a grave accent and type
exit
- way1) click
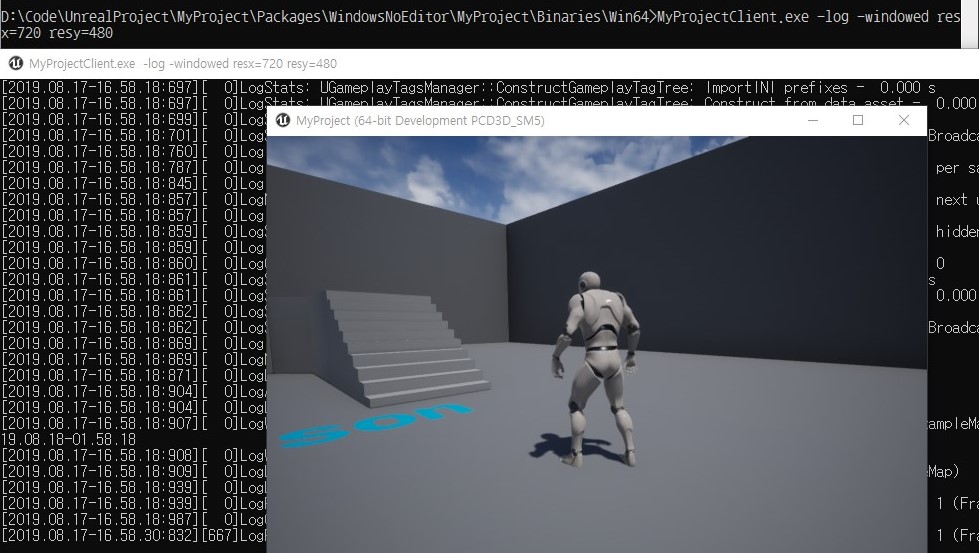
- execute
Clientbuild file with options-log -windowed resx=720 resy=480- you can see the same result of
Gamebuild
- you can see the same result of
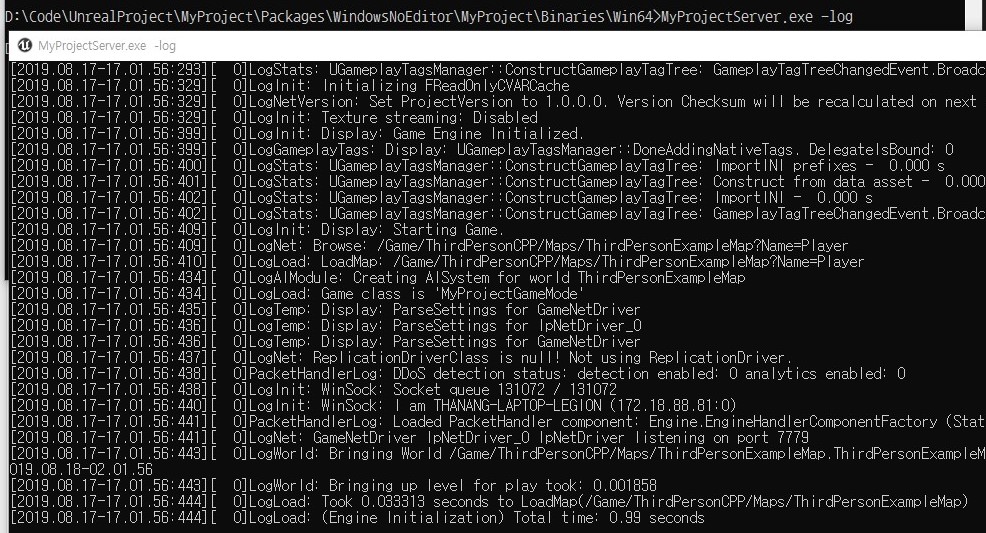
- execute
Serverbuild file with options-log- you can see there is no game screen with
Serverbuild
- you can see there is no game screen with
game-client-server
I mentioned
Gameas “it has all features fromClientandServertargets”execute
Gamebuild 3 times with options below-server 127.0.0.1 -log -windowed resx=720 resy=480
127.0.0.1 -log -windowed resx=720 resy=480
127.0.0.1 -log -windowed resx=720 resy=480
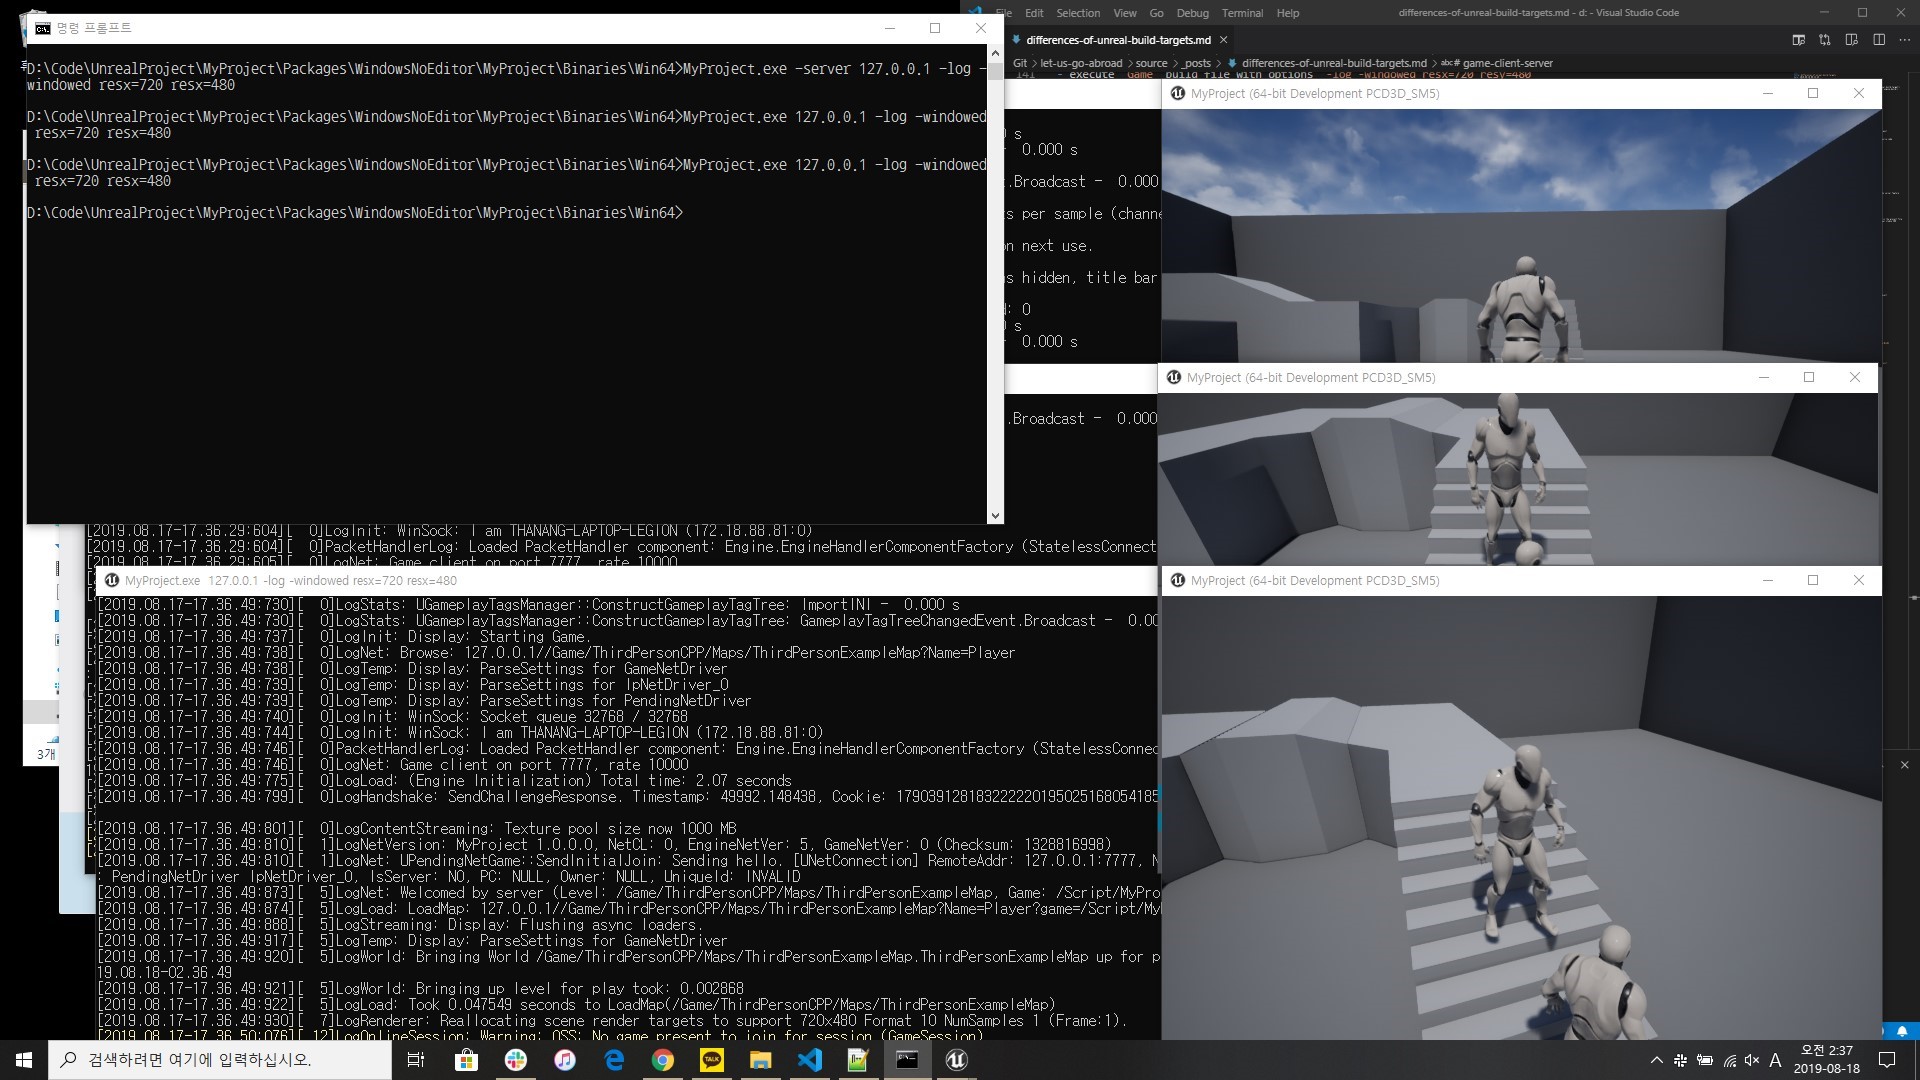
the first game acts as (client + server) and other games act as client
- this means
Game target = Client target + Server target
- this means
execute
Serverbuild with options below127.0.0.1 -log
execute
Clienttwice with options below127.0.0.1 -log -windowed resx=720 resy=480
127.0.0.1 -log -windowed resx=720 resy=480
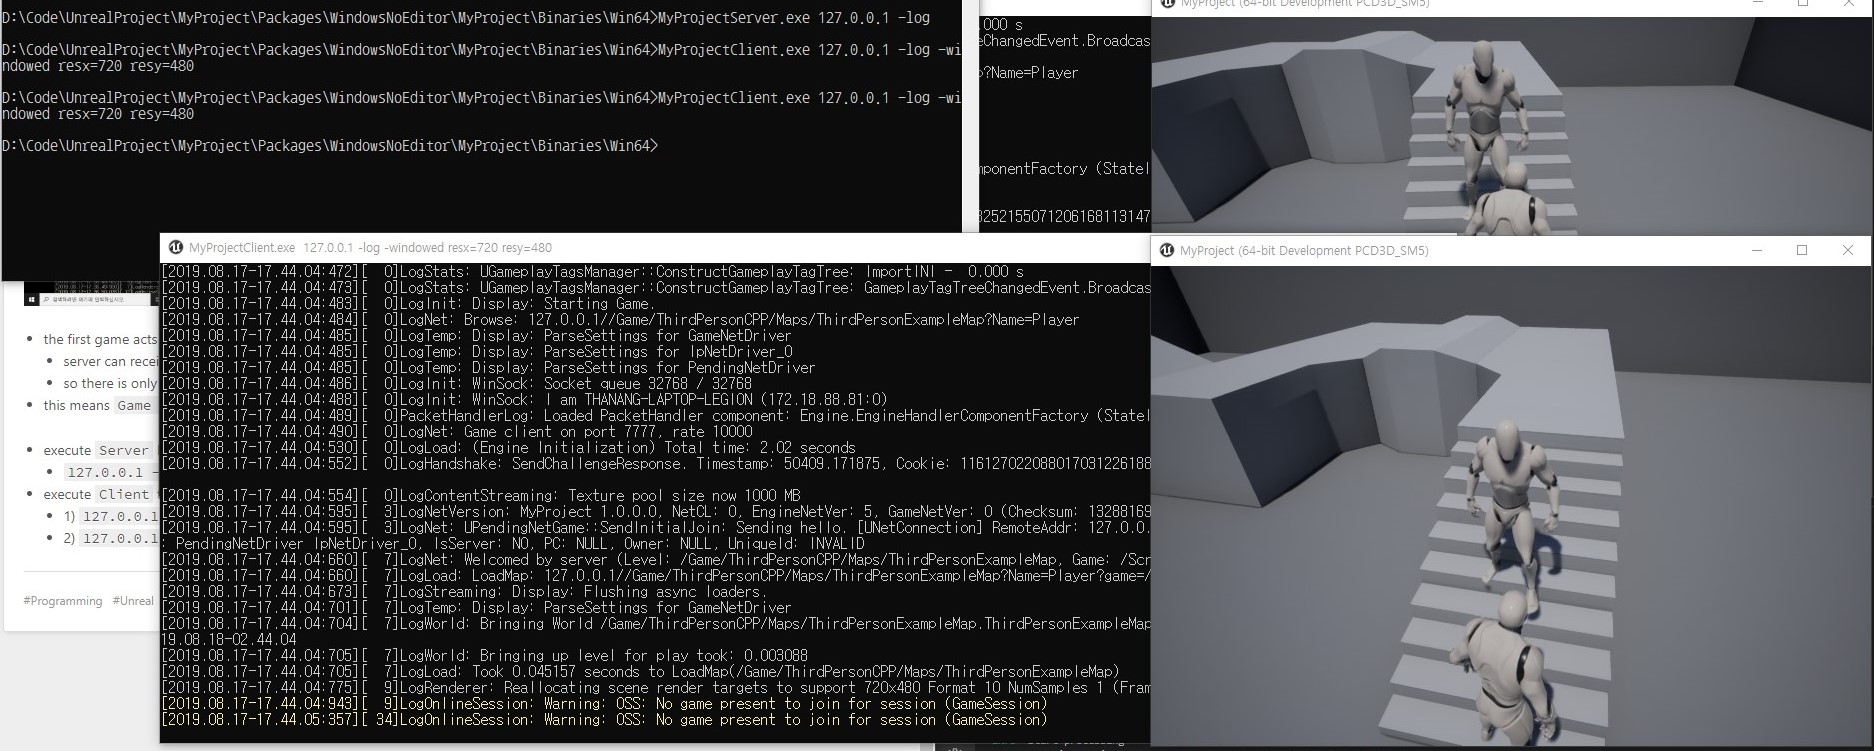
- the first game acts as server and other games act as client
- you can see server do not have a screen